


Are your YouTube videos looking off-color or too warm? Adjusting the white balance on your webcam can fix this problem. In this guide, you’ll learn step-by-step how to set the perfect white balance for high-quality, natural-looking videos.
How to Adjust Webcam White Balance for YouTube
If you’re creating YouTube videos, you want your footage to look professional and natural. One key factor is color accuracy, which is controlled by the white balance setting on your webcam. When white balance is off, your video might look too warm, cool, or have strange color casts that distract viewers. Luckily, adjusting the white balance can fix this issue. In this guide, we’ll walk you through the steps to set the perfect white balance for your webcam, so your videos look vibrant, true-to-life, and engaging.
Key Takeaways
- Understanding White Balance: White balance controls the color temperature of your webcam, making your videos look natural.
- Manual vs. Automatic: Most webcams offer auto white balance, but manual adjustments provide better control for consistent results.
- Using Webcam Software: Many webcams come with dedicated software to fine-tune white balance settings easily.
- Adjusting for Lighting Conditions: Proper white balance depends on your lighting environment—natural light, studio lights, or mixed sources.
- Testing and Fine-Tuning: Always test your settings with recorded footage to ensure natural colors before going live or recording.
- Troubleshooting: If colors look off after adjustment, reset settings or tweak lighting for better results.
Understanding White Balance and Why It Matters
White balance is a camera setting that adjusts the colors in your video to match the lighting environment. Think of it as telling your webcam what “white” looks like in your setting. When correctly set, whites appear white, and other colors look natural. If white balance is incorrect, everything can look overly warm (yellow/orange), too cool (blue), or unnatural.
For YouTube creators, accurate color representation is crucial. Whether you’re recording tutorials, gaming streams, or vlogs, proper white balance makes your footage more professional and appealing.
Preparing for White Balance Adjustment
Before diving into settings, consider your lighting environment:
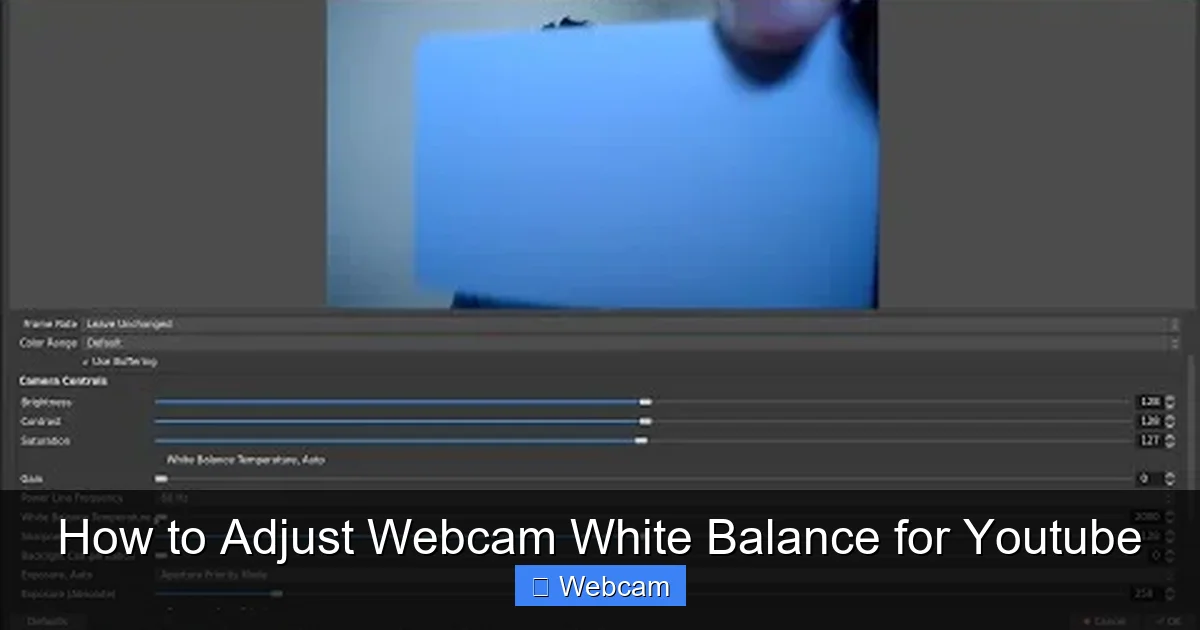
Visual guide about How to Adjust Webcam White Balance for Youtube
Image source: i.ytimg.com
- Natural sunlight tends to be warmer and more dynamic.
- Studio or LED lights may cast cooler or warmer tones depending on their color temperature.
- Mixed lighting can cause color inconsistencies.
Have a clean, neutral background and good lighting. Avoid overly bright or uneven lights. This will make white balance adjustments easier and more effective.
Step 1: Check Your Webcam Capabilities
Identify Your Webcam Model
First, know your webcam model. Some webcams have built-in controls for white balance, while others require software. Check the manufacturer’s website or user manual.
Visual guide about How to Adjust Webcam White Balance for Youtube
Image source: i.ytimg.com
Determine if Your Webcam Supports Manual White Balance
- Many webcams allow you to toggle between auto and manual white balance.
- If your webcam has no controls, you might need third-party software.
Step 2: Access Your Webcam Settings
Using Built-in Software
Most webcams come with dedicated software or apps. Examples include Logitech Capture, Razer Synapse, or the Windows Camera app.

Visual guide about How to Adjust Webcam White Balance for Youtube
Image source: i.ytimg.com
Through Video Conferencing or Streaming Platforms
Platforms like OBS Studio or Streamlabs often have camera controls or plugins to adjust white balance.
Via Device Manager or Settings
On Windows, you can access device settings through Device Manager or the Camera app. On Mac, use Image Capture or third-party apps.
Step 3: Adjust White Balance Settings
Using Webcam Software
- Open your webcam’s control software.
- Locate the white balance setting. It may be labeled “White Balance,” “WB,” or “Color Temperature.”
- If available, switch from auto to manual mode.
- Adjust the slider or input value to achieve natural colors. Typically, a value around 3200K–5500K works well, depending on your environment.
- Preview the changes in real-time or view a test recording.
Using Third-Party Software (e.g., OBS Studio)
- Open OBS Studio and add your webcam as a source.
- Right-click the source and select “Filters.”
- Add a “Color Correction” filter.
- Adjust the “Color Temperature” slider until your footage looks natural.
- Experiment with “Gamma” and “Hue” if necessary.
Step 4: Test Your Settings with a Recording
Always test your adjustments by recording a short clip or going live. Check if the colors look accurate across different lighting conditions. Make further tweaks if needed.
Step 5: Save and Lock Your Settings
If your webcam software allows, save the settings to prevent accidental changes during recordings. Consistent white balance ensures your videos stay professional-looking every time.
Additional Tips for Perfect White Balance
- Use a Neutral Reference: Place a white or gray card in your scene to calibrate your white balance accurately.
- Adjust Lighting First: Better lighting reduces the need for extensive white balance tweaking.
- Consistent Environment: Keep your lighting setup consistent to avoid frequent adjustments.
- Update Your Drivers and Software: Keeping everything up-to-date ensures compatibility and access to latest features.
- Consider External Lighting: Using softboxes or ring lights can help achieve more even and controllable lighting conditions.
Troubleshooting Common White Balance Issues
- Colors Look Off Despite Adjustment: Reset to auto and reconfigure, or check your lighting setup.
- White Balance Reverts to Auto: Lock the setting if possible, or disable auto modes in software.
- Colors Are Still Off in Final Video: Test with different lighting or consider using color correction in post-production.
Conclusion
Getting your webcam’s white balance right is a simple but essential step to producing high-quality YouTube videos. With the right settings, your footage will look more natural, professional, and engaging. Remember to test your adjustments, keep your lighting consistent, and update your software regularly. Now, you’re ready to create stunning, true-to-life videos that captivate your audience!



