


Auto framing in AI webcams automatically adjusts the camera’s view to keep you centered and in frame during video calls. This innovative feature uses advanced AI algorithms to track your movements and optimize your framing, making virtual meetings more professional and engaging. In this guide, you’ll learn how auto framing works, how to set it up, and tips for getting the best results.
Key Takeaways
- Auto framing uses AI algorithms to detect and track your movement, keeping you centered in the frame during video calls.
- It enhances professionalism by ensuring you stay in focus, even if you move around naturally.
- Setup is straightforward, often requiring just a few clicks in your webcam’s software or app settings.
- Auto framing can be customized to adjust sensitivity and framing preferences for different environments.
- Compatibility varies depending on the webcam model and software, so check your device specifications.
- It improves user experience by reducing the need for manual camera adjustments during meetings.
How Does Auto Framing Work in Ai Webcams?
Imagine a virtual camera that can follow you around your room, keeping you perfectly centered during a video call. That’s what auto framing in AI webcams does. This innovative feature uses artificial intelligence and machine learning to automatically adjust the camera’s view, ensuring you stay in focus regardless of your movements.
In this guide, we will explore how auto framing works, how to set it up, and tips to maximize its benefits. Whether you’re a remote worker, content creator, or student, understanding this technology can improve your video experience significantly.
Understanding the Technology Behind Auto Framing
1. AI and Computer Vision
At the heart of auto framing is artificial intelligence, specifically computer vision. This technology enables the webcam to recognize and interpret visual data. The AI detects human features like faces, shoulders, and even full body poses.
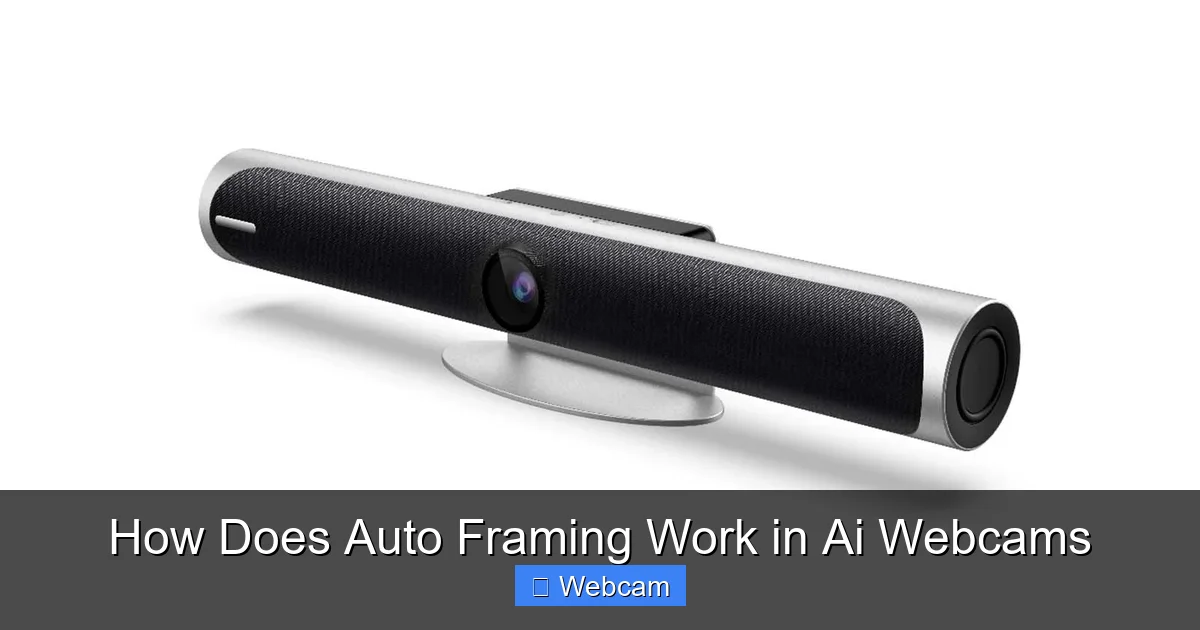
Visual guide about How Does Auto Framing Work in Ai Webcams
Image source: simitie.com
Using machine learning models trained on thousands of images, the webcam can distinguish between the user and the background, allowing it to focus on the person in front of the camera.
2. Real-Time Face and Body Detection
Auto framing relies on real-time face and body detection algorithms. When you start a call, the webcam’s software scans the video feed to locate your face and body. It continuously updates this data as you move around.
This process involves facial recognition, depth sensing, and pose estimation, which help the camera understand your position relative to the frame.
3. Tracking and Frame Adjustment
Once the user is detected, the AI calculates the optimal frame to keep you in focus. If you move, the system adjusts the camera’s view dynamically, panning, tilting, or zooming as needed. This creates a seamless experience where you’re always centered.
Some advanced webcams even use multiple sensors or depth cameras to improve accuracy, especially in cluttered or complex environments.
How to Enable Auto Framing in Your AI Webcam
Getting auto framing up and running is generally simple. Here’s a step-by-step guide:
Visual guide about How Does Auto Framing Work in Ai Webcams
Image source: howtogeek.com
1. Check Compatibility
- Ensure your webcam model supports auto framing. Popular models like Logitech’s Brio, Microsoft LifeCam, or newer AI-enabled webcams typically include this feature.
- Verify that your device drivers and firmware are up to date.
2. Install or Update Your Webcam Software
Most AI webcams come with dedicated software or companion apps. Download the latest version from the manufacturer’s website:
- Visit the company’s support page.
- Download and install the latest software or firmware update.
- Restart your computer if prompted.
3. Enable Auto Framing Settings
Once the software is installed:
- Open the webcam control panel or app.
- Navigate to the camera settings or preferences.
- Look for options labeled “Auto Framing,” “Smart Framing,” or “Face Tracking.”
- Toggle the feature on.
4. Adjust Framing Preferences
Some software allows you to customize the framing behavior:
- Set the sensitivity—how tightly or loosely the camera follows your movements.
- Select framing modes such as “centered,” “full body,” or “head and shoulders.”
- Configure zoom levels if available.
5. Test the Auto Framing Feature
Start a video call or open the camera preview:
- Move around to see how well the camera follows you.
- Adjust settings if the framing feels off or too sensitive.
- Ensure the feature activates properly in your preferred video conferencing software.
Practical Tips for Using Auto Framing Effectively
- Position your camera correctly: Place it at eye level for the best framing results.
- Ensure good lighting: Adequate lighting helps the AI detect your face accurately.
- Maintain a consistent background: Cluttered backgrounds can confuse the AI; a simple, clean background works best.
- Adjust sensitivity settings: Find a balance where the camera responds naturally without overreacting to minor movements.
- Use in well-defined spaces: Auto framing works best when there is clear distinction between you and the background.
Troubleshooting Common Auto Framing Issues
1. Camera Not Following Movements
Ensure the feature is enabled in the software. Check for software updates. Restart the webcam and your computer. Make sure your environment is well-lit.

Visual guide about How Does Auto Framing Work in Ai Webcams
Image source: funtechinnovation.com
2. Framing Is Off or Inconsistent
Adjust sensitivity settings. Reposition the camera for a better angle. Remove clutter or distracting objects from the background.
3. Auto Framing Not Activating in Conferencing Apps
Verify that your conferencing software recognizes the correct webcam. Check app permissions and camera access settings. Restart the app after enabling auto framing.
Conclusion
Auto framing in AI webcams is a game-changer for virtual communication. It automatically keeps you in focus, making your video calls look more professional and polished. By understanding how it works and following the setup steps, you can enjoy a seamless, hands-free experience. Remember to optimize your environment and settings for the best results. With this knowledge, you’re ready to harness the power of auto framing and elevate your video presence.



