


Installing a webcam on your laptop is easier than you think! Whether you need it for work, school, or video calls, this guide walks you through the entire process—from choosing the right webcam to setting it up and testing it. You’ll also get expert tips to ensure clear video quality and smooth performance.
Key Takeaways
- Point 1: Most laptops have built-in webcams, but if yours doesn’t or isn’t working, an external USB webcam is a great solution.
- Point 2: Installing a webcam usually involves plugging it into a USB port and installing any included software or drivers.
- Point 3: You can test your webcam using built-in tools like Camera app (Windows) or Photo Booth (Mac) or third-party apps like Zoom or Skype.
- Point 4: Position your webcam at eye level for the best video quality and natural framing.
- Point 5: Keep your webcam drivers updated to avoid compatibility issues and improve performance.
- Point 6: Privacy is important—use a physical cover or disable the camera when not in use.
- Point 7: If your laptop webcam isn’t working, check settings, update drivers, or try an external webcam.
How to Install Webcam on Laptop: A Complete Step-by-Step Guide
Are you ready to upgrade your video calls, online classes, or streaming sessions? Whether you’re working from home, attending virtual meetings, or connecting with family, having a working webcam is essential. Most laptops come with a built-in webcam, but if yours isn’t functioning or you need better video quality, installing an external webcam is a simple and effective solution. This guide will walk you through everything you need to know about how to install a webcam on your laptop, from choosing the right model to troubleshooting common issues.
By the end of this guide, you’ll have your webcam up and running with clear, smooth video. We’ll cover setup for both Windows and Mac laptops, include practical tips for optimal performance, and even help you fix any problems that might arise. Let’s get started!
Do You Need to Install a Webcam on Your Laptop?
Before we dive into installation steps, it’s important to understand whether you actually need an external webcam. Most modern laptops come with a built-in webcam located at the top of the screen. If your laptop is less than five years old and you’ve used it for video calls before, there’s a good chance your webcam is already installed and working.

Visual guide about How to Install Webcam on Laptop
Image source: wikihow.com
However, there are several reasons why you might want to install an external webcam:
- Your built-in webcam is broken or not working — Common issues include blurry video, no image at all, or the camera being disabled in settings.
- You want better video quality — External webcams often offer higher resolution (like 1080p or 4K), wider lenses, and better low-light performance.
- You need more flexibility — External webcams can be placed anywhere, giving you control over angle and framing.
- Your laptop has no webcam — Older models or budget laptops may not include a built-in camera.
If any of these apply to you, installing an external webcam is a smart upgrade. And the good news? It’s usually a plug-and-play process that takes just a few minutes.
Choosing the Right Webcam for Your Laptop
Not all webcams are created equal. When selecting a webcam to install on your laptop, consider the following factors:
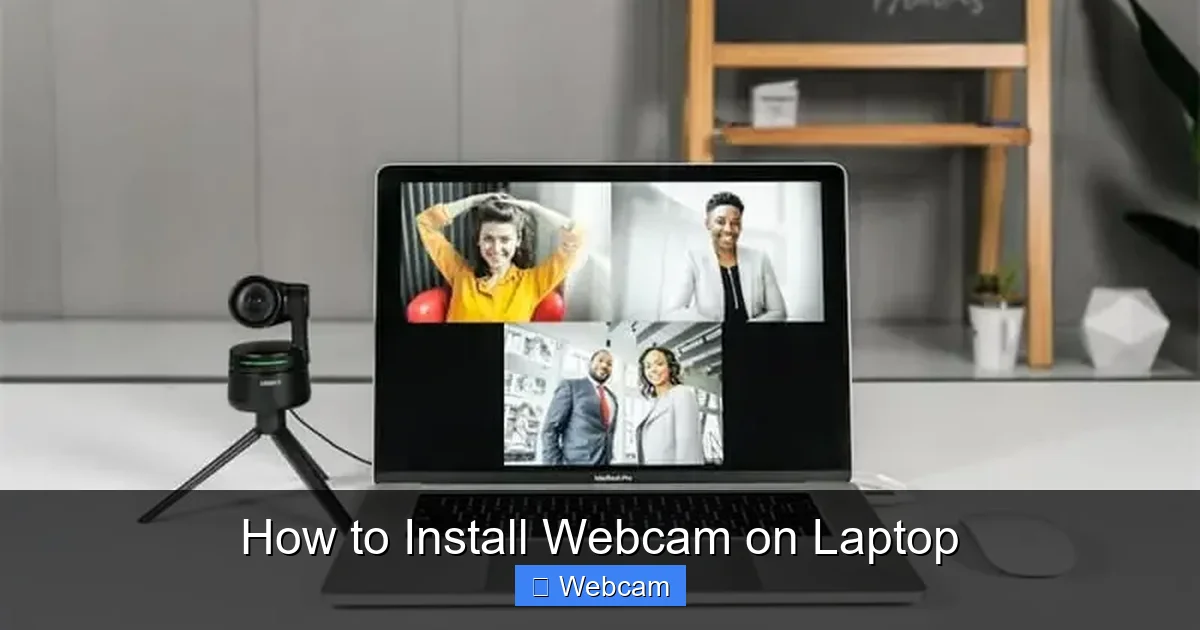
Visual guide about How to Install Webcam on Laptop
Image source: resource-cdn.obsbothk.com
1. Connection Type
Most external webcams connect via USB. Look for a USB-A or USB-C port, depending on your laptop. USB 3.0 or higher ensures smoother video streaming. Some webcams also use wireless connections (like Bluetooth or Wi-Fi), but wired options are more reliable for video calls.
2. Video Quality
For clear video, aim for at least 1080p resolution. Many modern webcams offer 720p, but 1080p or higher is ideal for professional use. Some models even support 4K video, though this requires more processing power.
3. Field of View
The field of view (FOV) determines how much of your surroundings are captured. A wide-angle lens (90–120 degrees) is great for group calls, while a narrower view (78 degrees) is better for solo use.
4. Auto-Focus and Low-Light Correction
Look for webcams with auto-focus to keep you sharp during movement, and low-light correction for better video in dim environments.
5. Mounting Options
Some webcams clip onto your laptop screen, while others come with tripods or adjustable stands. Choose one that fits your workspace setup.
Popular brands like Logitech, Microsoft, and Razer offer reliable webcams with excellent software integration. For example, the Logitech C920 is a top choice for 1080p video and works seamlessly with most laptops.
Step-by-Step Guide: How to Install a Webcam on Your Laptop
Installing a webcam on your laptop is straightforward. Follow these steps to get started:

Visual guide about How to Install Webcam on Laptop
Image source: cf.shopee.co.id
Step 1: Unbox and Inspect Your Webcam
Carefully remove your new webcam from the packaging. Check that all accessories are included, such as a USB cable, mounting clip, or tripod. Read the quick-start guide to understand any special setup steps.
Step 2: Connect the Webcam to Your Laptop
Plug the USB cable into an available port on your laptop. Most modern laptops have USB-A, USB-C, or Thunderbolt ports. If your webcam uses USB-C, ensure your laptop supports it. Wait a few seconds for the system to recognize the device.
Step 3: Install Drivers (If Required)
Most USB webcams are plug-and-play and don’t need separate driver installation. However, some models may require you to install software from a CD or download it from the manufacturer’s website. Check the manual or product page for instructions.
Step 4: Test the Webcam
Once connected, test your webcam to make sure it’s working. Open your laptop’s built-in camera app:
- Windows: Press Win + S, type “Camera,” and open the Camera app.
- Mac: Open “Photo Booth” or “QuickTime Player” and start a new movie recording.
You should see your video feed. If not, check the connection or try a different USB port.
Step 5: Adjust Settings for Best Quality
In the camera app or webcam software, you can adjust settings like brightness, contrast, and resolution. Some webcams come with companion software (like Logitech Camera Settings) that lets you fine-tune video quality.
Step 6: Position the Webcam
Place the webcam at eye level for the most natural look. If it’s on a clip, adjust the angle so your face fills the frame without distortion. Avoid placing it too close or too far.
Step 7: Use in Your Preferred Apps
Your webcam should now work in video conferencing apps like Zoom, Skype, Microsoft Teams, or Google Meet. Open the app, go to settings, and select your new webcam as the video source.
Troubleshooting Common Webcam Issues
Even with the best setup, you might run into problems. Here’s how to fix common webcam issues:
Problem: Webcam Not Detected
If your laptop doesn’t recognize the webcam, try these fixes:
- Unplug and reconnect the USB cable.
- Test the webcam on another computer to rule out hardware issues.
- Update your laptop’s operating system.
- Check Device Manager (Windows) or System Report (Mac) to see if the webcam is listed.
Problem: Blurry or Dark Video
Improve video quality by:
- Adjusting lighting in your room.
- Cleaning the webcam lens with a soft cloth.
- Updating webcam drivers or firmware.
- Using the webcam’s companion software to tweak exposure and focus.
Problem: Audio or Video Lag
This is often due to insufficient USB bandwidth. Try:
- Using a USB 3.0 port instead of USB 2.0.
- Closing unnecessary background apps.
- Reducing video resolution in your video call app.
Problem: Webcam Works in One App but Not Another
Some apps require permission to access the camera. Go to your laptop’s privacy settings and ensure the app has camera access.
Privacy Tips for Using Your Webcam
Webcam security is important. Here are some best practices:
- Use a physical cover — Many webcams come with sliding covers. If not, use tape or a privacy sticker.
- Disable the camera when not in use — On Windows, go to Settings > Privacy > Camera and turn off access for apps you don’t need.
- Be cautious with downloads — Only install webcam software from trusted sources to avoid malware.
Conclusion: You’re All Set!
Installing a webcam on your laptop doesn’t have to be complicated. With the right model and a few simple steps, you can enjoy high-quality video for work, school, or fun. Whether you’re replacing a broken built-in camera or upgrading to a better external model, this guide has covered everything you need to know.
Remember to choose a webcam that fits your needs, connect it properly, test it thoroughly, and keep it secure. And if you run into issues, the troubleshooting tips above should help you get back on track.
Now it’s your turn! Unbox that new webcam, follow the steps, and start making clearer, more confident video calls today. Your future self will thank you!



