


Recording a video with your webcam is simple once you know the right tools and settings. Whether you’re making a video call, creating content, or capturing memories, this guide walks you through every step—from choosing software to editing your final clip. You’ll also learn how to fix common issues and optimize your video quality.
Key Takeaways
- Choose the right software: Use built-in apps like Windows Camera or Mac QuickTime, or download free tools like OBS Studio or Zoom.
- Check your webcam settings: Ensure your webcam is enabled and set as the default input device in your operating system.
- Optimize lighting and sound: Good lighting and a quiet environment improve video quality significantly.
- Record in a supported format: Most webcams record in MP4 or AVI—make sure your software supports your chosen format.
- Edit and save your video: Trim unwanted parts and export in a high-quality format for best results.
- Troubleshoot common issues: If your webcam won’t work, check drivers, permissions, and physical connections.
- Practice before recording: Do a test run to adjust framing, audio, and settings.
How to Record a Video with Webcam: A Beginner’s Step-by-Step Guide
Have you ever wanted to record a quick video with your webcam but weren’t sure where to start? Maybe you’re preparing for a virtual class, creating a vlog, or just want to capture a special moment. Don’t worry—recording a video with your webcam is easier than you think. This guide will walk you through everything you need to know, from setting up your equipment to saving your final video. By the end, you’ll be recording high-quality webcam videos like a pro.
Whether you’re using a laptop, desktop, or external webcam, this guide covers all the essential steps. You’ll learn how to choose the right software, adjust settings for the best quality, and troubleshoot common problems. Let’s get started!
Step 1: Choose the Right Software
The first step in recording a video with your webcam is selecting the right software. Depending on your device and needs, you can use built-in tools or download free applications.

Visual guide about How to Record a Video with Webcam
Image source: i.ytimg.com
Built-in Options
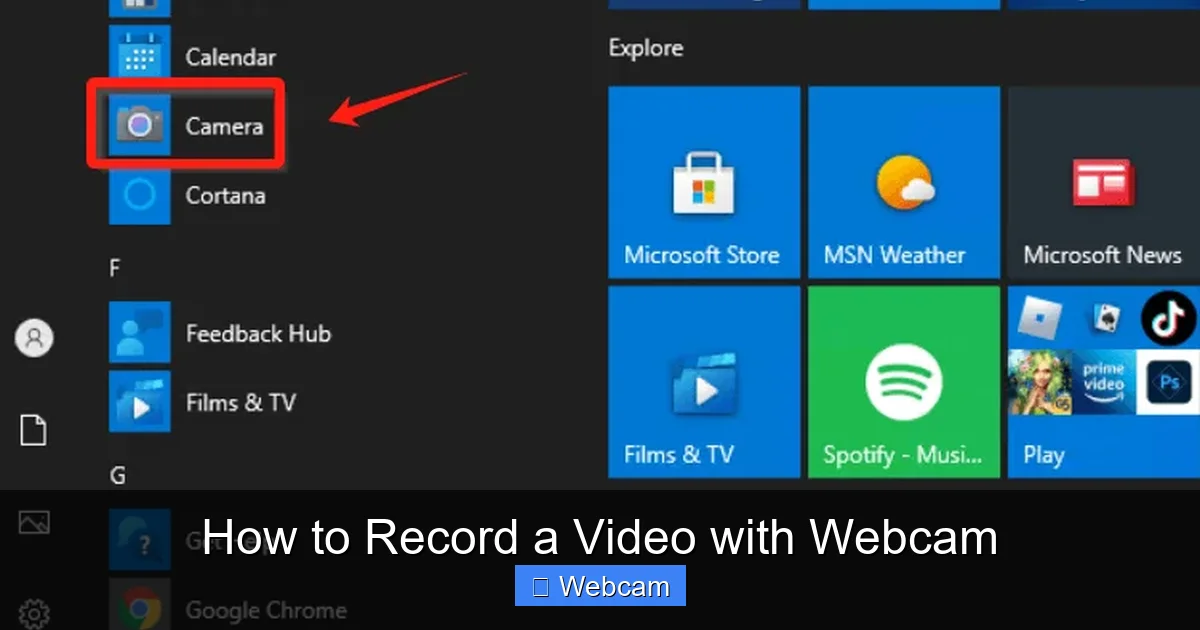
- Windows: Use the Camera app (pre-installed on most Windows 10/11 devices). Open the app, click the record button, and your video will save automatically.
- Mac: Use QuickTime Player. Open QuickTime, go to File > New Movie Recording, then click the dropdown next to the record button and select your webcam.
Free Third-Party Tools
- OBS Studio: A powerful, free software used by streamers and content creators. It offers advanced features like scene switching and audio mixing.
- Zoom: While primarily for video calls, Zoom lets you record your screen and webcam feed. Great for quick recordings with minimal setup.
- ManyCam: Adds fun filters and effects to your webcam video. Ideal if you want to make your content more engaging.
For beginners, the built-in Camera app or QuickTime Player is usually the easiest place to start. As you get more comfortable, you can explore OBS Studio for greater control.
Step 2: Set Up Your Webcam
Before you start recording, make sure your webcam is properly connected and recognized by your computer.
Visual guide about How to Record a Video with Webcam
Image source: fonedog.com
Check Physical Connections
If you’re using an external webcam, plug it into a USB port. Wait a few seconds for your computer to detect it. Built-in webcams (like those on laptops) usually work automatically.
Verify Webcam Detection
- On Windows: Press Windows + S, type “Camera,” and open the app. Your webcam feed should appear.
- On Mac: Open QuickTime Player, click File > New Movie Recording. You’ll see your webcam feed in the preview window.
Adjust Privacy Settings
Some operating systems block webcam access by default. Make sure it’s allowed:
- Windows: Go to Settings > Privacy & Security > Camera. Toggle on “Allow apps to access your camera.”
- Mac: Go to System Settings > Privacy & Security > Camera. Check the box next to your browser or app.
Once your webcam is detected and enabled, you’re ready to move on to recording.
Step 3: Prepare Your Recording Environment
Great video quality isn’t just about technology—it’s also about your surroundings. Follow these tips to improve your recording:
Visual guide about How to Record a Video with Webcam
Image source: fonedog.com
Lighting
Natural light is your best friend. Position yourself near a window, but avoid direct sunlight, which creates harsh shadows. If you’re indoors, use a desk lamp on your side to reduce dark areas.
Background
Keep your background clean and tidy. A cluttered room can distract viewers. Consider using a plain wall or a bookshelf as a backdrop.
Audio
Webcam microphones are often low quality. For clearer sound, use an external microphone. If you don’t have one, speak clearly and stand close to your built-in mic.
Clothing and Appearance
Dress appropriately for your audience. Avoid busy patterns or bright colors that may distract from your message.
Taking a few minutes to set up your space can make a big difference in how professional your video looks.
Step 4: Record Your Video
Now it’s time to hit record! Follow these steps to capture your video:
Using the Windows Camera App
- Open the Camera app from the Start menu.
- Allow camera access when prompted.
- Frame your shot and click the red record button.
- Press the button again to stop recording.
- Your video will save to the “Videos > Camera Roll” folder.
Using QuickTime Player on Mac
- Open QuickTime Player.
- Go to File > New Movie Recording.
- Click the dropdown arrow next to the record button and select your webcam.
- Click the red record button to start.
- Click it again to stop. Save the file via File > Save.
Using OBS Studio
- Download and install OBS Studio from obsproject.com.
- Open OBS and add a Video Capture Device under Sources.
- Select your webcam from the device dropdown.
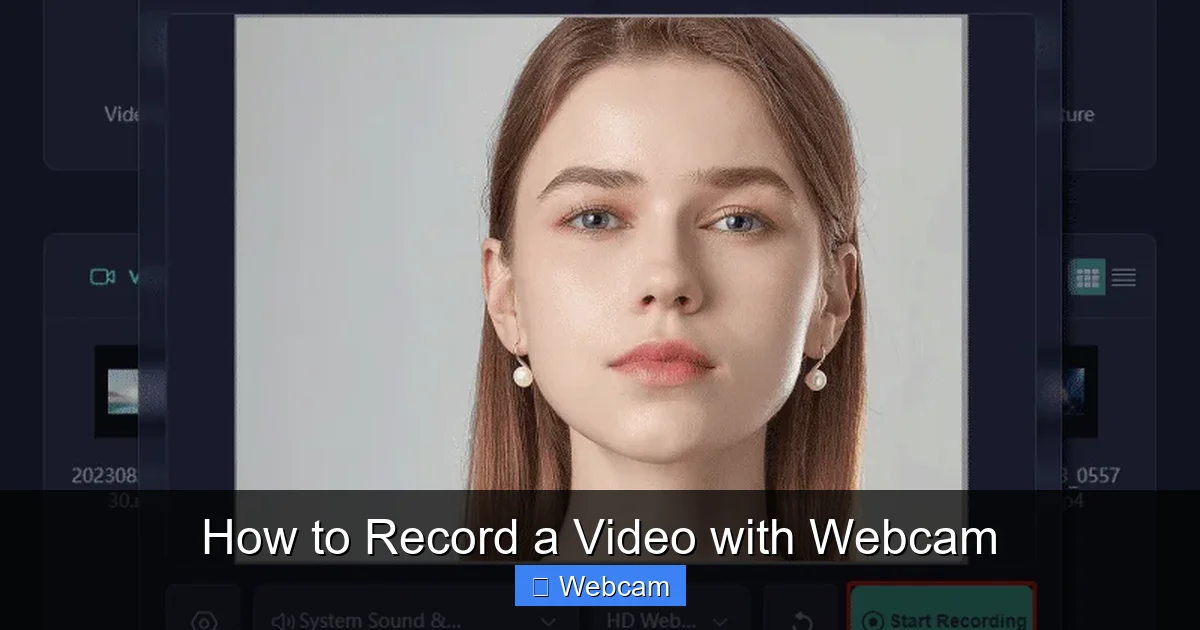
- Click Start Recording at the bottom of the screen.
- When done, click Stop Recording. Your video saves to the default output folder.
Pro tip: Do a short test recording before your main take. This helps you check framing, lighting, and audio.
Step 5: Edit and Save Your Video
After recording, you may want to trim or enhance your video. While basic software may not include editing tools, you can use free editors like:
- Windows Video Editor (built into Windows 10/11)
- iMovie (for Mac users)
- DaVinci Resolve (free professional-grade editor)
Basic Editing Steps
- Import your video into the editor.
- Trim the beginning and end to remove mistakes.
- Add text or music if needed (use royalty-free audio).
- Export in MP4 format for best compatibility.
Save your final video in a high-quality setting (1080p if your webcam supports it). This ensures it looks sharp on all devices.
Step 6: Troubleshooting Common Webcam Issues
Sometimes things don’t go as planned. Here’s how to fix common problems:
Webcam Not Working
- Check if another app is using the webcam (close all programs).
- Update your webcam drivers (search “update webcam driver” in your OS help).
- Try the webcam on another device to rule out hardware issues.
Blurry or Low-Quality Video
- Clean your webcam lens with a soft cloth.
- Increase lighting in the room.
- Close background apps that may be using system resources.
No Audio
- Check microphone permissions in your OS settings.
- Make sure the correct microphone is selected in your recording software.
- Test your mic in another app (like Voice Recorder) to confirm it works.
Video Freezes or Lags
- Lower the recording resolution in your software settings.
- Close unnecessary programs running in the background.
- Use a USB 3.0 port for external webcams.
If problems persist, restart your computer or try a different webcam if possible.
Conclusion
Recording a video with your webcam is a simple yet powerful way to share your thoughts, teach a lesson, or preserve memories. With the right software, good lighting, and a few basic settings, you can create professional-looking videos from the comfort of your home. Whether you’re using a built-in app like Windows Camera or a more advanced tool like OBS Studio, the key is to practice and prepare.
Remember to check your webcam settings, optimize your environment, and do a test run before recording. And if something goes wrong, refer to our troubleshooting tips. With this guide, you’re fully equipped to start recording high-quality webcam videos today.
Ready to get started? Grab your webcam, open your preferred software, and begin recording!



