


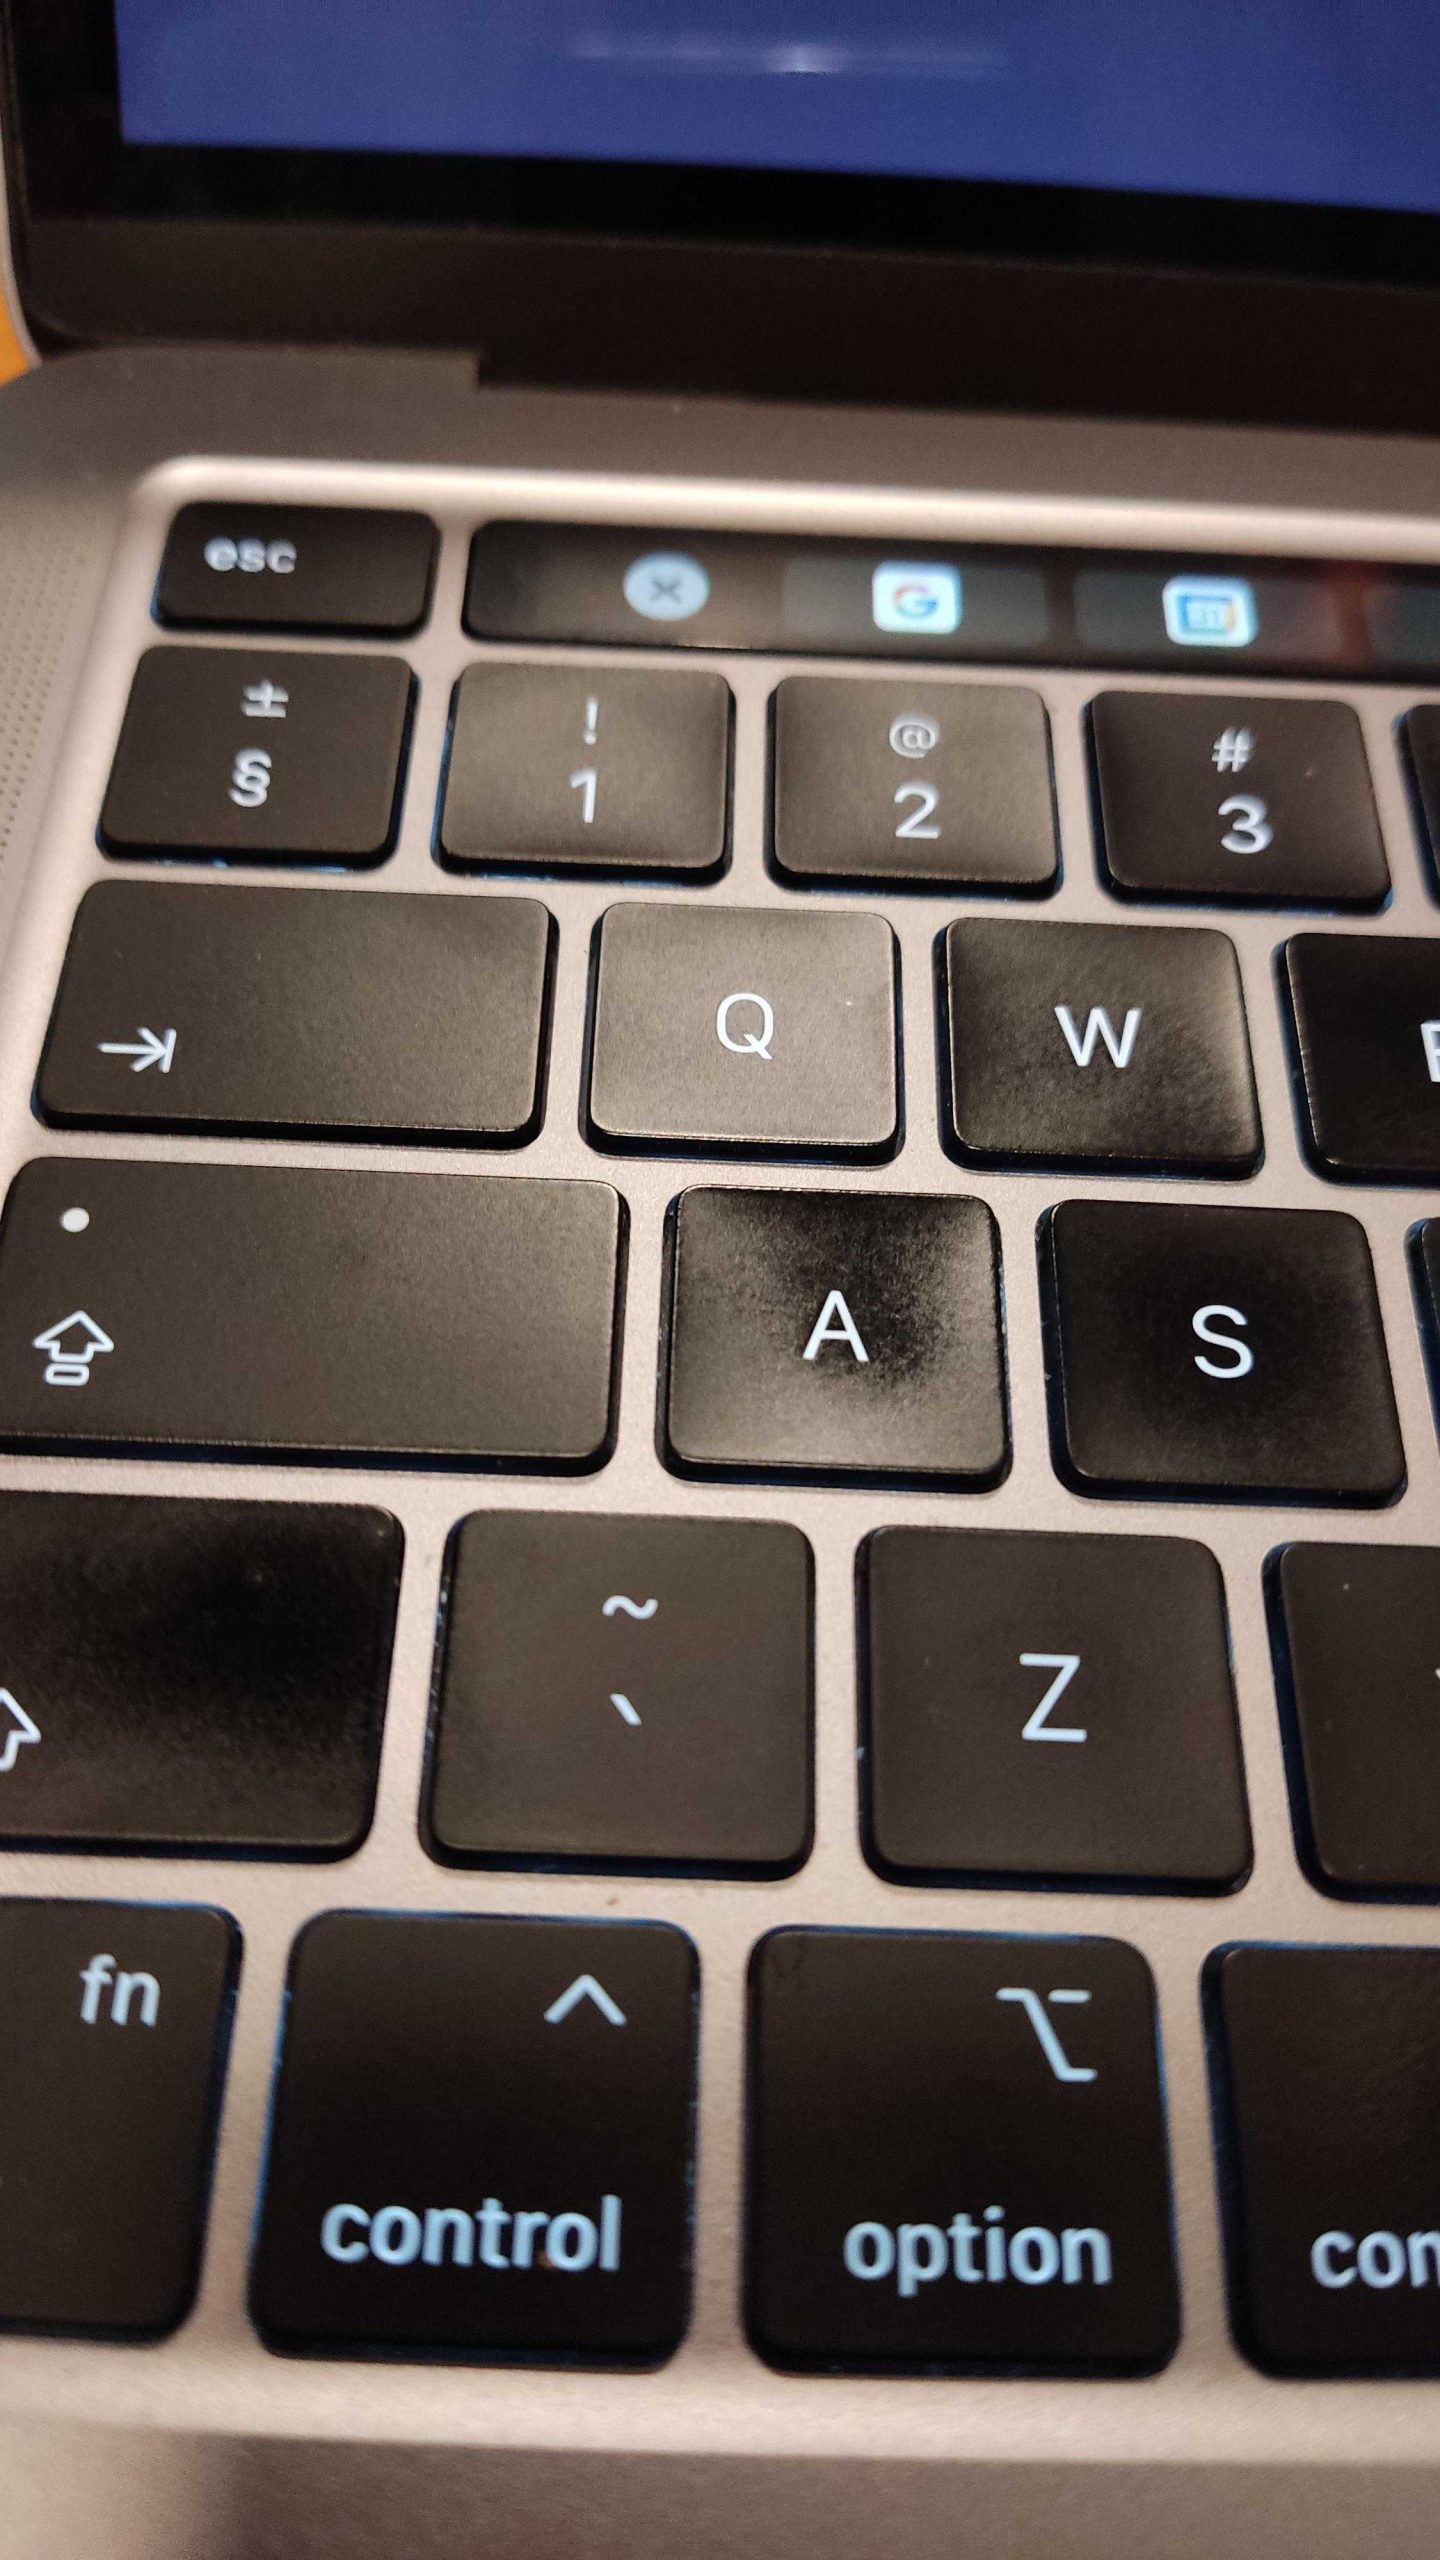
To clean your laptop keyboard safely, start by turning off your device and unplugging it. Use a soft brush or compressed air to remove dust and debris, then gently wipe the keys with a slightly damp microfiber cloth. Avoid harsh chemicals or excessive moisture, and never spray liquids directly onto your keyboard to prevent damage. For stubborn spots, a small amount of isopropyl alcohol on a cloth works well.
Keeping your laptop keyboard spotless doesn’t have to be complicated or risky. The key is to be gentle and avoid harsh cleaners that might harm the delicate components. Regular cleaning not only keeps your device looking fresh but also extends its lifespan and ensures smooth typing. In this article, you’ll discover simple, safe methods to remove dirt and grime without risking damage—so your keyboard stays pristine and functional for years to come.

How to clean laptop keyboard without damaging it
Understanding Your Laptop Keyboard
Before you start cleaning, it’s essential to understand your keyboard’s design and materials. Most keyboards have delicate electronic components and plastic keys that can be damaged by moisture or abrasive cleaners. Knowing the type of keyboard helps you choose the right cleaning method, ensuring safe and effective results.
Gathering Your Cleaning Supplies
Having the proper tools makes cleaning easier and safer. You will need soft microfiber cloths, compressed air cans, mild cleaning solutions, cotton swabs, and possibly a small brush with soft bristles. Avoid harsh chemicals like bleach or abrasive powders as they can cause permanent damage to your keys and electronics.
Preparing Your Laptop for Cleaning
Power off your laptop and disconnect it from any power source to avoid electrical issues. Turn the device upside down gently or tilt it at an angle to allow loose debris to fall out. This step minimizes dirt and dust inside your keyboard and makes cleaning safer.
Removing Surface Dust and Loose Dirt
Use a can of compressed air to blow away dust, crumbs, and dirt from between the keys. Hold the can upright and spray short bursts at an angle to avoid damaging the keys or pushing debris further inside. You can also gently shake the laptop or tap it lightly to dislodge stubborn debris.
Cleaning the Keys and Surface
Dampening a microfiber cloth with a mixture of water and a small amount of isopropyl alcohol ensures effective cleaning without excess moisture. Wring out any excess liquid before wiping the keys and surrounding surface. Gently wipe each key and the spaces between them, avoiding liquid buildup which could seep inside.
Deep Cleaning Between Keys
For tougher grime or stains, use a cotton swab lightly dipped in the cleaning solution. Carefully run the swab along the edges of each key, paying attention to corners and tight spaces. This targeted approach ensures a thorough clean without risking damage.
Cleaning Sticky or Dirty Keys
If some keys are sticky or particularly dirty, remove the affected keys carefully. Use a small, flat tool to gently pry up the key cap. Clean the key cap and the area underneath with a soft cloth or brush dipped in the cleaning solution. Reattach the keys securely afterward.
Handling Special Cases: Sticky or Spilled Liquids
If a spill occurs, act quickly by turning off your laptop immediately. Remove any removable keys and clean them separately. Use a dry cloth to absorb excess liquid and avoid using harsh chemicals, which could worsen damage. Seek professional help for significant spills to prevent further harm.
Preventive Tips for Maintaining a Clean Keyboard
Regularly cleaning your keyboard prevents dirt buildup and prolongs its lifespan. Keep food and drinks away from your workspace and consider using a keyboard cover to protect against dust and spills. Schedule routine cleaning every few weeks, especially if you share your device or work in dusty environments.
Additional Tips for Safe Cleaning
Always ensure your cleaning materials are non-abrasive and free from harsh chemicals. Never spray liquid directly onto the keyboard; instead, apply it to a cloth first. Be gentle around sensitive components and avoid excessive moisture, which can cause internal damage.
Common Mistakes to Avoid
Avoid using household cleaners like window sprays or disinfectants not designed for electronics. Do not use metal tools or abrasive brushes that can scratch or damage the keys. Never pour liquid directly onto the keyboard, as it can seep into internal parts and cause short circuits.
Maintaining Your Keyboard’s Longevity
Proper maintenance extends your keyboard’s life and keeps it looking new. Regularly dust and wipe it down, and clean spills immediately. Keep your workspace tidy, and consider using external keyboards for heavy typing to reduce wear on your laptop keyboard.
When to Seek Professional Help
If your keyboard is heavily stained, sticky, or has suffered water damage beyond simple cleaning, consult a professional technician. They have specialized tools and techniques to repair or replace damaged parts without risking further harm.
Cleaning your laptop keyboard without damaging it involves patience, the right tools, and careful techniques. By following these detailed steps, you can maintain a clean, functioning keyboard that lasts longer and looks good. Regular cleaning and mindful handling are key to keeping your device in top condition.
Quick & Easy Laptop Keyboard Cleaning Hack! #shorts #cleaning #laptop #notebook #pc #itshorts
Frequently Asked Questions
What cleaning tools are safe to use on a laptop keyboard?
Use soft, lint-free microfiber cloths to wipe down the keys gently. For cleaning between keys, a soft-bristled brush or a compressed air canister works well to remove dust and debris without applying pressure that could damage the keyboard. Avoid using abrasive materials or harsh chemicals that can erode the key surfaces or dislodge components.
How can I prevent liquid damage when cleaning my laptop keyboard?
Ensure your device is powered off and unplugged before cleaning. Dampen the cloth slightly with a mixture of water and a small amount of isopropyl alcohol or a specialized electronics cleaner—never pour liquids directly onto the keyboard. Avoid excessive moisture, and never spray cleaning solutions directly onto the keys, which can seep inside and cause damage.
What steps should I follow to thoroughly but safely clean my keyboard’s surface?
Start by turning off your laptop and disconnecting it from power. Use a dry microfiber cloth to remove surface dust and oils. Lightly dampen a cloth with a cleaning solution suited for electronics, then gently wipe all key surfaces. For stubborn spots, use a cotton swab dipped in the cleaning solution to clean around the keys. Finish by wiping with a dry cloth to remove any remaining moisture.
How often should I clean my laptop keyboard for optimal maintenance?
Regularly clean your keyboard at least once a month to prevent buildup of dust, oils, and debris. If you work in a dusty environment or eat near your device, consider cleaning more frequently. Consistent cleaning helps maintain keyboard responsiveness and prevents long-term damage caused by particles or grime.
Can I use cleaning wipes on my laptop keyboard?
Yes, you can use alcohol-based disinfectant wipes that are safe for electronics. Make sure the wipe is moist but not dripping, and avoid excessive rubbing. Gently wipe over the keys and surrounding areas to disinfect and remove dirt. Always check the manufacturer’s guidelines to ensure wipes won’t harm your device.
Final Thoughts
To clean your laptop keyboard without damaging it, start by turning off your device and unplugging it. Use a soft, damp cloth or a microfiber cloth to gently wipe the surface, avoiding excess moisture. For stubborn dirt, lightly dampen a cotton swab with isopropyl alcohol and carefully clean between keys.
Avoid spraying liquids directly on the keyboard, and never use harsh chemicals. Regular gentle cleaning keeps your keyboard in good shape and prevents buildup. How to clean laptop keyboard without damaging it? Follow these simple steps to maintain your device’s performance and longevity.



