
Building your own gaming desk is a rewarding project that delivers a perfect fit for your space and gear. This guide walks you through the entire process, from initial planning and material selection to final assembly and cable management. You’ll save money and gain a durable, personalized command center tailored exactly to your gaming needs.
Key Takeaways
- Planning is Paramount: Accurate measurements and a clear design plan prevent costly mistakes and ensure the desk fits your space and ergonomics.
- Material Choice Defines Durability: Butcher block or quality plywood offers a sturdy, long-lasting surface superior to many pre-made desks.
- Stability is Non-Negotiable: Proper leg bracing (like apron frames or cross-supports) is crucial to prevent wobble during intense gaming sessions.
- Finish for Function & Style: Applying a protective sealant or paint not only makes your desk look pro but also guards against spills and wear.
- Cable Management is a Game-Changer: Integrating solutions like grommets, channels, and Velcro straps during build creates a clean, distraction-free environment.
- You Don’t Need a Full Workshop: With a few key tools and careful work, you can successfully build a gaming desk in a garage or even a spare room.
Quick Answers to Common Questions
Want easy under-desk storage?
Mount a simple, shallow keyboard tray underneath to hold controllers, notebooks, or peripherals you don’t use daily.
Planning for a monitor arm?
Reinforce that spot! Before attaching the desktop, glue and screw a solid wood block underneath where the clamp will go to prevent crushing.
What’s the ideal desk height?
While building, aim for a height where your elbows are at a 90-degree angle when typing. You can fine-tune this with an adjustable chair or footrest.
How to hide wires going to the floor?
Use a “dangling dock” or a single, large braided sleeve to bundle the vertical drop from your desk to your power outlet.
Want a cool, custom look on a budget?
Use iron-on edge banding on plywood edges. It comes in various wood finishes and gives a clean, “solid wood” appearance for just a few dollars.
How to Build a Gaming Computer Desk: Your DIY Battle Station Guide
Are you tired of generic desks that don’t fit your monitors, PC case, or gaming style? Building your own gaming computer desk is the ultimate solution. You gain full control over the size, height, storage, and look. It can be more affordable than high-end retail options and far more rewarding. This guide will show you exactly how to build a gaming computer desk that’s sturdy, stylish, and tailored to you. Let’s get building!
Step 1: Plan Your Perfect Desk
Don’t skip this step! Good planning saves time, money, and frustration.
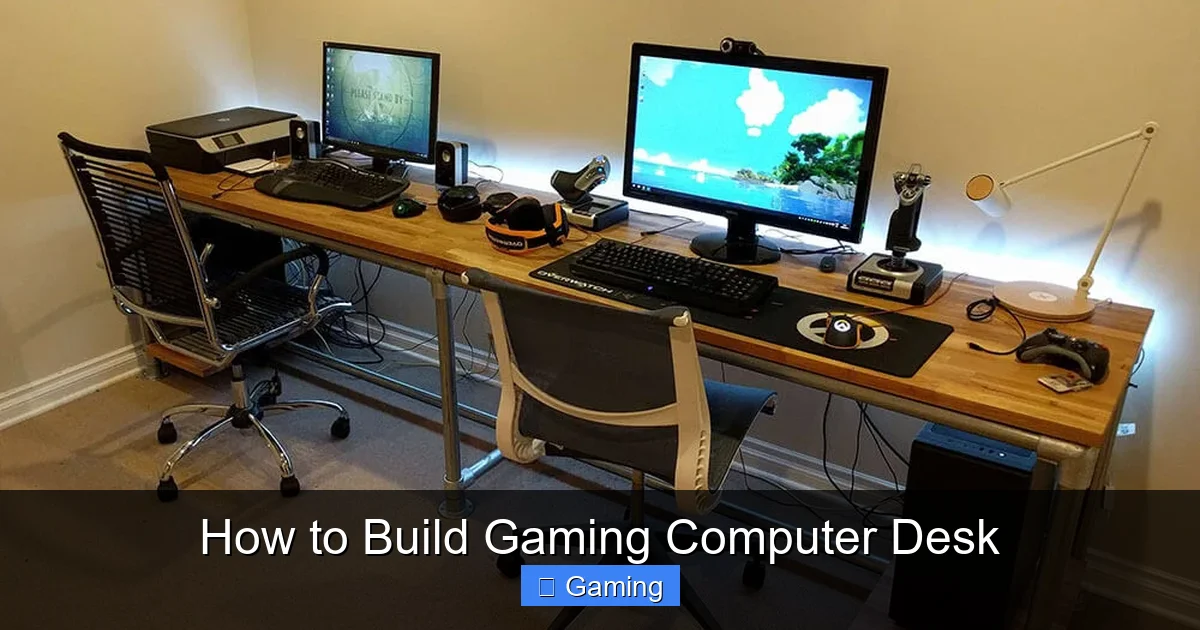
Visual guide about How to Build Gaming Computer Desk
Image source: simplifiedbuilding.co.uk
Measure Your Space
Use a tape measure to find the maximum length and depth your room allows. Remember to account for chair space and door clearance. A common gaming desk size is 60″ long, 30″ deep, and 29-30″ high, but customize it to your needs.
Design the Layout
Sketch your design. Decide where your PC tower will go (on top, on a shelf, or on the floor). Plan for monitor stands, speaker placement, and cable routing holes (grommets). Think about an L-shape if you have the room.
Choose Your Materials
The desktop is key. Butcher block from a hardware store is heavy and gorgeous. Sanded plywood (3/4″ thick) is a cost-effective and strong option. For legs and frame, you can use:
- Solid wood (like 2x4s or 4x4s) for a robust, rustic look.
- Prefabricated hairpin or adjustable steel legs for a modern feel.
- More plywood or lumber to build an enclosed frame or “apron” for maximum stability.
Step 2: Gather Tools and Materials
Essential Tools
- Circular Saw or Table Saw (for straight cuts)
- Power Drill/Driver
- Kreg Jig (for strong, hidden pocket-hole joints – highly recommended!)
- Sander (orbital is best) and Sandpaper (120-grit and 220-grit)
- Tape Measure, Pencil, and Square
- Clamps (these are your extra hands)
- Safety Gear (goggles, ear protection, dust mask)
Sample Materials List (for a simple 60″x30″ desk)
- Desktop: 1x 60″x30″ Butcher Block or 3/4″ Plywood Sheet
- Legs/Frame: 4x Pre-made 28″ Steel Legs OR lumber for a DIY frame (e.g., four 4×4 legs and 2x4s for aprons)
- Hardware: Wood Screws (2.5″ and 1.25″), Pocket-Hole Screws, Wood Glue
- Finishing: Wood Stain, Polyurethane, or Paint (optional but recommended)
- Cable Management: 1-2 Desk Grommets, Cable Raceway, Velcro Straps
Step 3: Cut and Prepare the Desktop
If using a full sheet of plywood, mark your planned dimensions carefully. Use a straight edge as a guide for your circular saw to ensure clean, straight cuts. Sand the entire desktop thoroughly, starting with 120-grit paper to remove rough spots and moving to 220-grit for a smooth, touch-ready surface. Wipe away all dust with a damp cloth.
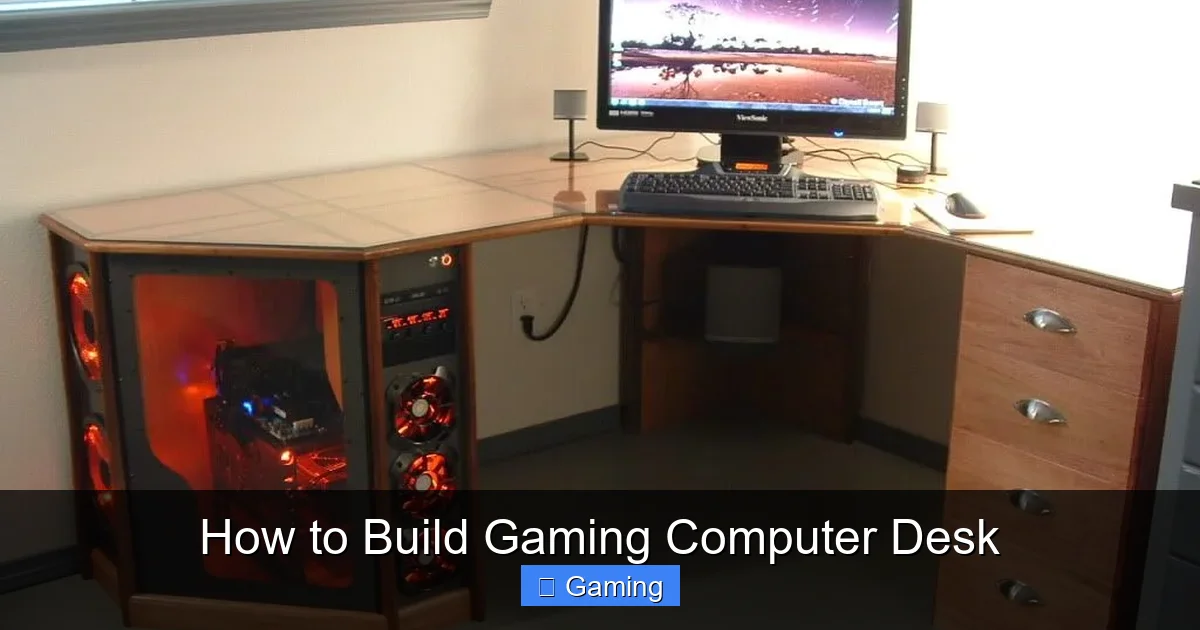
Visual guide about How to Build Gaming Computer Desk
Image source: i.pinimg.com
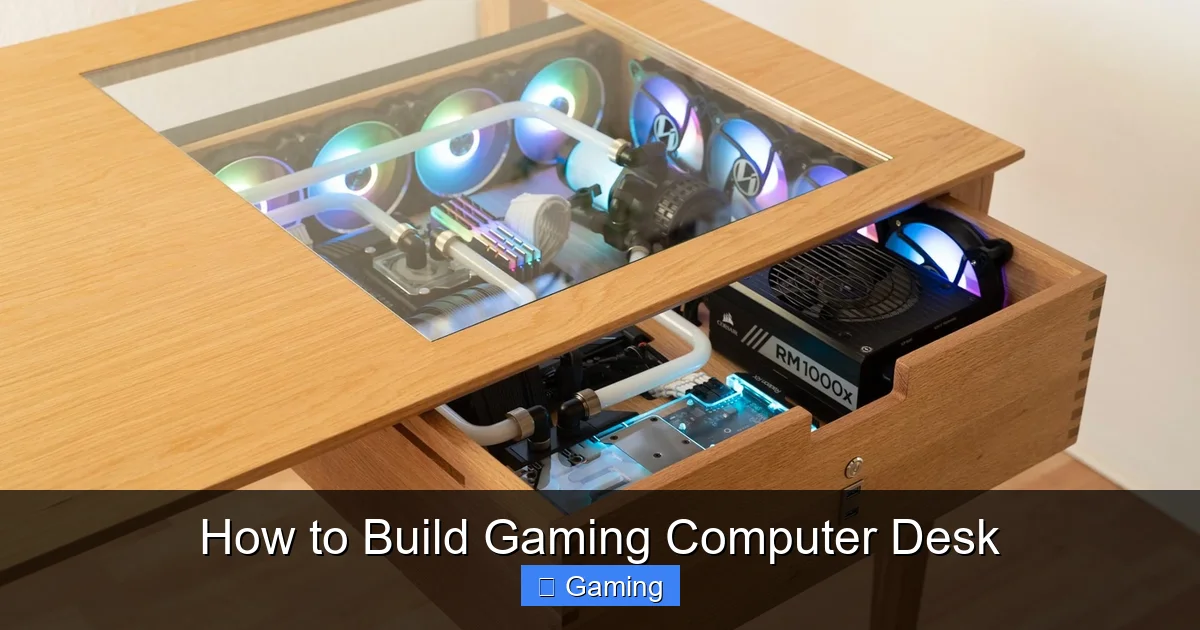
Visual guide about How to Build Gaming Computer Desk
Image source: voltcave.com
Pro Tip
If you want a rounded front edge for comfort, use your sander to gently round over the front lip of the desktop. It makes a big difference during long gaming sessions.
Step 4: Build and Attach the Base
This step decides your desk’s stability.
Option A: Using Pre-Made Legs
This is the easiest method. Turn the desktop upside down on a soft surface (like carpet or blankets). Position the legs at each corner, typically 1-2 inches in from the edge. Mark the screw holes, pre-drill pilot holes to prevent wood splitting, and screw the legs firmly into place using the provided hardware.
Option B: Building a Wooden Apron Frame
For no-wobble stability, build a frame that connects the legs under the desk. Cut two long “apron” pieces for the front and back, and two shorter ones for the sides. Use your Kreg Jig to create pocket holes on the inside ends of the shorter aprons. Apply wood glue to the joints, clamp the frame together, and drive pocket-hole screws to create a super-strong rectangle. Attach legs to the inside corners of this frame, then attach the entire assembly to the underside of the desktop with screws.
Step 5: Apply Your Finish
Do this before final assembly if possible! A finish protects your desk from drink spills, scratches, and wear. In a well-ventilated area, apply your chosen stain with a rag or brush, wiping off excess. Let it dry completely. Then, apply 2-3 coats of a protective clear polyurethane, sanding lightly with 220-grit paper between coats for a silky feel. If painting, use a primer first, then several thin coats of durable enamel paint.
Step 6: Final Assembly and Cable Management
Once the finish is dry, flip the desk right-side-up onto its legs. This is the moment it becomes real! Now, implement your cable plan.
- Install Grommets: Drill a 2-3 inch hole where you want your keyboard/mouse cables (or a monitor arm) to route through. Snap in a plastic or metal grommet for a clean look.
- Add Undesk Management: Stick adhesive cable raceways or baskets to the underside of the desktop. Route all your power strips and excess cable into these.
- Use Velcro Straps: Bundle cables together every few inches with reusable Velcro straps. Never use zip ties—they’re a pain to adjust.
Step 7: Troubleshooting Common Issues
Problem: The desk wobbles.
Solution: Ensure the floor is level first. Tighten all leg screws. If it persists, add a diagonal cross-brace between the back legs or a center support leg at the back of the desk. An apron frame virtually eliminates this issue.
Problem: The desktop material sags in the middle.
Solution: For spans over 4-5 feet, you must include support. Add a center support leg or a solid apron frame. Using thicker material (1.5″ butcher block) also prevents sag.
Problem: Finished surface feels sticky or rough.
Solution: You likely didn’t sand between polyurethane coats. Lightly sand the entire surface with 320-grit sandpaper and apply one final thin coat.
Conclusion: Game On Your Own Terms
Learning how to build a gaming computer desk is a fantastic project that pays off every time you sit down to play. You’ve created a centerpiece that fits your gear, your body, and your style perfectly. It’s strong, it’s yours, and it was built by you. Take pride in your new battle station, keep those cables tidy, and enjoy the unparalleled satisfaction of gaming on a desk you built with your own hands. Now, power up and dominate!
I’m passionate about hardware, especially laptops, monitors, and home office gear. I share reviews and practical advice to help readers choose the right devices and get the best performance.