
This guide walks you through building your own custom gaming PC desk from the ground up. You’ll learn how to plan your design, choose the right materials, assemble a sturdy frame, and integrate smart cable management and lighting. Building your own desk is a rewarding project that results in a perfect, personalized command center for your gaming rig.
Key Takeaways
- Plan Meticulously: Measure your space and gear, and create a detailed plan or sketch before buying any materials.
- Ergonomics are Key: Design your desk height and monitor placement for comfort during long gaming sessions to prevent strain.
- Choose the Right Materials: Plywood and butcher block are great for tops; sturdy 2x4s or steel pipes are ideal for strong, custom legs.
- Cable Management is a Feature: Integrate channels, grommets, and zip ties during build to maintain a clean, professional look.
- Test Fit Before Final Assembly: Dry-fit all parts and place your PC and monitors to ensure everything fits perfectly before securing it permanently.
- Future-Proof Your Design: Leave room for extra monitors, new peripherals, or cable runs for potential future upgrades to your gaming setup.
Quick Answers to Common Questions
What’s the best wood for a desktop?
3/4-inch sanded plywood is affordable and strong. Butcher block looks premium and is very durable. Avoid particleboard if you can, as it doesn’t hold screws well over time.
How do I make my desk absolutely rigid?
Use a sturdy wood like 2x4s for the frame, ensure all joints are glued and screwed, and add a center support beam. Triangulation with corner braces eliminates wobble.
Should I add RGB lighting?
Absolutely! LED strips mounted underneath the desk or behind the monitor create amazing ambiance. Use USB-powered strips for easy plug-and-play integration.
How can I adjust the desk height later?
Consider using adjustable furniture legs or, for a bigger project, look into electronic sit-stand desk frame kits you can build your custom top onto.
What’s the #1 rookie mistake?
Not checking for “square.” An un-square frame leads to a wobbly, frustrating desk. Always measure diagonals and adjust before the glue dries.
How to Build Gaming PC Desk: Your Ultimate DIY Guide
Is your gaming setup let down by a wobbly, small, or generic desk? Building your own gaming PC desk is the ultimate solution. It lets you create a command center that fits your space, your gear, and your style perfectly. This guide will walk you through the entire process. You will learn how to design, build, and finish a sturdy, functional, and awesome-looking desk. No need to be a master carpenter. With some basic tools and patience, you can build a gaming PC desk you’ll be proud of.
Step 1: Planning and Design
This is the most important step. Rushing leads to mistakes. Start by asking yourself some key questions.
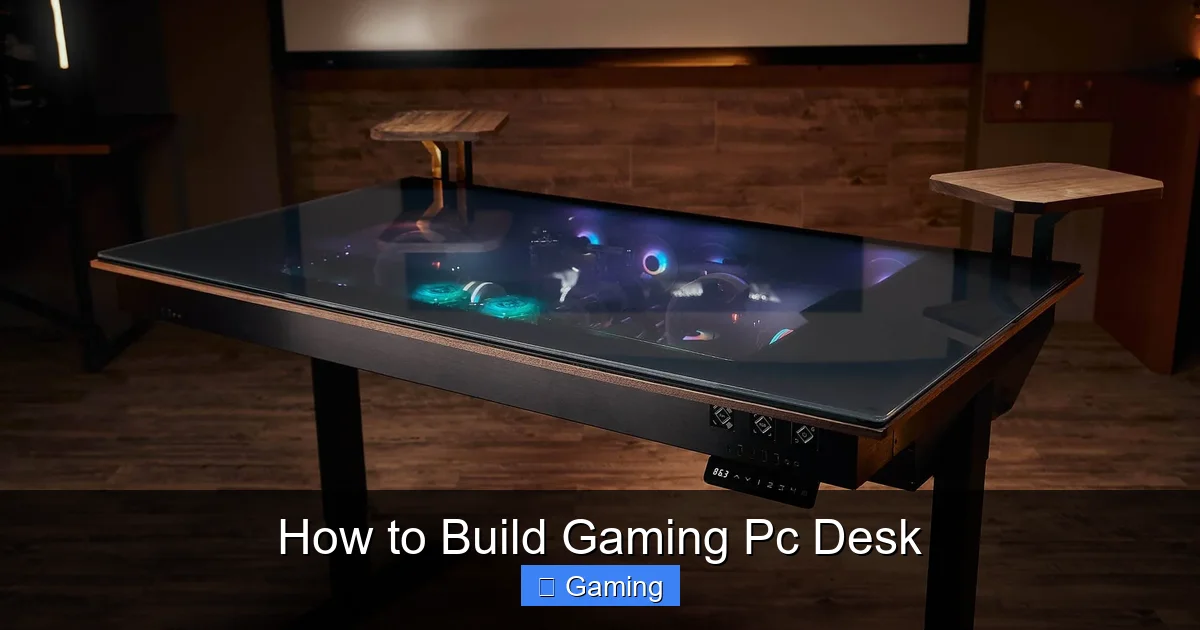
Visual guide about How to Build Gaming Pc Desk
Image source: voltcave.com
What Are Your Needs?
How many monitors do you have? Do you want space for a PC tower on the desk? What about speakers, a streaming mic, or racing wheel? List all your gear.
Measure Your Space
Use a tape measure. Note the length and depth your room can handle. Leave walking space behind your chair. A standard desk height is 29-30 inches, but adjust for your comfort.
Sketch Your Design
Draw it on paper or use free software like SketchUp. Decide on the shape: straight, L-shaped, or U-shaped. Plan where the PC, monitors, and cable holes will go. This sketch is your blueprint.
Step 2: Gathering Tools and Materials
Once you have a plan, it’s time to shop. Here’s a general list to get you started.
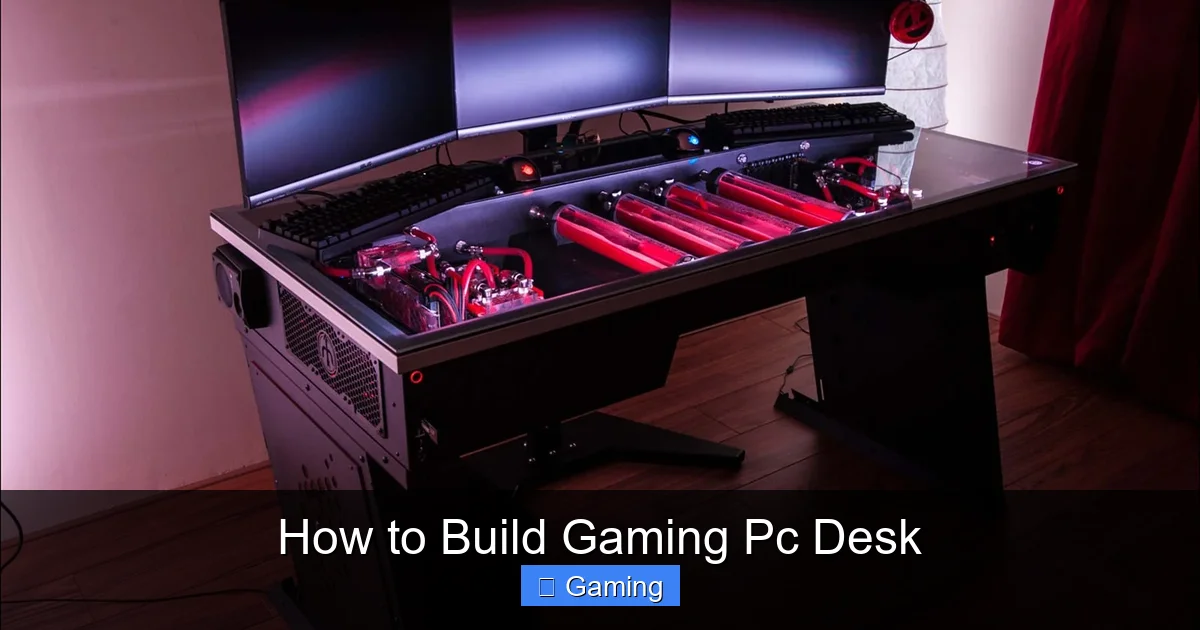
Visual guide about How to Build Gaming Pc Desk
Image source: voltcave.com
Essential Tools
- Circular Saw or Table Saw (for cutting wood)
- Power Drill with drill bits and screwdriver bits
- Kreg Jig (for strong, hidden pocket-hole joints)
- Sander (orbital or sanding blocks) & Safety Gear (glasses, mask)
- Tape Measure, Speed Square, and Level
- Clamps (to hold pieces while you work)
Recommended Materials
- Desktop Surface: Sanded plywood (3/4″), butcher block countertop, or a solid core door. These are strong and stable.
- Legs & Frame: 2×4 lumber for a wood frame, pre-made hairpin legs, or black steel pipes for an industrial look.
- Fasteners: Wood screws (2.5″ and 1.25″), pocket-hole screws if using a Kreg Jig, wood glue.
- Finishing Supplies: Wood stain, polyurethane, or paint. Primer if painting.
- Cable Management: Plastic cable raceways, desk grommets, velcro zip ties, and a power strip.
Step 3: Building the Desk Frame
The frame is the skeleton. It must be square and strong.
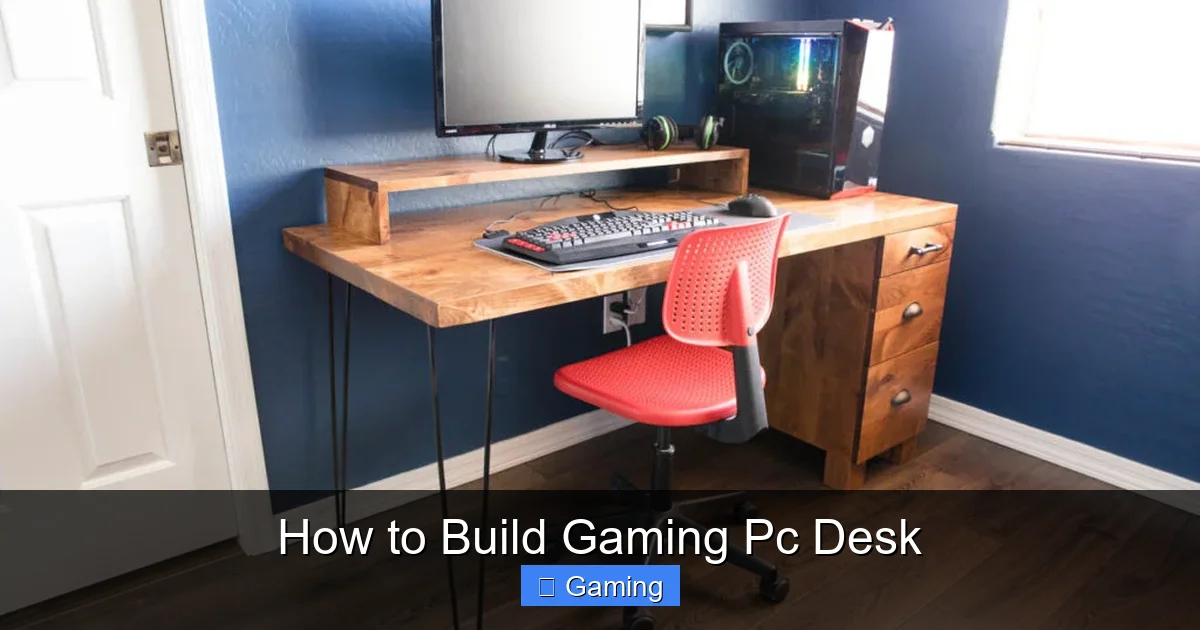
Visual guide about How to Build Gaming Pc Desk
Image source: addicted2diy.com
Cut the Frame Pieces
Based on your sketch, cut your 2x4s for the front, back, and side aprons. Also, cut supports that will run front-to-back under the desk top for extra strength.
Assemble the Rectangular Frame
Lay the front and back aprons parallel. Place the side aprons between them to form a rectangle. Use your Kreg Jig to drill pocket holes on the inside ends of the side aprons. Apply wood glue to the joints, clamp, and screw them together. Check for square by measuring diagonal distances—they should be equal.
Add Internal Supports
Space your front-to-back support boards evenly inside the frame. Attach them with pocket holes or screws driven down from the top (these will be covered by the desktop later). This prevents the desktop from sagging over time.
Step 4: Preparing and Attaching the Desktop
Cut and Sand the Top
Place your desktop material on sawhorses. Mark your desired length and width using your speed square for straight lines. Cut carefully with your saw. Then, sand the entire surface. Start with a coarse grit (80-100) to remove imperfections, then move to a finer grit (150-220) for a smooth feel. Wipe away all dust.
Finish the Wood
Apply your chosen stain or paint in a well-ventilated area. Follow the product instructions. For protection, apply 2-3 coats of polyurethane, sanding lightly between coats. Let it dry completely.
Attach the Top to the Frame
Place the finished top upside down on a soft surface. Center the frame on it. From underneath, drive screws up through the frame into the desktop. Don’t screw too close to the edges. This method hides all screws from view.
Step 5: Integrating Cable Management
A clean desk is a pro desk. Plan this while building.
Install Grommets and Raceways
Drill a large hole (e.g., 3-inch) where your monitor cables will drop. Install a plastic grommet for a clean edge. Mount adhesive cable raceways underneath the desk back edge to route wires.
Manage Power
Mount a power strip with a long cord underneath the desk, near a cable raceway. Plug your PC, monitors, and accessories into it. Now only one power cord needs to run to your wall outlet. Use velcro ties every few inches to bundle cables neatly.
Step 6: Final Assembly and Troubleshooting
You’re almost there! Flip the desk right-side-up carefully, preferably with a helper.
Test Fit Your Gear
Place your PC, monitors, and keyboard on the desk. Ensure it feels right and everything fits. Check for wobble by pressing on the corners.
Common Troubleshooting
Desk Wobbles: Ensure the floor is level. Tighten all screws. Diagonal bracing in the frame can fix this. Sagging Middle: Add more front-to-back support boards underneath. Scratches During Build: Keep your workspace clean and use protective sheets. Minor scratches can be touched up with finish.
Conclusion: Game On Your Own Terms
Building your own gaming PC desk is an incredible project. You get a rock-solid, custom-sized desk that no store can match. You controlled the height, the finish, and every cable path. The process teaches valuable skills and the result is a centerpiece for your hobby. Take your time, follow the steps, and don’t be afraid to customize. Now, power up your rig and enjoy gaming on a desk you built with your own hands.
I’m passionate about hardware, especially laptops, monitors, and home office gear. I share reviews and practical advice to help readers choose the right devices and get the best performance.