


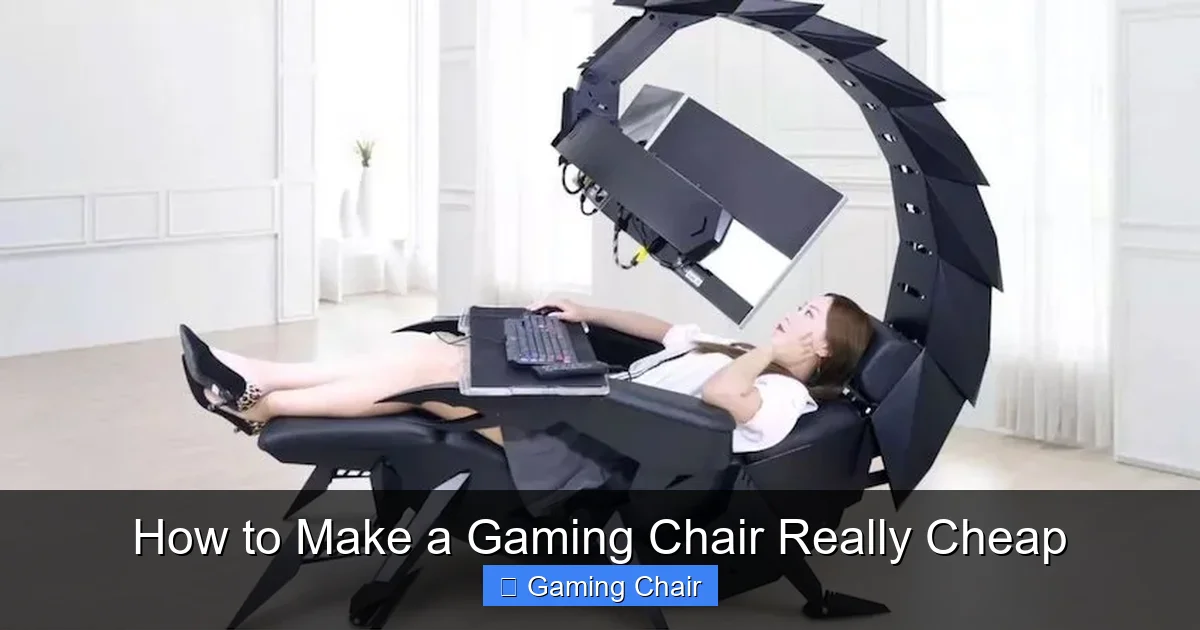
Dreaming of a gaming chair but not the hefty price tag? This guide shows you how to make a gaming chair really cheap by repurposing existing furniture and using budget-friendly materials. You’ll learn to create a comfortable, ergonomic, and personalized setup, proving that premium gaming comfort doesn’t require a premium price.
Are you a passionate gamer who spends hours lost in virtual worlds? If so, you know the value of a good gaming chair. It’s not just about looking cool; it’s about comfort, support, and protecting your back during those epic marathons. But let’s be honest, those sleek, ergonomic gaming chairs come with price tags that can make your wallet weep. A top-tier chair can cost hundreds, even thousands, of dollars.
For many of us, that kind of investment just isn’t feasible. Does that mean we’re stuck with uncomfortable kitchen chairs or worn-out office furniture? Absolutely not! What if I told you there’s a way to get that coveted gaming chair experience without emptying your savings? You can, in fact, learn how to make a gaming chair really cheap, and even make it truly your own.
This isn’t about slapping some LED strips onto a basic stool. This guide is about building a genuinely functional, comfortable, and personalized gaming chair on a shoestring budget. We’ll explore clever hacks, smart material choices, and practical DIY steps to transform humble beginnings into a gaming throne. Get ready to unleash your inner DIY enthusiast and create the ultimate affordable gaming setup!
Key Takeaways
- Repurpose is Key: The most effective way to make a gaming chair really cheap is by starting with an existing, sturdy chair frame that you can modify, such as an old office chair, dining chair, or even a car seat.
- Prioritize Ergonomics: Even on a budget, focus on adding essential ergonomic features like lumbar support, neck support, and adjustable armrests using readily available and inexpensive materials for long-term comfort.
- Smart Material Choices: Opt for affordable cushioning materials like foam scraps, old pillows, or even layered blankets, and choose durable yet inexpensive upholstery fabrics like faux leather, thick cotton, or even repurposed clothing.
- Essential Toolset: You don’t need fancy tools. Basic hand tools like screwdrivers, wrenches, a utility knife, staple gun, and possibly a drill will be sufficient for most DIY gaming chair projects.
- Personalize on a Budget: Customization doesn’t have to be expensive. Use paint, fabric dyes, LED strips, or even simple fabric patches to give your cheap gaming chair a unique look that reflects your style.
- Safety and Durability First: Always ensure your modifications are secure and stable. Reinforce connections, use strong adhesives and fasteners, and test the chair’s stability thoroughly before heavy use to prevent accidents and ensure longevity.
- Embrace Resourcefulness: Look for free or very low-cost materials around your home, from local marketplaces, or even discarded items. Creative reuse is central to making a gaming chair really cheap.
Quick Answers to Common Questions
Can I really make a comfortable gaming chair for under $50?
Yes, absolutely! By utilizing repurposed furniture (like an old office chair or car seat) and inexpensive materials such as foam scraps, old fabric, and basic tools, it’s very feasible to build a comfortable and functional gaming chair for under $50. The key is smart sourcing and creative reuse.
What’s the best type of old chair to start with?
An old office chair or a car seat often makes the best starting point. Office chairs provide a ready-made rolling base and adjustable height, while car seats offer excellent built-in comfort and sturdy frames. Both can be stripped down and customized significantly.
How do I add ergonomic features like lumbar support cheaply?
For cheap lumbar support, you can cut and layer high-density foam scraps into a kidney shape, then cover it with fabric and attach it with straps or integrate it into your upholstery. A rolled-up towel or a small, firm pillow can also be effective budget options.
Do I need specialized tools for this project?
No, you generally don’t need specialized tools. A basic set of household tools like screwdrivers, wrenches, a utility knife, a staple gun, and possibly a drill will suffice for most DIY gaming chair projects. The focus is on simple modifications.
How can I make my cheap gaming chair look professional?
To make your cheap gaming chair look professional, focus on neat upholstery work (pulling fabric taut and stapling evenly), clean paint finishes on non-upholstered parts, and careful integration of any accessories like LED strips. Attention to detail makes a big difference in the final aesthetic.
📑 Table of Contents
Why Make a Gaming Chair Really Cheap?
The primary reason to tackle a DIY gaming chair project is, unsurprisingly, cost. The price difference between a store-bought gaming chair and a homemade one can be staggering. Beyond the financial savings, there are several other compelling benefits to consider when you decide to make a gaming chair really cheap.
Save a Fortune
This is the big one. Premium gaming chairs from brands like Secretlab, Herman Miller, or even mid-range options from AndaSeat or Razer can easily run you $300 to $1000+. By building your own, you can often keep the total cost under $50, sometimes even less if you’re good at repurposing materials you already own or find for free. Think about what you could do with those savings – more games, better peripherals, or maybe even a new graphics card! When you make a gaming chair really cheap, you’re investing in your gaming setup, not just a chair.
Unleash Your Creativity and Personalization
When you buy a chair, you’re limited to factory designs and color schemes. When you build one, the sky’s the limit! You can choose your fabrics, add unique features, integrate custom lighting, and tailor it exactly to your aesthetic. Want a chair that matches your favorite game’s theme? Or perhaps something with a cyberpunk vibe? This is your chance to make it happen. It’s a fantastic opportunity to express your personal style and create something truly unique. You can customize your cheap gaming chair in ways no store-bought option allows.
Tailored Ergonomics for Your Body
Every gamer’s body is different. What’s comfortable for one person might be agony for another. When you build your own chair, you can specifically design and adapt it to your unique body shape and preferred posture. You can place lumbar support exactly where you need it, adjust the headrest height perfectly, and customize armrest angles. This level of personalized ergonomics is rarely found even in high-end chairs. You can truly optimize your cheap gaming chair for your specific comfort needs.
The Satisfaction of Building It Yourself
There’s a special kind of pride that comes from creating something with your own hands. Every time you sit down in your custom-built gaming chair, you’ll feel a sense of accomplishment. It’s a conversation starter, a testament to your resourcefulness, and a constant reminder that you don’t need to break the bank to achieve your gaming dreams. Knowing you figured out how to make a gaming chair really cheap will give you immense satisfaction.
Core Components: What You’ll Need to Start
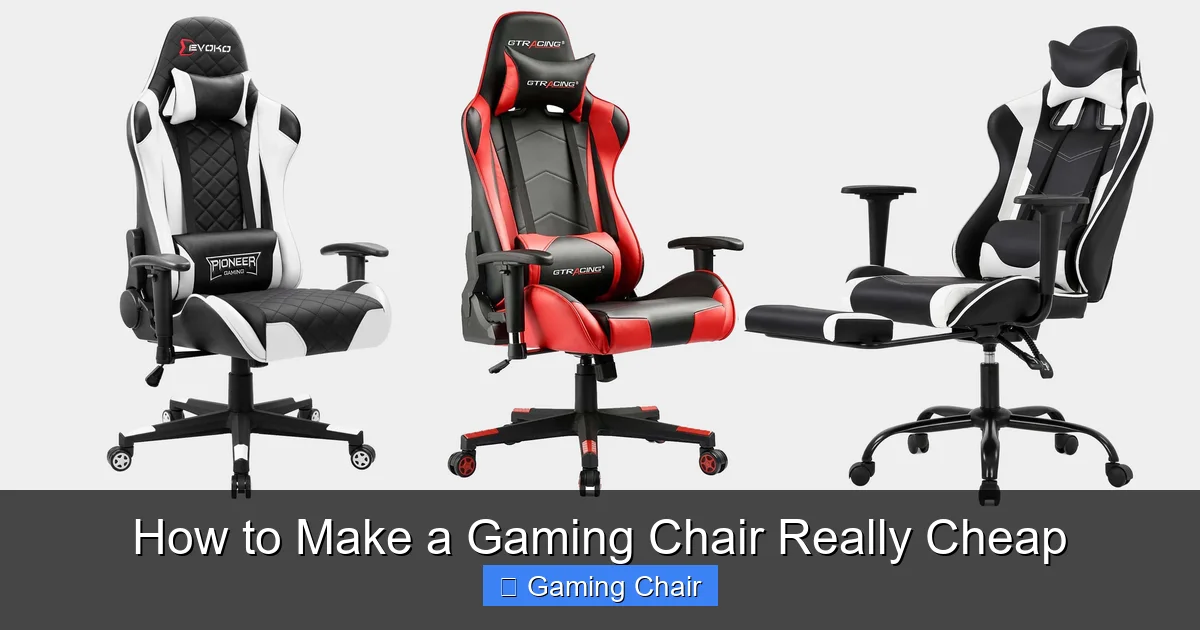
Visual guide about How to Make a Gaming Chair Really Cheap
Image source: cdn.mos.cms.futurecdn.net
The journey to make a gaming chair really cheap begins with gathering your materials. The goal here is resourcefulness. Look around your home, ask friends, check local classifieds, or even visit junkyards and thrift stores.
The Foundation: Repurposing Old Chairs
This is where the biggest savings come from. Instead of building a frame from scratch, which requires specialized tools and skills, we’ll start with an existing, sturdy chair.
- Old Office Chair: This is often the best starting point. Many old office chairs have perfectly good pneumatic cylinders, bases, and wheels. Even if the upholstery is torn or the padding is flat, the core structure is usually solid. You can strip it down and build upon it.
- Car Seat: Car seats, especially those from older models, are incredibly comfortable and designed for long periods of sitting. They often come with built-in lumbar support and robust frames. Attaching one to a rolling office chair base or building a custom static base are popular DIY routes.
- Dining Chair/Wooden Chair: For a more static, console-gaming setup, a sturdy wooden dining chair can be a good base. You’ll need to add significantly more padding and ergonomic features, but the frame is usually very strong.
- Bar Stool (with back): Similar to dining chairs, these can be modified for a taller desk setup.
When choosing your base, prioritize a strong frame and working components (like the gas lift and wheels on an office chair). Aesthetics of the original chair don’t matter much since we’ll be modifying it heavily.
Essential Materials for Comfort and Support
Once you have your base, you’ll need materials to add comfort and the signature gaming chair look.
- Foam Padding:
- High-Density Foam: Best for seats and lumbar support. Look for scraps at upholstery shops, furniture factories, or even old couch cushions.
- Memory Foam: Excellent for top layers, headrests, and armrests. Old memory foam pillows or mattress toppers are perfect candidates.
- Egg Crate Foam: Can be used for added cushioning and airflow, especially on the backrest.
- Repurposed Materials: Old blankets, towels, yoga mats, or even layered cardboard can serve as temporary or base padding if foam is unavailable or too expensive.
- Upholstery Fabric:
- Faux Leather/Vinyl: Offers the classic gaming chair look and is relatively inexpensive. Look for remnants or sales.
- Thick Cotton/Canvas: Durable, breathable, and easy to work with. Old denim jeans or canvas bags can be repurposed.
- Microfiber: Soft and durable, often found in old furniture covers or curtains.
- Repurposed Clothing: Old hoodies, jackets, or even sturdy T-shirts can be cut and sewn together for a unique, patchwork look.
- Plywood/MDF Scraps: Useful for creating new backrests, armrest tops, or reinforcing areas. Check construction sites or hardware store off-cut bins.
- PVC Pipes/Wood Dowels: Can be used for internal supports, armrest structures, or even DIY cup holders.
Basic Tools for Your DIY Project
You don’t need a workshop full of power tools to make a gaming chair really cheap. Most of these can be found in a basic household toolbox.
- Screwdrivers (Phillips and Flathead): For disassembling and assembling.
- Wrenches/Socket Set: For bolts and nuts, especially on office chairs.
- Utility Knife/Scissors: For cutting foam and fabric.
- Staple Gun: Absolutely essential for attaching fabric securely. Get a heavy-duty one if possible.
- Drill (with various bits): Useful for creating new holes or reinforcing connections.
- Measuring Tape/Ruler: For accurate cuts and placements.
- Strong Adhesive (e.g., spray adhesive, construction adhesive): For securing foam layers or fabric.
- Zip Ties/Velcro: For cable management or temporary securing.
- Sandpaper: For smoothing rough edges on wood.
Designing for Ergonomics on a Budget
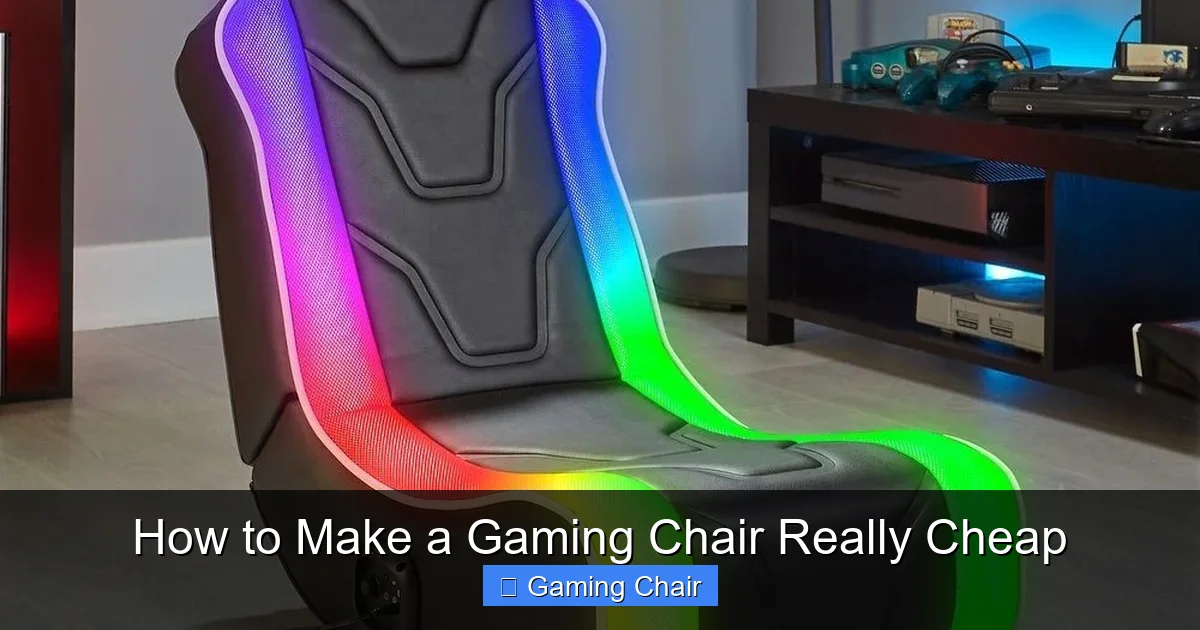
Visual guide about How to Make a Gaming Chair Really Cheap
Image source: i.pinimg.com
A gaming chair isn’t just about looks; it’s about supporting your body. Even when you make a gaming chair really cheap, you can incorporate crucial ergonomic features.
Lumbar Support Hacks
Proper lumbar support helps maintain the natural curve of your spine, preventing slouching and back pain.
- Layered Foam Cushion: Cut several layers of high-density foam in a kidney shape. Stack them and glue them together, then cover with fabric. Attach this to the lower back of your chair using straps, Velcro, or by permanently integrating it into the upholstery.
- Repurposed Pillow/Towel: A small, firm pillow or a rolled-up towel wrapped in fabric can serve as a surprisingly effective temporary lumbar support. Secure it with elastic straps.
- Adjustable Support with PVC: Create a simple frame from PVC pipes or wood dowels, cover it with fabric and thin foam, and attach it to the backrest with adjustable straps so you can move it up or down.
Affordable Neck and Headrest Solutions
Your head and neck need support too, especially during intense gaming sessions.
- Memory Foam Pillow: An old memory foam pillow, cut to size and reshaped, makes an excellent headrest. Simply attach it to the top of your chair back, either by integrating it into the upholstery or using a fabric sleeve.
- Contoured Foam: Carve a piece of foam to fit the curve of your neck. Cover it with fabric and attach it using elastic bands or by sewing it directly to the chair’s backrest cover.
- Adjustable Headrest: If your base chair has a separate headrest piece, you can modify its height by drilling new holes or adding risers made from wood blocks.
DIY Armrest Enhancements
Armrests take pressure off your shoulders and neck. Store-bought gaming chairs often have 4D armrests, but you can achieve decent comfort cheaply.
- Padded Armrest Caps: If your chair has hard armrests, cut foam pieces to fit the top and sides, then wrap them securely with your chosen fabric using spray adhesive and a staple gun.
- Extendable Armrests (Simple): For a simple extension, attach a piece of plywood or sturdy plastic to the existing armrest with strong screws. Pad and cover it for comfort.
- Swiveling Armrests: This is more advanced, but if you salvage armrests from an old office chair that had this feature, you can integrate them onto your base chair.
- Repurposed Mouse Pads: Old, thick mouse pads can be cut and glued to armrests for an instant padding layer.
Seat Cushioning for Long Sessions
The seat is crucial for comfort. A flat, hard seat will ruin any gaming experience.
- Multi-Layered Foam: Start with a base layer of high-density foam (2-4 inches), then add a softer layer of memory foam or egg crate foam on top. Glue these layers together for stability.
- Old Cushions/Pillows: Repurpose seat cushions from old patio furniture or firm pillows. Cut them to size and shape, then integrate them under your new upholstery.
- Fabric Suspension: If your chair’s seat base is just webbing, you can reinforce it with a sturdy piece of plywood cut to size, then build your foam layers on top. This creates a much more stable and supportive base.
- Contouring: Consider carving slight depressions in the foam for your glutes and hips to distribute pressure more evenly.
Customization and Aesthetics: Making it Yours

Visual guide about How to Make a Gaming Chair Really Cheap
Image source: savewithnerds.com
Once your chair is comfortable and structurally sound, it’s time to make it look like a gaming chair. This is where your personalization truly shines. Making a gaming chair really cheap doesn’t mean it has to look cheap.
Upholstery and Fabric Choices
The fabric you choose will define the look and feel of your chair.
- Wrapping and Stapling: This is the most common method. Stretch your chosen fabric over the foam and frame, pulling it taut, and secure it with a staple gun on the underside or less visible areas. Work slowly, pulling evenly to avoid wrinkles.
- Sewing Slipcovers: If you have basic sewing skills, you can create a custom slipcover. This allows for easier cleaning and changing styles later. Measure carefully and create patterns from old fabric or newspaper.
- Patchwork Style: For a unique, rustic, or even industrial look, combine different fabric scraps. This is excellent for using up leftover materials and making a gaming chair really cheap.
- Consider Durability: While cost is a factor, think about how much wear and tear your chair will get. A more durable fabric will last longer.
Painting and Finishing Touches
Don’t forget the non-fabric parts!
- Frame Painting: If your chair has visible metal or plastic parts (like the base, armrest supports, or back of a car seat), a fresh coat of spray paint can work wonders. Use primer for best adhesion, especially on plastic or slick metal surfaces. Matte black, metallic silver, or bold primary colors often work well for gaming aesthetics.
- Accent Colors: Use contrasting paint colors or fabric accents to highlight specific areas of the chair, drawing inspiration from your favorite games or esports teams.
- Stenciling/Decals: Add gaming logos, symbols, or custom text using stencils and paint, or apply vinyl decals for a cleaner finish.
Adding Cheap RGB and Accessories
No gaming setup is complete without some flashy lights!
- LED Strip Lights: Inexpensive LED strip lights (often USB powered) can be attached to the back, sides, or underside of your chair. Use adhesive backing or zip ties. Many come with remotes for color changing and effects. This is a classic way to make your cheap gaming chair look premium.
- Cup Holders: Attach a simple plastic or metal cup holder to an armrest or side. You can even fashion one from a PVC pipe and a bit of plywood.
- Headset Holder: A simple hook or bracket mounted to the back or side of the chair keeps your headset easily accessible.
- Cable Management: Use zip ties, Velcro straps, or adhesive cable clips to neatly route any power cables for your LEDs or charging cables, keeping your setup tidy.
Safety and Durability Tips
Building a cheap gaming chair is fun, but safety and durability are paramount. You want your creation to last and to be safe for use.
Reinforcing Your Chair Frame
A strong foundation is critical. If your base chair feels wobbly or weak, reinforce it before adding padding and fabric.
- Wood Blocks/Brackets: For wooden chairs, add wood blocks in corners or metal L-brackets to strengthen joints. Use wood glue and screws for maximum hold.
- Metal Plates: For office chair bases or car seats, use thin metal plates to bridge any cracks or weak points, securing them with bolts and nuts.
- Welding (Advanced): If you have welding skills and access to equipment, you can significantly reinforce metal frames, but this is beyond a “really cheap” project for most.
Secure Fastening Techniques
All parts need to be securely attached to withstand regular use.
- Screws and Bolts: Always prefer screws and bolts over nails, especially for load-bearing parts. Use washers and lock nuts where possible to prevent loosening over time.
- Wood Glue: When working with wood, wood glue is your best friend. It creates stronger joints than screws alone.
- Heavy-Duty Staples: For upholstery, use a heavy-duty staple gun with long staples. Ensure they penetrate deeply into the frame or wood.
- Strong Adhesives: For foam layers and non-load-bearing attachments, use spray adhesives or construction adhesives designed for your materials.
Testing for Stability
Before you settle in for a long gaming session, thoroughly test your chair.
- Weight Test: Slowly sit in the chair, shift your weight, and lean back. Listen for creaks or feel for instability.
- Wobble Test: Push and pull the chair in different directions. Check all connections for any play or looseness.
- Armrest Check: Put pressure on the armrests. Can they support your weight if you lean on them?
- Gas Lift/Wheels: If using an office chair base, test the gas lift’s height adjustment and ensure all wheels roll smoothly and don’t catch.
- Regular Inspections: Even after the build, periodically check your chair for any loose screws, staples, or wear and tear, and address them promptly.
Conclusion: Your Ultimate Budget Gaming Throne
Learning how to make a gaming chair really cheap isn’t just a cost-saving measure; it’s an empowering journey into DIY and personalization. You’ve seen that with a bit of creativity, some resourceful scavenging, and basic tools, you can transform an ordinary, inexpensive, or even free piece of furniture into a comfortable, ergonomic, and stylish gaming throne that truly reflects your personality.
This project offers immense satisfaction, saves you a substantial amount of money, and allows for a level of customization that no off-the-shelf product can match. From repurposing old car seats to crafting custom lumbar supports and adding vibrant LED lights, the possibilities are endless. So, don’t let a tight budget stop you from achieving your dream gaming setup. Roll up your sleeves, gather your materials, and embark on the rewarding adventure of building your very own cheap gaming chair. Your back (and your wallet) will thank you!
Frequently Asked Questions
What are the biggest challenges when making a gaming chair really cheap?
The biggest challenges usually involve sourcing suitable free or cheap base materials and ensuring proper ergonomic support. Repurposing can require creative problem-solving to adapt components, and achieving professional-looking upholstery with basic tools can be tricky without practice. Patience and flexibility are key.
How long does it typically take to build a cheap DIY gaming chair?
The time it takes can vary widely depending on the complexity of your design and your DIY experience. A basic revamp of an office chair might take a weekend, while a more extensive build involving a car seat and custom frame could take several weekends or longer. Plan for multiple sessions.
Can I add vibration or haptic feedback to a cheap DIY gaming chair?
Adding vibration or haptic feedback is possible but adds a layer of complexity and cost. You would need to integrate small transducers or bass shakers, an amplifier, and a power source, which usually involves electronics knowledge. It moves beyond “really cheap” but is certainly a cool upgrade for a future iteration.
What’s the best way to clean my homemade gaming chair?
The best cleaning method depends on your chosen upholstery fabric. For faux leather, a damp cloth with mild soap is usually sufficient. For fabric chairs, spot cleaning with a fabric cleaner or a steam cleaner can work. If you made a removable slipcover, you can often machine wash it according to the fabric care instructions.
Is a DIY gaming chair as durable as a store-bought one?
The durability of a DIY gaming chair depends entirely on the quality of your base materials and your construction methods. If you start with a sturdy frame and use strong fasteners and quality adhesives, your homemade chair can be very durable. However, it might not match the industrial engineering and stress-testing of high-end factory chairs.
Where can I find free or very cheap materials for this project?
Look for free materials on local online marketplaces (Facebook Marketplace, Craigslist’s free section), curbside discarded furniture, or ask friends and family if they have old chairs or foam. Thrift stores, garage sales, and upholstery shop remnants are excellent sources for inexpensive fabrics and foam scraps. Don’t be afraid to get creative and explore!



