


Want to make your gaming chair uniquely yours? Getting a custom logo into a leather gaming chair is an exciting way to personalize your setup. This guide covers popular methods like embroidery and debossing, helps you decide between DIY and professional services, and walks you through the essential design and material considerations to achieve a stunning, durable result.
How to Get a Custom Logo into a Leather Gaming Chair
Hey there, fellow gamer! You’ve invested in a sleek, comfortable leather gaming chair to conquer virtual worlds, stream your epic victories, or simply work in style. But what if you could take that comfort and make it truly *yours*? Imagine your personal gamer tag, your team’s emblem, or a unique design proudly emblazoned on your throne. It’s more than just a chair; it’s an extension of your identity, your brand, or your gaming legacy.
Getting a custom logo into a leather gaming chair might sound like a complex endeavor, something reserved for high-end corporate setups or professional esports teams. But the truth is, with the right knowledge and approach, it’s an achievable dream for anyone looking to personalize their space. Whether you’re aiming for a subtle nod to your favorite game, a bold statement about your streaming channel, or a truly unique gift for a gaming enthusiast, adding a custom logo can elevate your chair from functional furniture to a centerpiece of your gaming sanctuary.
This comprehensive guide will walk you through everything you need to know to successfully get a custom logo into a leather gaming chair. We’ll explore the various methods available, weigh the pros and cons of DIY versus professional services, delve into critical design considerations, and provide practical tips to ensure your personalized chair not only looks fantastic but stands the test of time. Let’s dive in and transform your gaming seat into a one-of-a-kind masterpiece!
Key Takeaways
- Personalization Power: Adding a custom logo transforms a standard leather gaming chair into a unique, personal statement or a branded piece.
- Method Variety: Popular options include embroidery (durable, premium), debossing (subtle, elegant), heat transfer vinyl (DIY-friendly), and professional patches. Each has distinct aesthetic and longevity characteristics.
- DIY vs. Professional: DIY methods are budget-friendly but carry risks; professional services offer superior quality, durability, and expertise, especially for complex designs or genuine leather.
- Design Preparedness: Always prepare your logo in a high-resolution vector format, consider its size and placement carefully, and communicate your vision clearly to any professional.
- Material Matters: The type of “leather” (genuine, PU, bonded) dictates which application methods are suitable and affects the final look and longevity of your custom logo.
- Cost and Time: Professional customization involves an investment in both time and money. Factor in design fees, application costs, and turnaround times when planning your project.
- Maintenance is Key: Proper care and cleaning will ensure your custom logo remains vibrant and intact, protecting your investment for years to come.
Quick Answers to Common Questions
Can I embroider my logo onto a PU leather gaming chair?
Yes, embroidery is generally suitable for PU leather gaming chairs. High-quality PU leather can hold stitches well, providing a durable and attractive custom logo.
Is it possible to remove a custom logo once it’s applied?
For most permanent methods like embroidery, debossing, or laser engraving, removal is extremely difficult or impossible without damaging the leather. HTV or patches might be removable with careful effort, but often leave residue or marks.
How long does it typically take for a professional to customize a chair?
The timeline can vary widely based on the professional’s schedule, the complexity of the design, and the chosen method. Expect anywhere from 1-2 weeks for simpler projects to 3-4 weeks or more for intricate designs or if custom parts are needed.
Will adding a custom logo void my chair’s warranty?
Modifying your chair, including adding a custom logo, may void specific parts of your manufacturer’s warranty, particularly related to the upholstered areas. It’s always best to check your chair’s warranty policy or contact the manufacturer before proceeding.
Can I choose multiple colors for an embroidered logo?
Yes, embroidery allows for multiple thread colors in a single design. The number of colors you can use is typically limited by the specific embroidery machine and design complexity, but most standard logos with several colors are easily achievable.
📑 Table of Contents
- Why Customize Your Gaming Throne?
- Understanding Your Options: Methods for Logo Application
- DIY vs. Professional: Which Path is Right for Your Logo?
- The Professional Process: Getting Your Logo Just Right
- Design and Material Considerations for Success
- Maintaining Your Masterpiece: Care Tips for Your Custom Chair
Why Customize Your Gaming Throne?
Before we get into the “how,” let’s quickly touch on the “why.” Why go through the effort of adding a custom logo to your leather gaming chair? The reasons are as diverse as gamers themselves, but they generally boil down to a few key motivators.
Making It Uniquely Yours
In a world of mass-produced goods, personalization stands out. Your gaming chair is where you spend hours, where victories are celebrated, and where new strategies are forged. Having a custom logo on it makes it truly a reflection of you. It’s a statement piece that says, “This is my space, and I’ve made it my own.” It adds a layer of intimacy and ownership that a standard chair simply can’t provide. This personal touch enhances your connection with your gaming environment.
Branding for Streamers and Content Creators
For streamers, YouTubers, and content creators, branding is everything. Your gaming setup is often visible to your audience, and a custom logo on your chair is an excellent, subtle way to reinforce your brand identity. It adds a professional touch to your background, making your streams look more polished and memorable. It’s a passive form of marketing that consistently reminds viewers of your brand, helping to build recognition and loyalty.
The Perfect Gift
Struggling to find the ultimate gift for the gamer who has everything? A custom-logoed leather gaming chair is an incredibly thoughtful and unique present. Imagine the look on their face when they unwrap a chair adorned with their gamer tag, their clan’s insignia, or a special design commemorating a gaming milestone. It’s a gift that combines practicality with profound personal meaning, making it unforgettable.
Understanding Your Options: Methods for Logo Application
When it comes to getting a custom logo into a leather gaming chair, you have several methods, each with its own look, feel, durability, and cost implications. Understanding these options is the first step toward making the right choice for your project.
1. Embroidery: The Premium Choice
Embroidery is arguably the most popular and premium method for adding a custom logo to fabric and leather products. It involves stitching your design directly onto the chair’s leather using high-quality threads. The result is a textured, vibrant, and incredibly durable logo that resists fading and wear. This method adds a touch of sophistication and depth that other options can’t quite match, making it ideal for a custom logo into a leather gaming chair.
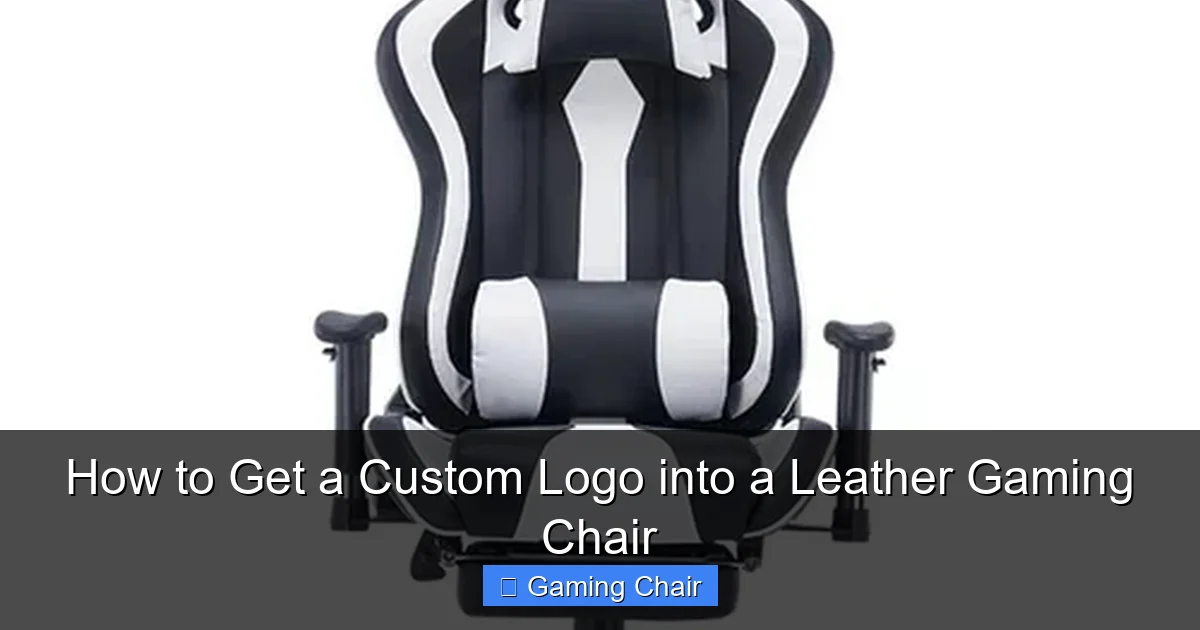
Visual guide about How to Get a Custom Logo into a Leather Gaming Chair
Image source: cpimg.tistatic.com
- Pros: Highly durable, premium look and feel, excellent color retention, professional finish, won’t peel or crack.
- Cons: More expensive, design complexity can increase cost, requires specialized equipment and expertise, difficult to DIY. Not suitable for very fine details or gradients.
2. Debossing/Embossing: Subtle Elegance
Debossing creates an indented impression of your logo into the leather, while embossing raises the logo above the surface. Both methods offer a very elegant, tactile, and understated look. They don’t introduce new materials (like thread or vinyl) but rather reshape the leather itself, offering a sophisticated branding solution. This is perfect if you want your custom logo into a leather gaming chair to have a classic, luxurious feel.
- Pros: Extremely durable (as it’s part of the leather itself), elegant, subtle, premium tactile feel, no fading of colors (as there are none).
- Cons: Limited color options (typically the chair’s color), requires specialized machinery and dies, not suitable for intricate multi-color designs, higher initial setup cost for the die. Only works on genuine leather or high-quality PU leather.
3. Heat Transfer Vinyl (HTV) / Patches: DIY-Friendly Options
Heat transfer vinyl involves cutting a design from a sheet of specialized vinyl and then applying it to the leather surface using heat and pressure. Pre-made patches, either embroidered or printed, can also be adhered to the chair, often with strong fabric glue or a heat press (if they have an iron-on backing). These methods are generally more accessible for DIY enthusiasts.
- Pros: More affordable, wider range of colors and finishes for HTV, relatively easy to DIY, patches offer flexibility in design material.
- Cons: Durability can vary significantly (HTV can peel or crack over time, especially with heavy use or improper application), less premium feel than embroidery or debossing, might not adhere well to all types of “leather” (especially bonded or low-quality PU).
4. Laser Engraving: Modern Precision
Laser engraving uses a high-powered laser to burn away the top layer of the leather, creating a permanent, precise design. The color of the engraved area will depend on the underlying layer of the leather. This method can achieve very fine details and offers a modern, high-tech look. However, it requires specific types of leather that respond well to laser treatment.
- Pros: Highly detailed, permanent, precise, unique aesthetic.
- Cons: Limited color options, can only be done on certain leather types (genuine leather works best), may weaken the leather in the engraved area if not done correctly, requires specialized and expensive equipment.
5. Leather Painting: Artistic Freedom
For those with an artistic flair, painting directly onto the leather with specialized leather paints is an option. This offers unparalleled artistic freedom in terms of color, detail, and style. However, it requires skill and patience to achieve a professional-looking and durable result.
- Pros: Unlimited design possibilities, full control over colors and details, truly custom and artistic.
- Cons: Requires artistic skill, durability depends heavily on paint quality and application technique, can crack or chip over time if not sealed properly, not ideal for mass production or precise branding.
DIY vs. Professional: Which Path is Right for Your Logo?
Once you know your options, the next big decision is whether to tackle this project yourself or entrust it to professionals. This choice heavily depends on your budget, desired quality, and your comfort level with potential risks.
The DIY Route: Saving Pennies, Taking Risks
Attempting to get a custom logo into a leather gaming chair yourself can be tempting, especially if you’re on a tight budget or enjoy hands-on projects. Methods like applying pre-made patches or using heat transfer vinyl are the most accessible DIY options.
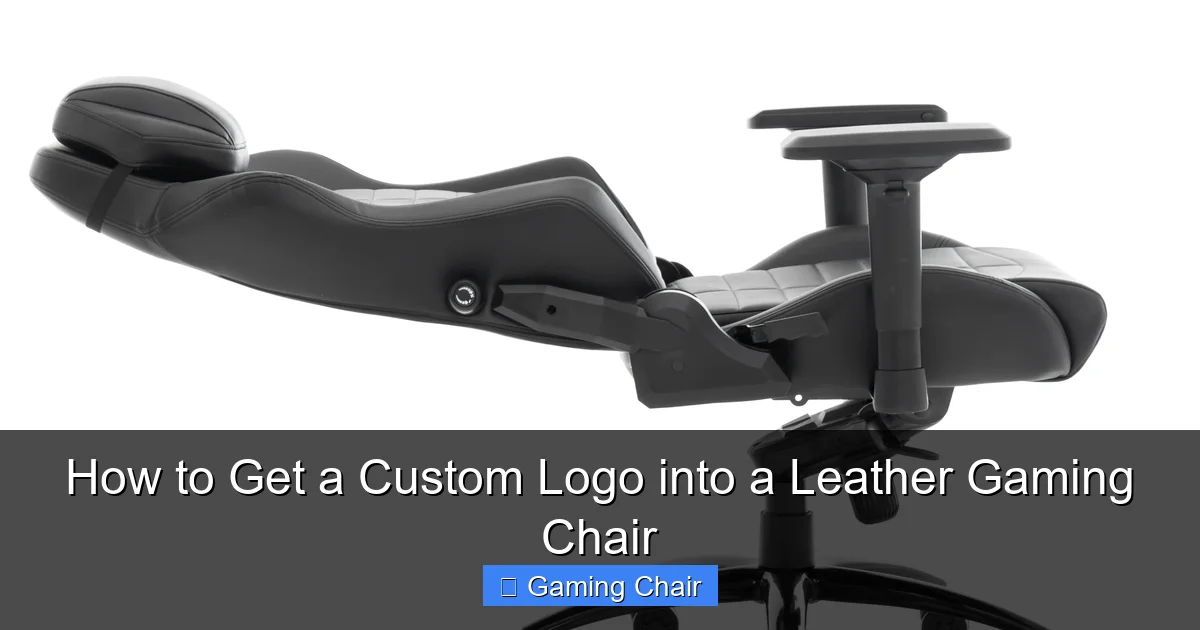
Visual guide about How to Get a Custom Logo into a Leather Gaming Chair
Image source: stylechairs.com
- What you’ll need: For HTV, you’d need a vinyl cutter (like a Cricut or Silhouette), HTV sheets, a heat press or a strong iron, and a stable, heat-resistant surface. For patches, you’d need the patch itself and high-quality fabric adhesive or a sewing kit (though sewing through thick leather without proper tools is very difficult).
- Pros: Cost-effective, immediate gratification, full control over the process.
- Cons: Significant risk of damaging your chair (irreversibly!), inconsistent results, lower durability compared to professional methods, learning curve for proper application, potential for uneven adhesion or peeling. Your custom logo into a leather gaming chair might not look as polished as a professional job.
Practical Tip: If you choose DIY, practice on a scrap piece of similar material first. Always research the specific type of leather your chair is made from and ensure your chosen adhesive or HTV is compatible. PU leather tends to be more forgiving for HTV than genuine leather.
The Professional Path: Quality and Peace of Mind
For most custom logo projects on a leather gaming chair, especially those involving embroidery, debossing, or laser engraving, a professional service is highly recommended. These specialists have the equipment, expertise, and materials to deliver a high-quality, durable, and polished result.
- Who to look for: Search for local or online businesses specializing in custom embroidery, leatherwork, upholstery customization, or branding services. They often work with car interiors, furniture, or apparel, which gives them relevant experience.
- Pros: Superior quality and durability, precise application, access to specialized techniques and materials, professional advice on design and placement, warranty or guarantee on their work, no risk of damaging your chair yourself. Your custom logo into a leather gaming chair will be truly outstanding.
- Cons: Higher cost, longer turnaround time, less control over the direct application process.
Practical Tip: When contacting professionals, be clear about your chair’s material (genuine leather, PU leather, bonded leather) and provide a high-quality version of your logo. Ask for examples of their previous work on similar materials.
The Professional Process: Getting Your Logo Just Right
Let’s assume you’ve chosen the professional route. Here’s a typical step-by-step process you can expect when working with a specialist to get a custom logo into a leather gaming chair.
1. Research and Selection
Start by researching local or online customization shops. Look for companies with good reviews, a portfolio showcasing work on leather, and experience with techniques like embroidery or debossing. Contact a few for quotes and to discuss your specific project. Ask about their process, turnaround times, and any guarantees they offer.

Visual guide about How to Get a Custom Logo into a Leather Gaming Chair
Image source: stylechairs.com
2. Design Submission and Consultation
You’ll need to provide your logo design. Ideally, this should be in a vector format (AI, EPS, SVG) for the best results, as it allows for scaling without loss of quality. The professional will consult with you on the best application method, size, placement on the chair, and thread/color choices. They might advise on simplifications for very complex logos, especially for embroidery.
3. Digitization and Mock-up
For embroidery or debossing, your logo will need to be “digitized.” This means converting the image into a format that the specialized machinery can understand and execute. The professional will then create a digital mock-up of how your logo will appear on the chair. This is a crucial step! Review it carefully for size, placement, colors, and any subtle design elements. Don’t hesitate to ask for adjustments until it’s perfect.
4. The Application Process
Once you approve the mock-up, the actual work begins. Depending on the method, this involves setting up the specialized machinery, carefully positioning and securing the leather section of your chair (sometimes requiring partial disassembly), and then applying the logo. This is where the professional’s expertise truly shines, ensuring precision and quality.
5. Quality Check and Delivery
After the logo is applied, the professional will perform a thorough quality check. They’ll inspect the finish, durability, and overall appearance of the custom logo into your leather gaming chair. Once satisfied, your newly customized chair will be ready for pickup or delivery. Always inspect the finished product yourself upon receipt to ensure it meets your expectations.
Design and Material Considerations for Success
Achieving a stunning custom logo on your leather gaming chair isn’t just about choosing a method; it’s also about careful planning regarding your design and understanding the material you’re working with.
Logo Design: Simplicity is Key
While complex designs are possible, simpler logos often translate best onto leather, especially with embroidery or debossing. Consider the following:
- File Format: Always aim for a vector file (AI, EPS, SVG). Raster files (JPG, PNG) can pixelate when scaled, leading to blurry results.
- Detail Level: Very fine lines or tiny text can get lost in embroidery stitches or become indistinct in debossing. A professional can advise on optimal detail levels for your chosen method.
- Colors: For embroidery, choose thread colors that complement or contrast nicely with your chair’s leather. For debossing/laser engraving, remember you’re working with the leather’s natural color or underlying layers.
Practical Tip: If your logo is very intricate, consider a simplified version specifically for chair customization. A good professional will help you adapt your design.
Placement and Size: Strategic Thinking
Where you place your logo and how large it is significantly impact the overall aesthetic. Common placements include:
- Headrest: The most popular spot, highly visible, and often a flat, easy-to-access area for customization.
- Lumbar Support: A more subtle placement, good for smaller logos.
- Backrest (Upper or Lower): Offers a larger canvas, but visibility might be less consistent than the headrest.
- Side Bolsters: Less common, but can be a unique placement for smaller, linear designs.
Consider the chair’s existing seams and contours. Flat areas are always easier and yield better results. For size, scale your logo digitally onto an image of your chair to visualize the impact before committing.
Understanding Your Chair’s “Leather” Material
Not all “leather” gaming chairs are created equal. The type of material significantly affects which customization methods are viable and how well they’ll last.
- Genuine Leather: The highest quality, most durable, and often the best for all methods, especially debossing, laser engraving, and high-end embroidery. It’s tough, holds stitches well, and develops a rich patina over time.
- PU Leather (Polyurethane Leather): A common synthetic alternative. It’s more forgiving for HTV and embroidery than genuine leather but can be prone to cracking or peeling over time, especially where it’s stretched or flexed. Quality varies widely.
- Bonded Leather: Made from leather scraps bonded with polyurethane. Often the least durable and can be tricky to customize. It’s prone to flaking and cracking, making it less ideal for methods that apply tension or heat.
Practical Tip: Check your chair’s specifications to determine its exact material. Be honest with your professional about the material type; it will help them choose the best method and manage expectations.
Maintaining Your Masterpiece: Care Tips for Your Custom Chair
Once you’ve successfully integrated a custom logo into your leather gaming chair, you’ll want to ensure it stays looking fantastic for years to come. Proper care and maintenance are crucial, regardless of the application method.
Regular Cleaning
Dust and grime can dull your logo and chair over time. Regularly wipe down your chair with a soft, damp cloth. For embroidered logos, gently brush away any dust or debris with a soft-bristled brush. Avoid harsh chemicals or abrasive cleaners, as they can damage both the leather and the custom design.
Protect from Direct Sunlight
UV rays are a major enemy of both leather and colored logos (especially embroidered threads or HTV). Prolonged exposure to direct sunlight can cause fading and drying. Position your chair away from windows or use blinds and curtains to protect it during the sunniest parts of the day.
Conditioning Leather (Genuine Leather Specific)
If your chair is genuine leather, periodic conditioning is essential to keep the leather supple and prevent cracking. Use a high-quality leather conditioner, applying it sparingly and rubbing it in gently. Avoid getting excess conditioner directly on embroidered logos, as it can sometimes attract dust or alter thread colors. For debossed areas, conditioning will help maintain the leather’s integrity around the impression.
Note: PU and bonded leather do not require leather conditioner. Instead, use cleaners specifically designed for synthetic leather.
Mind Your Movement and Habits
Repeated friction or abrasive contact with the custom logo can cause wear. Be mindful of items that might rub against the logo, such as backpack straps, clothing with coarse textures, or even your own hair or head if the logo is on the headrest. While professional logos are durable, excessive friction can still impact their longevity.
Address Spills Immediately
Accidents happen. If you spill something on your chair or logo, blot it immediately with a clean, dry cloth. Avoid rubbing, as this can spread the stain or push it deeper into the material or threads. Follow specific cleaning instructions for the type of spill and your chair’s material.
By following these care tips, your custom logo into a leather gaming chair will remain a point of pride and a striking personal touch in your gaming setup for many years to come.
Conclusion
Transforming your gaming chair with a custom logo is a fantastic way to inject personality, brand identity, or a unique touch into your personal space. From the premium feel of embroidery to the subtle elegance of debossing, or the DIY flexibility of HTV, there’s a method to suit almost every vision and budget. While DIY approaches offer cost savings, the superior quality, durability, and peace of mind provided by professional services often make them the best choice for a truly striking and long-lasting result.
Remember to meticulously prepare your logo, consider its placement and size, and always understand the specific type of “leather” your chair is made from. By paying attention to these details and properly caring for your customized masterpiece, you’ll enjoy a gaming throne that’s not just comfortable, but also uniquely, undeniably yours. So go ahead, unleash your creativity, and get ready to sit in style—your ultimate custom logo into a leather gaming chair awaits!
Frequently Asked Questions
What type of leather is best for custom logos?
Genuine leather is generally considered the best material for applying custom logos due to its durability, ability to hold intricate details, and how well it responds to various methods like embroidery, debossing, and laser engraving. High-quality PU leather is also a good option, especially for embroidery and HTV, offering a good balance of cost and performance.
How much does it cost to get a custom logo into a leather gaming chair?
The cost varies significantly based on the chosen method, the complexity and size of your logo, the type of leather, and whether you choose DIY or professional services. Professional embroidery or debossing can range from $100 to several hundred dollars, often with an initial setup fee for digitizing the logo, while DIY options are considerably cheaper.
Can I provide my own chair to a professional for customization?
Absolutely! Most professional customization services expect you to provide your own chair. They will typically require you to remove the specific panel (like the headrest or backrest) that needs customization, or you might need to drop off the entire chair depending on their capabilities and your agreement.
Are there any logos that are too complex for customization?
While modern technology allows for intricate designs, extremely fine details, tiny text, or designs with subtle color gradients can be challenging for some methods like embroidery or debossing. Professionals may advise simplifying such logos to ensure a clean, durable result. Vector files are always preferred for maximum precision.
How durable are different custom logo methods on a gaming chair?
Embroidery and debossing are highly durable, often lasting the lifetime of the chair, as they become an integral part of the material. Laser engraving is also permanent. Heat Transfer Vinyl (HTV) and painted logos can vary in durability; they may be prone to peeling, cracking, or fading over time with heavy use, especially if not applied or sealed correctly.
What’s the best way to clean around an embroidered logo without damaging it?
For embroidered logos, use a soft-bristled brush (like a clean toothbrush) to gently brush away dust and debris. For spills, blot immediately with a clean, dry cloth. If a deeper clean is needed, use a damp cloth with mild soap, dabbing gently, and then wipe with a clean, damp cloth to remove any soap residue. Always allow to air dry completely.



