


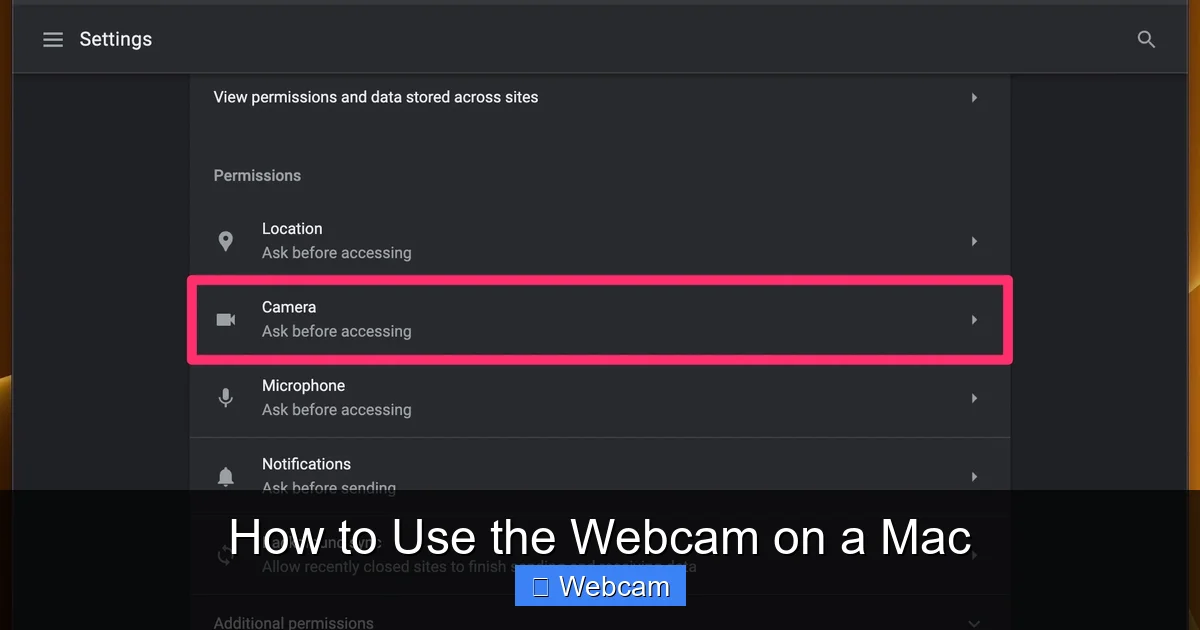
Using your Mac’s webcam is simple and built right into everyday apps. Whether you’re joining a Zoom meeting or snapping a quick selfie, your Mac’s FaceTime HD camera works seamlessly with apps like Photo Booth, FaceTime, Messages, and Zoom. This guide walks you through turning on your camera, using it for calls and photos, adjusting settings, and fixing common issues. No extra software needed—just your Mac and a few clicks.
Key Takeaways
- Your Mac has a built-in FaceTime HD camera: Most MacBooks and iMacs come with a high-quality front-facing camera for video calls and photos.
- Built-in apps make using the webcam easy: Use Photo Booth for fun selfies, FaceTime for video calls, Messages for chats, and Zoom or other apps for meetings.
- Camera permissions are important: macOS requires app permission to access your camera—check System Settings to allow or deny access.
- You can test your camera anytime: Use Photo Booth or FaceTime to preview and adjust your image before important calls.
- Lighting and positioning matter: For best video quality, sit in front of natural light and center your face in the frame.
- Webcam issues are fixable: Common problems include muted permissions, app conflicts, or hardware issues—most can be resolved in System Settings.
- No external webcam needed for most tasks: The built-in camera is perfect for everyday use, but you can add an external one for higher resolution or flexibility.
How to Use the Webcam on a Mac: A Simple Step-by-Step Guide
If you’ve ever needed to make a video call, record a quick clip, or just take a selfie, you’ve likely used your Mac’s webcam. Whether you’re working from home, connecting with family, or sharing a moment with friends, your Mac’s built-in camera makes it easy—no extra gear required. In this guide, we’ll walk you through everything you need to know about using the webcam on a Mac, from turning it on to troubleshooting common issues.
By the end of this guide, you’ll be able to confidently use your Mac’s webcam for video calls, photo captures, screen recording, and more. Let’s get started!
What You’ll Learn
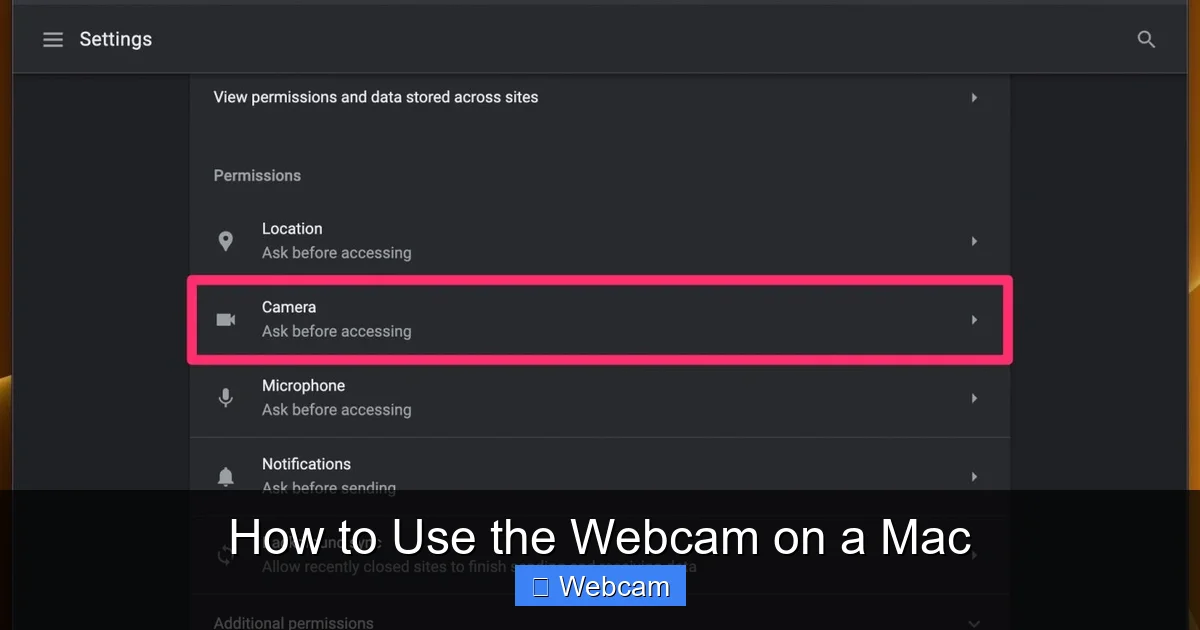
Visual guide about How to Use the Webcam on a Mac
Image source: cdn.osxdaily.com
This guide will teach you how to:
– Locate and activate your Mac’s built-in webcam
– Use the camera in popular apps like FaceTime, Photo Booth, and Zoom
– Adjust camera settings and permissions
– Troubleshoot common webcam problems
– Optimize your video quality with simple tips
Whether you’re a student, remote worker, or just someone who loves video chats, understanding how to use your Mac’s webcam will make your digital life smoother and more fun.
Step 1: Find Your Mac’s Webcam
Most MacBooks and iMacs come with a built-in FaceTime HD camera. It’s usually located at the top center of the display—look for a small lens with a subtle light indicator.
On MacBook models:
– The webcam is built into the top bezel of the display (the area around the screen).
On iMac models:
– The camera is in the center of the thin bezel above the screen.
On Mac mini:
– The camera is on the top edge of the device.
On Mac Studio and Mac Pro:
– These models do not have a built-in camera, but you can connect an external one.
Tip: When the camera is in use, a small green or amber light near the lens will turn on. This is normal and lets you know the camera is active.
Step 2: Enable Camera Access in System Settings
Before you can use your webcam, macOS needs permission. Here’s how to check and enable it:
Open System Settings
Click the Apple menu () in the top-left corner and select System Settings.
Go to Privacy & Security
In System Settings, scroll down and click Privacy & Security.
Select Camera
On the left sidebar, click Camera. You’ll see a list of apps that can access your camera.
Allow Apps
Toggle on the apps you want to use the camera. For example:
– Turn on FaceTime for video calls
– Enable Photo Booth for selfies
– Allow Messages for video chats
– Turn on Zoom for online meetings
If an app isn’t listed, make sure it’s installed and updated. Some apps may request permission the first time you use them.
Step 3: Use Your Webcam in FaceTime
FaceTime is Apple’s built-in video calling app and the easiest way to use your Mac’s webcam.
Open FaceTime
Launch FaceTime from your Applications folder or use Spotlight (press Command + Space and type “FaceTime”).
Sign In
Enter your Apple ID if prompted. FaceTime will automatically detect your camera.
Start a Call
Click the “+” button to add a contact. Choose a person from your list or enter their email or phone number. Click “Call” to start the video call.
Adjust Your View
Once the call starts, your face will appear in the preview window. You can move your Mac to position yourself in the frame. FaceTime also includes fun features like Memoji and video effects.
Tip: If the camera doesn’t work, double-check that FaceTime has camera access in System Settings.
Step 4: Take Photos and Videos with Photo Booth
Photo Booth is a fun, built-in app for taking selfies and videos. It’s perfect for testing your webcam or capturing a quick moment.
Open Photo Booth
Go to Applications > Photo Booth or search for it using Spotlight.
Preview Yourself
You’ll see yourself in real time. Use the on-screen controls to:
– Take a photo (click the circular button)
– Record a video (hold the square button)
– Apply fun filters and effects
Save or Share
After capturing, click the thumbnail that appears in the corner. You can save the photo or video to your Photos app.
Pro Tip: Use Photo Booth to test lighting and framing before important video calls.
Step 5: Use Your Webcam in Zoom or Other Apps
If you use Zoom, Microsoft Teams, or other video conferencing tools, your Mac’s webcam works just like on a PC—but with macOS integration.
Open Your Video App
Launch Zoom, Teams, or any other app you use for video calls.
Start or Join a Meeting
Begin a meeting or join one via a link. When prompted, allow camera access.
Choose Your Camera
In most apps, go to Settings > Video and select “FaceTime Camera” as your video source.
Test Your Audio and Video
Before joining, test your microphone and camera. Adjust brightness or framing if needed.
Example: In Zoom, click “Test Speaker and Microphone” to ensure everything works.
Step 6: Adjust Camera Settings for Better Quality
Your Mac’s webcam is great, but a few tweaks can improve video quality.
Improve Lighting
Sit in front of a window or use soft, natural light. Avoid backlighting (light behind you), which can make your face too dark.
Position Your Mac
Place your Mac at eye level. If you’re using a laptop, consider a stand to angle the screen properly.
Clean the Lens
Dust or smudges on the camera lens can blur your image. Gently wipe it with a microfiber cloth.
Close Unused Apps
Apps like Photo Booth or FaceTime running in the background may use the camera. Close them to free up resources.
Step 7: Troubleshoot Common Webcam Issues
Sometimes your webcam might not work as expected. Here’s how to fix common problems.
Camera Not Working in Any App
– Go to System Settings > Privacy & Security > Camera
– Make sure the app has permission
– Restart your Mac
Green or Amber Light Stays On
This means an app is using your camera. Check Activity Monitor (in Applications > Utilities) and close any unknown processes using the camera.
Blurry or Dark Video
– Clean the lens
– Improve lighting
– Adjust your distance from the camera (keep it about arm’s length away)
Camera Works in One App but Not Another
– Check app permissions in System Settings
– Update the app to the latest version
– Reinstall the app if needed
No Camera on Older Mac Models
Some older MacBooks (before 2012) don’t have a built-in camera. Use an external USB or Thunderbolt camera.
Bonus: Use Your Webcam for Screen Recording
You can also use your webcam while recording your screen using QuickTime Player or Zoom.
Open QuickTime Player
Go to Applications > QuickTime Player.
Start New Screen Recording
Click File > New Screen Recording.
Show Camera Overlay
Click the small camera icon in the recording controls to include your webcam feed in the recording.
This is great for tutorials or showing your face while explaining something on screen.
When to Use an External Webcam
While your Mac’s built-in camera is excellent for most tasks, you might want an external one for:
– Higher resolution (4K)
– Flexible positioning (e.g., on a desk stand)
– Multiple camera angles
– Use with older Mac models
Popular options include the Logitech Brio, Razer Kiyo, or Apple’s own Studio Display with a built-in camera.
Conclusion
Using the webcam on a Mac is simple, fast, and built right into your device. Whether you’re making a FaceTime call, taking a photo with Photo Booth, or joining a Zoom meeting, your Mac’s FaceTime HD camera delivers smooth, clear video with just a few clicks.
Remember to check camera permissions in System Settings, keep your lens clean, and position yourself well for the best results. And if something goes wrong, most issues can be solved with a quick settings check or restart.
Now that you know how to use your Mac’s webcam, you’re ready to connect, create, and communicate with confidence. Happy video calling!



