


Connecting a webcam is easier than you think! Whether you’re using a USB webcam, a laptop built-in camera, or a wireless model, this guide walks you through every step. With simple instructions for Windows, Mac, and troubleshooting tips, you’ll be video chatting or streaming in no time.
Key Takeaways
- Choose the right webcam type: USB, wireless, or built-in laptop cameras each have unique setup steps.
- Check your computer’s ports: Most webcams use USB, but newer models may use USB-C or require adapters.
- Install drivers if needed: Some webcams need software, while others work “plug and play.”
- Test your webcam: Use built-in tools like Camera app (Windows) or Photo Booth (Mac) to verify it’s working.
- Update software regularly: Keep your OS and video app updated for the best performance.
- Troubleshoot common issues: Focus on permissions, driver conflicts, and port problems if your webcam isn’t detected.
- Use your webcam for more than video calls: Record videos, stream gameplay, or monitor your space with smart security cams.
How to Connect Webcam: A Complete Step-by-Step Guide
You’re sitting at your desk, ready to join a video call, start a live stream, or record a quick tutorial. But wait—your webcam isn’t working. You plug it in, nothing happens. Sound familiar? Whether you’re using a brand-new USB webcam, upgrading your laptop’s built-in camera, or setting up a wireless model, connecting a webcam doesn’t have to be confusing. In this guide, we’ll walk you through how to connect a webcam on Windows, Mac, and even some smart devices. You’ll learn what to do if it doesn’t work, how to test it, and tips to make sure your video looks great every time.
By the end of this article, you’ll know exactly how to connect your webcam, fix common problems, and get the most out of your setup—whether you’re working from home, teaching online, or just want better video quality for your next video call.
What Is a Webcam and Why Do You Need One?
A webcam is a small digital camera that captures video and sends it to your computer or mobile device. Most people use webcams for video calls with apps like Zoom, Microsoft Teams, or FaceTime. But they’re also great for streaming on YouTube, recording tutorials, or even monitoring your home when connected to a smart security camera.
Modern webcams come in different types: plug-and-play USB models, wireless (Bluetooth or Wi-Fi) cameras, and built-in laptop cameras. Each has its own setup process, but the basic steps are similar. The key is knowing what kind of webcam you have and how to connect it properly.
How to Connect a USB Webcam
Most webcams today connect via USB—either USB-A or USB-C. Here’s how to set one up step by step.
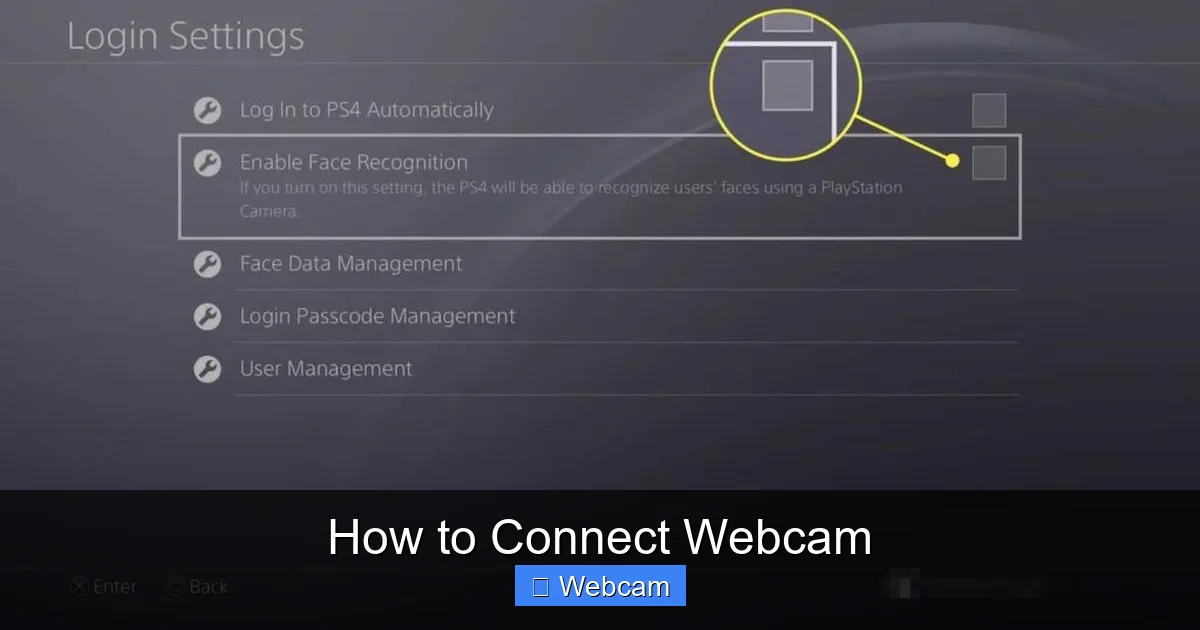
Visual guide about How to Connect Webcam
Image source: techsynchron.com
Step 1: Choose the Right Port
First, locate the USB port on your computer. If you have a desktop, check the back or front panel. For laptops, look on the sides. Make sure you’re using a USB 2.0 or USB 3.0 port—older USB 1.0 ports may not support high-resolution video.
If your webcam uses USB-C but your computer only has USB-A ports, you’ll need a USB-C to USB-A adapter or cable. These are inexpensive and widely available.
Step 2: Plug in the Webcam
Insert the USB connector into the port. You should hear a sound (on Windows) or see a notification (on Mac) indicating a new device has been detected. If your webcam has a built-in cable, you’re done—just plug it in.
For external webcams with a separate power adapter, connect the power source after plugging in the USB. Some models require both USB and power to function properly.
Step 3: Wait for Drivers to Install (If Needed)
Most modern webcams are “plug and play,” meaning they work immediately without extra software. Windows and Mac usually install the necessary drivers automatically.
If your webcam isn’t recognized, try these steps:
- Unplug and plug it back in.
- Try a different USB port.
- Check Device Manager (Windows) or System Report (Mac) to see if the device is listed.
If it still doesn’t work, visit the manufacturer’s website (like Logitech, Razer, or Microsoft) and download the latest driver or software.
How to Connect a Wireless Webcam
Wireless webcams use Wi-Fi or Bluetooth to connect to your device. These are ideal for flexible positioning and reduced cable clutter.

Visual guide about How to Connect Webcam
Image source: techsynchron.com
Step 1: Power On the Webcam
Turn on your wireless webcam and put it into pairing mode. This usually involves holding a button until an LED light blinks. Refer to your user manual for exact instructions—each brand has a slightly different process.
Step 2: Connect via Wi-Fi or Bluetooth
For Wi-Fi webcams: Open your computer’s Wi-Fi settings and look for a new network named after your webcam (e.g., “Logitech-C920”). Connect to it using the password shown on the webcam’s screen or in the manual. Then, open the companion app (like Logitech Capture or DroidCam) to access the video feed.
For Bluetooth webcams: Go to Bluetooth settings on your computer, scan for devices, and select your webcam from the list. Once paired, the webcam will appear as a video input device in your video app.
Step 3: Test the Connection
Open Zoom, Skype, or your preferred video app and select the wireless webcam as the video source. If the video appears, you’re all set!
How to Use Your Laptop’s Built-in Webcam
Almost every laptop has a built-in webcam, usually located at the top of the screen. These are convenient but may have lower resolution than external models.
Step 1: Check Camera Settings
On Windows, press Windows Key + S, type “Camera,” and open the Camera app. On Mac, open Photo Booth or QuickTime Player and start a new movie recording.
If the video doesn’t appear, go to your computer’s privacy settings and allow camera access for the app you’re using.
Step 2: Adjust Privacy Settings
On Windows 10/11, go to Settings > Privacy & Security > Camera and make sure “Allow apps to access your camera” is turned on. On Mac, go to System Settings > Privacy & Security > Camera and enable access for your video app.
Some laptops have a physical camera cover or a function key (like Fn + F10) to disable the webcam. Make sure it’s not turned off.
How to Test Your Webcam
Once connected, it’s important to test your webcam before jumping into a meeting or stream.
Use Built-in Testing Tools
Windows: Open the Camera app from the Start menu. You should see your video feed.
Mac: Open Photo Booth or QuickTime Player and start a new movie. Your face should appear in real time.
Linux: Use Cheese or guvcview to test the camera.
Test in Your Video App
Open Zoom, Skype, or Google Meet and click on the video settings. Select your webcam from the dropdown menu. If the video appears, you’re ready to go!
Troubleshooting Common Webcam Issues
Even with the best setup, things can go wrong. Here’s how to fix the most common problems.
Webcam Not Detected
If your computer doesn’t recognize the webcam:
- Try a different USB port.
- Restart your computer.
- Check Device Manager (Windows) for yellow warning icons. Right-click and select “Update driver.”
- On Mac, go to System Report > USB and see if the webcam is listed.
Black Screen or No Video
This usually means the app doesn’t have permission to use the camera. Check privacy settings and make sure no other app is using the webcam at the same time.
Low Video Quality
Lower resolution can be caused by poor lighting, dirty lens, or outdated drivers. Clean the lens gently with a microfiber cloth and update your webcam software.
Audio and Video Out of Sync
This is common with wireless webcams. Try moving closer to your router or switching to a wired connection if possible.
Tips for Better Webcam Performance
Want sharper video and fewer glitches? Follow these best practices.
- Use good lighting: Natural light is best. Avoid backlighting—sit with a window behind you.
- Position the webcam at eye level: This creates a more natural angle for video calls.
- Close unnecessary apps: Background processes can slow down video performance.
- Use a stand or tripod: Keeps your camera steady and improves framing.
- Update firmware: Visit the manufacturer’s website for the latest firmware updates.
Conclusion
Connecting a webcam is simple once you know the steps. Whether you’re using a USB, wireless, or built-in camera, the process involves plugging in the device, allowing permissions, and testing the video feed. With a few quick checks, you’ll be ready for video calls, live streams, or recording high-quality content in minutes.
Remember to keep your drivers updated, check privacy settings, and position your camera for the best results. And if something goes wrong, don’t panic—most issues are easy to fix with a little troubleshooting.
Now go ahead and connect your webcam. Your new video experience starts here!



