


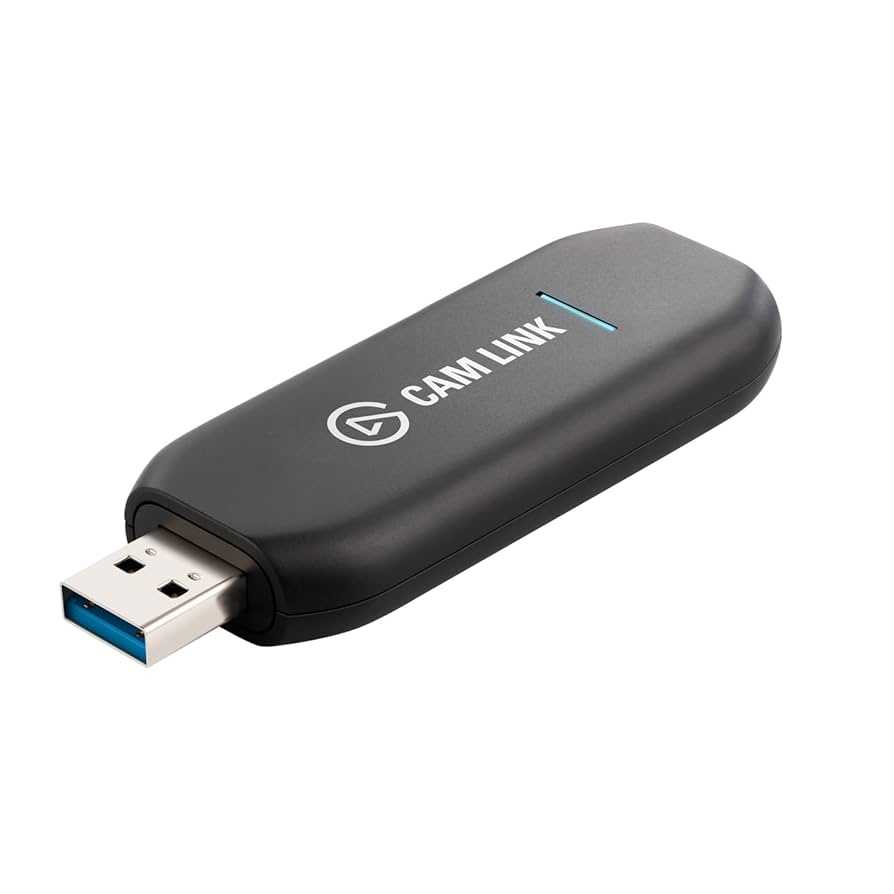
To connect your webcam through a capture card, simply plug your webcam into your capture card’s input port, then connect the capture card to your computer via USB or HDMI depending on the model. Ensure that your webcam is compatible with the capture card, and install any necessary drivers or software. Once connected, select the capture card as your video source in your streaming or conferencing software, and you’re ready to go!
Connecting a webcam through a capture card might sound complicated, but it’s actually quite straightforward once you understand the process. This method is perfect for those who want to improve video quality or use professional-grade cameras for live streaming, broadcasting, or video conferencing. Essentially, you’ll be taking the webcam’s signal and routing it through the capture device, which then feeds the video into your computer. Whether you’re a streamer, a content creator, or just looking to upgrade your video setup, mastering this connection will open up new possibilities for high-quality video output.

How to connect webcam through capture card
Connecting a webcam through a capture card might sound complicated, but it’s easier than many think. This process allows you to use high-quality webcams for streaming, recording, and video calls with improved clarity. Follow these steps carefully to ensure a smooth setup and the best results for your needs.
Understanding the purpose of a capture card
A capture card acts as a bridge between your webcam and your computer. It captures high-definition video signals from external devices and transmits them to your computer’s software. This setup is essential when you want to improve streaming quality or use multiple video sources.
Choosing the right capture card for your webcam
Selecting a compatible capture card depends on your webcam’s specifications and your intended use. Look for features like resolution support, frame rate, and connection types (USB, HDMI, etc.). Popular options include Elgato, AVerMedia, and Razer Ripsaw series.
Factors to consider when selecting a capture card
- Resolution support for example, 1080p, 4K, or higher.
- Frame rate such as 30 fps or 60 fps for smooth video.
- Connectivity options HDMI or USB, depending on your webcam and setup.
- Compatibility with your computer’s operating system (Windows, macOS, etc.).
Gathering the necessary equipment
Before starting, make sure you have all the required devices. Besides your webcam and capture card, you’ll need appropriate cables and possibly an HDMI splitter or adapter. Having a stable power supply for your devices helps prevent connection issues.
Equipment checklist
- Webcam with HDMI or USB output
- Capture card compatible with your webcam’s connection type
- High-quality HDMI cable or USB cable
- Computer with compatible ports
- Optional: HDMI splitter if connecting multiple devices
Connecting your webcam to the capture card
This is the core step. If your webcam uses an HDMI output, connect it directly to the capture card’s HDMI input port. For webcams with USB output, some capture cards may require an intermediary like a HDMI converter or cable. Be precise in plugging in the right connection.
Step-by-step connection process
- Plug the webcam’s HDMI output into the capture card’s HDMI input port.
- If your webcam only has USB, connect it directly to your computer or use an adapter if needed.
- Connect the capture card to your computer via USB or the designated port.
- Ensure all cables are securely plugged in and check for any loose connections.
Installing necessary drivers and software
After physical setup, install any required drivers for your capture card. Visit the manufacturer’s website to download the latest drivers and software compatible with your operating system. This step ensures your computer correctly recognizes the device.
Steps to install drivers and software
- Download drivers from the official website of the capture card.
- Follow the installation instructions carefully.
- Restart your computer after installation if prompted.
- Open the capture card’s management software if available.
Configuring your computer and streaming software
Once the drivers are installed, set up your video input in your streaming or recording software. Applications like OBS Studio, Streamlabs, or XSplit recognize capture cards as video sources. Select the capture card from the list of available devices.
Setting up in OBS Studio
- Open OBS Studio and navigate to the Sources box.
- Click the “+” button and select “Video Capture Device.”
- Name the source appropriately, then click “OK.”
- Choose your capture card from the device dropdown menu.
- Adjust resolution and frame rate settings for optimal quality.
Testing and troubleshooting your setup
After configuring everything, perform a test recording or stream. Check the video quality, frame rate, and audio clarity. If issues arise, verify all connections, update drivers, or restart your software and hardware.
Common issues and solutions
- No video signal: Ensure cables are correctly connected; check if the capture card is properly recognized by your computer.
- Lag or latency problems: Reduce resolution or frame rate settings; update your graphics drivers.
- No audio: Confirm audio settings in your streaming software; ensure the capture card supports audio input if needed.
Enhancing your webcam quality through capture card
Using a capture card can significantly improve your webcam’s image quality, especially when paired with high-definition webcams and proper lighting. Adjusting settings like exposure, brightness, and contrast can further refine the output.
Tips for better video quality
- Use good lighting to minimize noise and improve clarity.
- Set your webcam to the highest resolution supported.
- Keep your software and drivers updated for best performance.
Additional related topics
Using multiple webcams with capture cards
If you want to use more than one webcam, consider getting multiple capture cards or a device that supports multiple inputs. This setup is common for professional streaming or video conferencing.
Upgrading your streaming setup
Investing in better webcams, high-quality capture cards, and good lighting can make a big difference. Combining these tools yields a more professional and engaging video experience.
Common mistakes to avoid
- Using incompatible cables or connections.
- Skipping driver installations or updates.
- Overlooking proper lighting conditions.
Knowing how to connect a webcam through a capture card opens up more possibilities for high-quality video content. With the right equipment and careful setup, you’ll be ready to produce clear, professional-looking streams and recordings with ease.
How To Setup A Capture Card EASY! #capturecard #streaming #setup
Frequently Asked Questions
What are the steps to connect a webcam to a capture card?
Connecting a webcam to a capture card involves plugging the webcam’s USB cable into your computer and then connecting the capture card to your computer via its output port, typically HDMI or SDI. Ensure the webcam is compatible with your capture card and that both devices are powered on. Use the appropriate software to set up and select the webcam as the video source, and configure the capture card in your streaming or recording program.
How do I configure my software to recognize the webcam through the capture card?
Open your preferred streaming or recording software and navigate to the video or device settings. The software should automatically detect the capture card as a video input once connected properly. If it doesn’t, manually select the capture card from the list of available devices. Afterward, choose the webcam feed that passes through the capture card and adjust the resolution or quality settings as needed.
What troubleshooting steps should I follow if the webcam isn’t displaying through the capture card?
First, verify all cable connections between the webcam, capture card, and computer are secure. Make sure the webcam drivers are up to date and that the capture card is compatible with your system. Restart your computer and ensure that your software recognizes the capture device. If issues persist, try testing the webcam directly on your computer to confirm it functions properly, and check if the capture card is recognized by your operating system’s device manager.
Final Thoughts
To connect a webcam through a capture card, start by connecting the webcam to the capture card using a compatible cable. Then, plug the capture card into your computer via USB or Thunderbolt. Make sure your computer recognizes the device and install any necessary drivers.
Open your preferred streaming or recording software and select the capture card as the video source. Test the connection to ensure the webcam’s feed appears correctly.
In conclusion, knowing how to connect webcam through capture card simplifies the setup process and enhances your video quality. Follow these steps to achieve a seamless connection and improve your overall content creation experience.



