


Adjusting your webcam field of view is crucial for controlling what appears in your video frame, enhancing privacy and professionalism. This guide explores various methods, from simple physical adjustments to utilizing built-in software settings and third-party applications. Master these techniques to optimize your video presence for any virtual interaction.
How to Adjust Webcam Field of View
Welcome to the ultimate guide on mastering your webcam’s field of view! In today’s digital world, our webcams are our windows to countless virtual interactions, from important work meetings and online classes to catching up with friends and family. The way you present yourself on camera can significantly impact your message and overall impression. A crucial aspect of this presentation is controlling your webcam’s field of view, or FoV.
What exactly is the field of view? Simply put, it’s how much your camera “sees” and captures within its frame. A wide FoV will show more of your background and surroundings, while a narrow FoV will focus more tightly on you, minimizing distractions. Understanding and adjusting your webcam field of view is essential for creating professional, private, and engaging video experiences.
In this comprehensive guide, we’ll walk you through everything you need to know about adjusting your webcam’s field of view. We’ll cover various methods, from simple physical adjustments to leveraging software settings and advanced tools. By the end, you’ll be a pro at framing your shots and presenting your best self on screen. Let’s dive in!
Key Takeaways
- Understand Field of View (FoV): FoV determines how much of the scene your webcam captures. A wider FoV shows more background, while a narrower one focuses on you.
- Physical Positioning is Key: Before software, try physically moving your webcam closer or further away, or repositioning items in your background to adjust what’s seen.
- Utilize Webcam Software: Many webcams come with proprietary software that allows you to digitally zoom, pan, and tilt, effectively narrowing or shifting your webcam’s field of view.
- Conferencing App Settings: Popular video conferencing platforms (Zoom, Teams, Google Meet) often have their own built-in video settings that can adjust zoom or crop your image.
- Third-Party Virtual Webcam Software: Tools like OBS Studio can create a virtual webcam, offering advanced controls over cropping, scaling, and adding overlays to perfectly customize your output.
- Consider Hardware Limitations: Digital zoom crops the image, potentially reducing quality. Optical zoom (rare in webcams) maintains clarity. Know your webcam’s capabilities.
- Optimizing for Different Scenarios: Adjust your FoV for specific needs – a narrow FoV for professional calls, a wider one for demonstrating something or showing a group.
Understanding Your Webcam Field of View
Before we get into the “how-to,” let’s clarify what a webcam field of view really means. Imagine looking through a camera lens. The field of view is the extent of the observable world seen at any given moment. For webcams, this is typically measured in degrees.
* Wide Field of View (e.g., 90-120 degrees): This captures a broad area, showing more of your room or multiple people. It’s great for group calls or if you need to show your surroundings. However, it can also reveal clutter or unwanted personal items.
* Narrow Field of View (e.g., 60-78 degrees): This focuses more tightly on the subject, usually just you. It’s ideal for individual calls, interviews, or situations where you want to minimize background distractions and maximize privacy.
Most webcams come with a fixed field of view, but you can often adjust *what* is seen within that view using various techniques.
Method 1: Physical Positioning – The Simplest Adjustment
Sometimes, the best solution doesn’t involve any software at all! Adjusting your physical setup is the most straightforward and universally applicable way to control your webcam field of view.
H3: Step 1: Reposition Your Webcam
Moving your webcam itself can drastically change what’s in the shot. Try these adjustments:
Visual guide about How to Adjust Webcam Field of View
Image source: fineshare.com
- Move Closer or Further: If your webcam is too far away, it will capture more of your background. Moving it closer to you will naturally narrow the effective field of view, making you appear larger and showing less background. Conversely, moving it further away will widen the view.
- Adjust Height and Angle: Experiment with placing your webcam higher or lower, and tilting it up or down. A slightly elevated webcam looking down can create a more flattering angle and minimize cluttered desk space.
- Change Location: Can you move your monitor or laptop to a different part of the room? A different wall or background can make a huge difference in what your webcam sees.
H3: Step 2: Clear or Rearrange Your Background
If you can’t change your webcam’s position much, focus on what’s behind you. This directly impacts what your webcam field of view includes.
- Declutter: Remove any distracting items, personal belongings, or sensitive information from the visible area.
- Add Intentional Elements: Place a neat bookshelf, a plant, or a simple piece of art in your background to create a more professional or aesthetically pleasing scene.
- Use a Plain Wall: The simplest background is often a plain, uncluttered wall. This minimizes distractions and keeps the focus entirely on you.
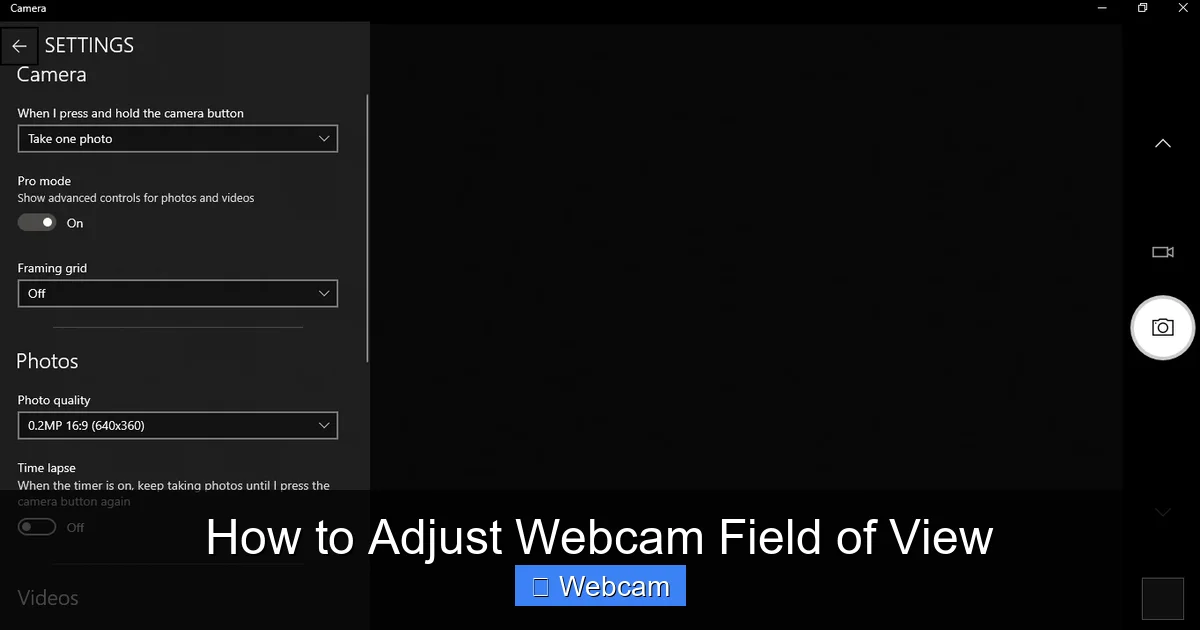
Practical Tip: Always check your webcam’s view before a call. Open your camera app (Windows Camera or Photo Booth on Mac) to see exactly what others will see.
Method 2: Using Your Webcam’s Proprietary Software
Many reputable webcam manufacturers, like Logitech, Razer, and Microsoft, provide their own dedicated software. This software often includes settings to digitally adjust your webcam field of view.
H3: Step 1: Install and Open Your Webcam Software
First, make sure you have the manufacturer’s software installed. If not, visit their official website, find your webcam model, and download the latest drivers and utility software. Once installed, open the application.

Visual guide about How to Adjust Webcam Field of View
Image source: fineshare.com
Example: For Logitech webcams, you might use “Logitech G HUB” or “Logi Capture.” For Razer, it could be “Razer Synapse.”
H3: Step 2: Locate Field of View or Zoom Settings
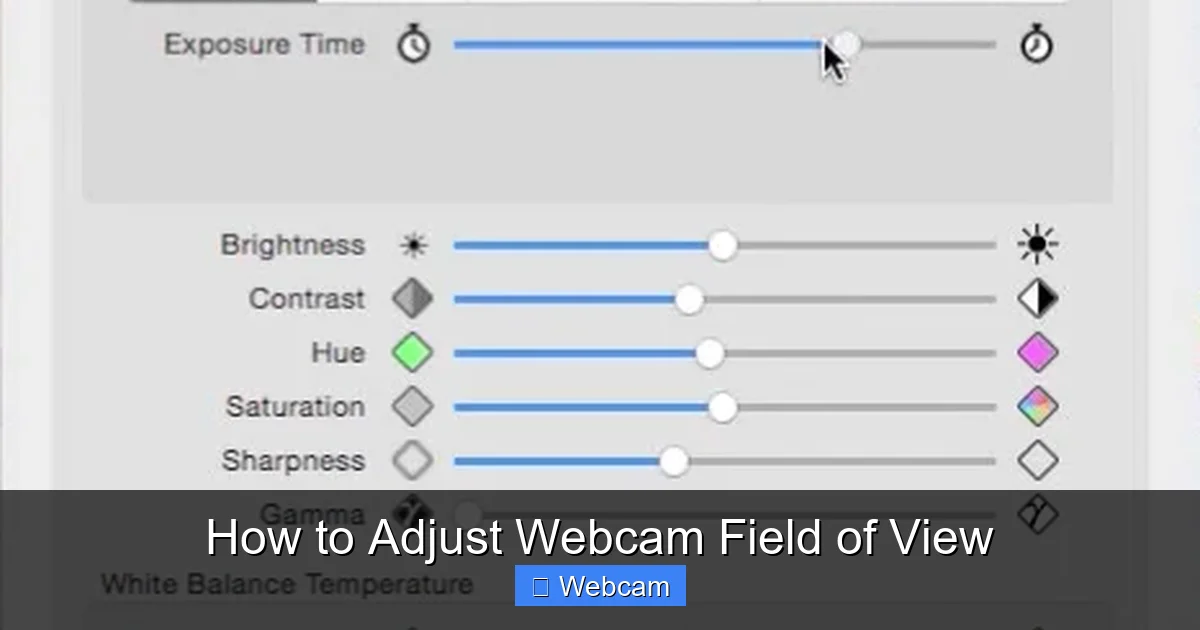
Within the software, look for settings related to “Field of View,” “Zoom,” “Pan,” or “Tilt.” These are often found under a “Camera,” “Video,” or “Settings” tab.
- Zoom: This is the most common way to adjust your webcam field of view digitally. Increasing the zoom will crop the edges of the image, making it appear as if you have a narrower FoV.
- Pan & Tilt: Once you’ve zoomed in, you might need to “pan” (move horizontally) or “tilt” (move vertically) the image to ensure you’re perfectly centered in the frame.
- FoV Presets: Some advanced webcams offer predefined FoV settings, such as 60°, 78°, or 90°, allowing you to switch between them with a click.
Practical Tip: Digital zoom essentially crops your image. While it narrows your webcam field of view, it can sometimes reduce overall image quality, especially if you zoom in excessively. Test different levels to find a balance.
Method 3: Adjusting Within Video Conferencing Software
Most popular video conferencing applications offer built-in camera settings that can help you manage your webcam field of view directly within the platform.
H3: Step 1: Access Video Settings in Your Conferencing App
Before or during a call, navigate to the video settings section of your chosen platform:

Visual guide about How to Adjust Webcam Field of View
Image source: fineshare.com
- Zoom: Click the upward arrow next to the “Stop Video” button, then select “Video Settings…” Look for a “My Video” section, which might include “Aspect Ratio” or “HD” options, and sometimes “Advanced” settings for camera control.
- Microsoft Teams: Go to “Settings” (the gear icon), then “Devices.” Under “Camera,” you might find options to adjust brightness, contrast, and sometimes a zoom or FoV control, especially for certified webcams.
- Google Meet: During a call, click the three-dot menu, then “Settings,” then “Video.” You’ll see your camera preview and options for resolution and possibly some pan/zoom controls if your webcam supports it.
H3: Step 2: Look for Zoom, Crop, or Background Blur Options
While direct FoV sliders are less common here, these apps offer alternatives:
- Zoom/Crop: Some apps provide a basic zoom slider that digitally adjusts your webcam field of view.
- Virtual Backgrounds/Blur: This is a highly effective way to manage your background without physically changing your FoV. By blurring your background or replacing it with a virtual image, you can maintain privacy and focus, regardless of how wide your actual webcam field of view is.
- Face Framing: A few advanced apps or webcams with AI features can automatically crop and center your face, effectively giving you a tighter, more focused webcam field of view.
Practical Tip: Always preview your video before joining a meeting to ensure your webcam field of view and background are exactly as you want them.
Method 4: Using Third-Party Virtual Webcam Software
For ultimate control over your webcam field of view and video output, third-party virtual webcam software is your best friend. Tools like OBS Studio (Open Broadcaster Software) or ManyCam allow you to create a virtual camera feed, giving you extensive customization options.
H3: Step 1: Download and Install OBS Studio (or Similar)
OBS Studio is a powerful, free, and open-source tool primarily used for live streaming, but it’s fantastic for enhancing your webcam feed. Download it from the official OBS Project website.
H3: Step 2: Set Up Your Webcam as a Source
In OBS Studio:
- Under the “Sources” box, click the ‘+’ icon and select “Video Capture Device.”
- Give it a name (e.g., “My Webcam”) and select your webcam from the “Device” dropdown list. Click “OK.”
H3: Step 3: Adjust Your Webcam Field of View in OBS
Now comes the fun part! The preview window in OBS shows what your virtual webcam will output. You can manipulate your webcam field of view here:
- Crop: Click and drag the edges of your webcam source in the preview window while holding down the ‘Alt’ key (Windows) or ‘Option’ key (Mac). This will crop the video feed, effectively narrowing your webcam field of view without changing the original source.
- Resize/Scale: Click and drag the corners of your webcam source (without ‘Alt’/’Option’) to resize it. You can make your image larger or smaller within the OBS canvas.
- Position: Drag your webcam source around the canvas to position yourself exactly where you want to be.
- Filters: Right-click your webcam source, go to “Filters,” and explore options like “Crop/Pad” for precise numerical cropping, or “Color Correction” for visual adjustments.
H3: Step 4: Start the Virtual Camera and Select in Conferencing App
Once you’ve framed your shot perfectly in OBS:
- In OBS, click “Start Virtual Camera” (located on the right-hand “Controls” panel).
- Go to your video conferencing software (Zoom, Teams, etc.).
- In the video settings, select “OBS Virtual Camera” (or similar name) as your camera device instead of your physical webcam.
Now, your conferencing app will display the customized output from OBS, giving you complete control over your webcam field of view and presentation.
Practical Tip: OBS allows you to add multiple sources, like screen shares, images, or text, alongside your webcam, making it incredibly versatile for presentations or tutorials.
Method 5: Choosing a Webcam with Adjustable Field of View (Future Proofing)
If you’re in the market for a new webcam, consider models that offer hardware-based FoV adjustments.
H3: Look for Specific Features
- Optical Zoom: While rare and usually expensive for consumer webcams, optical zoom physically adjusts the lens to change the field of view without sacrificing image quality.
- Variable Field of View: Some high-end webcams specifically advertise variable FoV settings (e.g., 65°/78°/90°). These allow you to switch between presets directly in the webcam’s software, offering a true adjustment rather than just a digital crop.
- Interchangeable Lenses: Again, very uncommon for standard webcams, but some advanced setups might allow for different lenses to achieve different fields of view.
Investing in a webcam with these features will provide the most flexibility and best image quality when adjusting your webcam field of view.
Troubleshooting Common Webcam FoV Issues
Even with the best tools, you might encounter some hiccups. Here are solutions to common problems:
H3: Issue: Digital Zoom Reduces Image Quality
Solution: This is a limitation of digital zoom. If image quality is paramount, try to rely more on physical positioning (moving the webcam closer) or consider investing in a webcam with optical zoom or a native variable FoV. For existing setups, don’t zoom in more than necessary.
H3: Issue: Webcam Software Isn’t Detecting My Camera or Settings Aren’t Saving
Solution:
- Update Drivers: Ensure your webcam drivers and software are up to date. Visit the manufacturer’s website.
- Close Conflicting Apps: Make sure no other application (like another conferencing app or your system camera app) is using the webcam simultaneously. Only one app can control the camera at a time.
- Restart: A simple computer restart can often resolve software glitches.
- Check Permissions: Ensure your operating system grants the webcam software permission to access and control the camera.
H3: Issue: My Background is Still Distracting Even with FoV Adjustments
Solution:
- Enhance Lighting: Good lighting can make a cluttered background less noticeable by drawing focus to you. Use a ring light or natural light from a window.
- Background Blur/Virtual Backgrounds: As mentioned, leverage the virtual background or blur features in your conferencing software.
- Physical Backdrop: For a professional look, consider using a portable green screen or a simple fabric backdrop behind your chair.
Conclusion
Mastering your webcam field of view is a fundamental skill for anyone regularly using video calls. Whether you need to maintain privacy, project professionalism, or simply ensure you’re framed perfectly, you now have a toolkit of methods to achieve your desired look.
Start with simple physical adjustments, then explore your webcam’s proprietary software or the settings within your favorite conferencing apps. For advanced control and ultimate customization, virtual webcam software like OBS Studio offers unparalleled flexibility. Remember to always test your setup before going live and make adjustments that best suit your environment and your message. With these tips, you’ll always look your best on camera, leaving a lasting and positive impression!



