


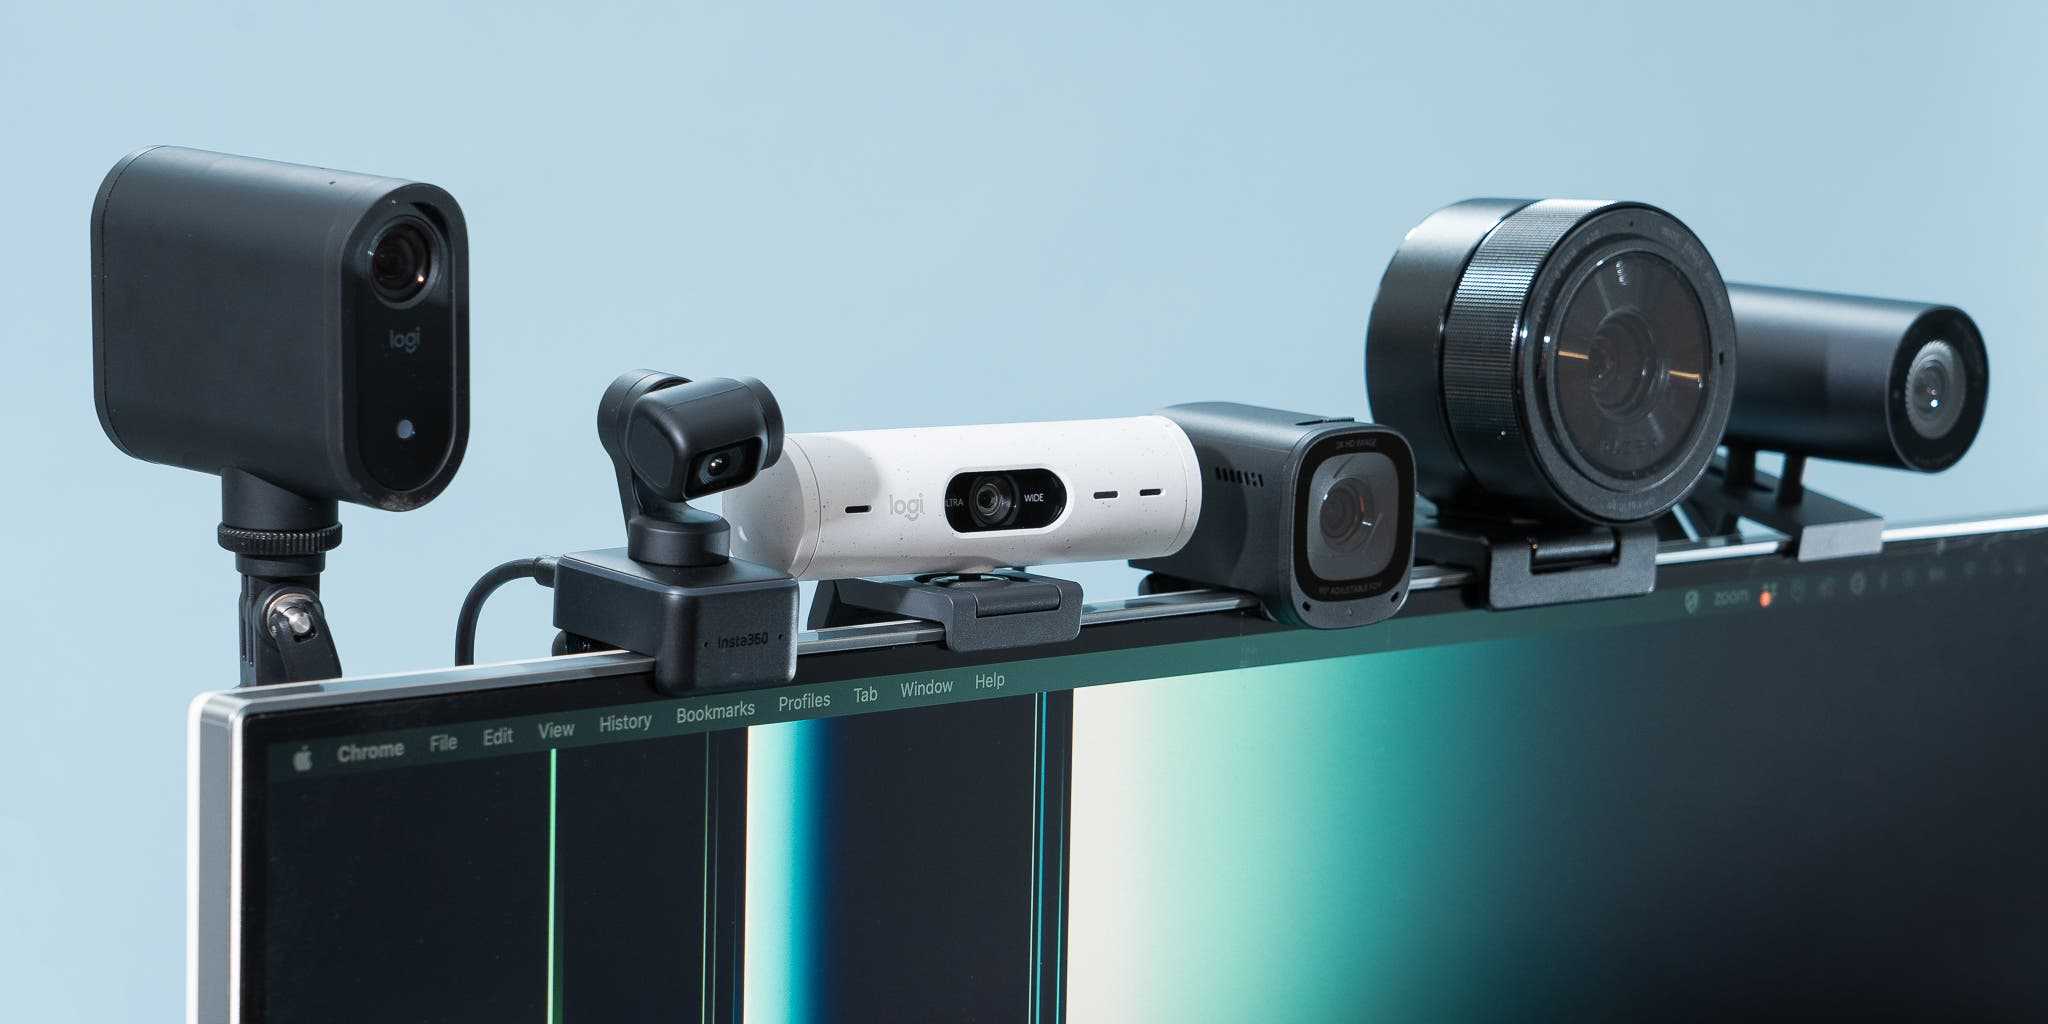
To quickly adjust your webcam zoom level for class, open your webcam settings during your video call or recording, and use the zoom or crop options available in the software. You can also access your device’s native settings or use third-party apps to fine-tune the zoom for a clearer, more professional appearance.
In short, adjusting your webcam zoom involves accessing your camera settings through your conferencing software or device settings and then customizing the zoom or crop level to fit your needs. Most modern webcams and applications make it simple to tweak these settings on the fly, ensuring you’re always perfectly framed for your class.
Getting your webcam just right can feel tricky, especially when you’re trying to project a professional or approachable image during online classes. Whether you’re using built-in camera software or third-party tools, knowing how to adjust the zoom level is key to maintaining a clear focus on yourself and reducing distractions. In this guide, I’ll walk you through the steps to easily tweak your webcam’s zoom, so you can present yourself confidently and clearly to your students or colleagues.

How to Adjust Webcam Zoom Level for Class
Understanding Webcam Zoom and Why It Matters
Adjusting your webcam zoom helps you stay focused on yourself or specific objects during a class. It also makes your video clearer and more professional. Knowing how to control zoom ensures your classmates and teachers see what you want them to see.
Different Ways to Adjust Webcam Zoom
There are mainly two ways to change your zoom level. The first involves built-in software that comes with your webcam or computer. The second uses third-party apps or video conferencing tools like Zoom or Microsoft Teams.
Using Built-in Webcam Software
Most webcams come with their own software or drivers. These programs often include zoom controls to adjust your camera’s view easily. Check your computer or webcam manufacturer’s website for downloads if you don’t see the software already installed.
Adjusting Zoom via Video Conferencing Platforms
Many platforms like Zoom, Google Meet, and Microsoft Teams allow you to control your camera settings within the app. These features typically include a zoom or crop option to fine-tune your video.
Steps to Adjust Webcam Zoom Using Built-in Software
Using your webcam’s native software is straightforward. Follow these steps for quick adjustments:
- Open your webcam’s control panel or software from your desktop or start menu.
- Locate the zoom control or slider, often labeled as “Zoom” or “Field of View.”
- Move the slider left or right to decrease or increase zoom. A higher zoom makes you appear larger.
- Preview your video to ensure the zoom level fits your needs for class.
- Save settings if needed, and close the software. Your adjustments should stay for future meetings.
Using Video Conferencing Software to Adjust Zoom
Most platforms allow you to tweak zoom settings within the app. Here’s how to do it in popular programs:
Zoom
- Join your meeting and click the arrow next to “Start Video.”
- Select “Video Settings” from the menu.
- Find the “My Video” tab where options like mirror and aspect ratio appear.
- Use the “Crop” or “Zoom” sliders if available to adjust your view.
- Test your video to see if the zoom level shows you clearly.
Google Meet
- Open Google Meet and enter your class.
- Click the three dots (more options) and select “Settings.”
- Choose “Video” and look for camera options.
- If your camera software supports zoom, adjust it here.
- Note: Google Meet itself does not have a built-in zoom control, so rely on camera software or hardware controls.
Microsoft Teams
- Join your class session and click the three dots (…) for more options.
- Select “Device Settings.”
- Under “Camera,” find options to adjust the zoom if supported by your webcam software.
- Adjust the slider to change zoom level and see the live preview.
Manual Methods for Adjusting Webcam Zoom
Sometimes, hardware controls on your webcam or laptop provide manual options to zoom. These include physical rings on external webcams or function keys on laptops.
Using External Webcam Controls
Many webcams have a small ring or wheel you can turn to zoom in or out. Look for markings indicating zoom or crop. Gentle turns allow precise control over your video view.
Adjusting Laptop Camera Settings
For built-in laptop cameras, access the device’s control panel:
- Open your Control Panel or Settings menu.
- Navigate to “Device Manager” and locate your camera under “Imaging Devices.”
- Right-click and select “Properties.”
- Check for any available “Photo” or “Video” settings to adjust zoom or view.
Best Practices for Effective Webcam Zoom Use During Class
Properly adjusting your zoom enhances your presence online. Consider these tips for better results:
Avoid Over-Zooming
Zooming in too much can pixelate your image or cause you to appear distorted. Keep the zoom level moderate for clarity.
Frame Your Face Properly
Ensure your face is centered and occupies about two-thirds of the frame. This setup creates a natural look that’s comfortable for viewers.
Test Your Setup Before Class
Always check your camera view before the class begins. Adjust zoom levels for the best angle and clarity.
Consider Lighting and Background
Proper lighting makes zoomed-in images clearer. Keep your background tidy and unobtrusive to avoid distraction.
Common Issues and Troubleshooting Tips
Sometimes, adjusting zoom might not work as expected. Here are common problems and solutions:
Zoom Not Responding
Ensure your webcam drivers are up to date. Reinstall drivers if needed, or try using a different software tool.
Image Quality Degrades When Zoomed
Lower resolution or poor lighting can cause pixelation. Improve your lighting and avoid excessive zooming.
Zoom Controls Are Grayed Out
Some webcams or software prevent zoom adjustments. Verify that your device supports zoom features.
Enhancing Your Video Quality Beyond Zoom
Zoom is just one part of a good video setup. For clearer, more professional videos:
- Use a high-quality webcam with good autofocus and manual controls.
- Ensure proper lighting to avoid shadows and glare.
- Position your camera at eye level for natural framing.
- Adjust your background to minimize distractions.
Summary of Key Tips for Adjusting Webcam Zoom for Class
To make your virtual class experience better, remember:
- Check your webcam’s software for zoom controls.
- Use your video conferencing platform’s settings to fine-tune zoom.
- Use hardware controls if available on your webcam or laptop.
- Test your camera setup before class for the best view.
- Balance zoom with good lighting and proper framing.
Additional Related Topics
Further enhance your online presence with these related tips:
- How to improve lighting for webcam videos
- Best camera angles for online classes
- Choosing the right webcam for virtual learning
- How to troubleshoot common webcam problems
By understanding and practicing these techniques, you can effectively control and optimize your webcam’s zoom level for a professional and comfortable virtual classroom experience.
Proper Webcam Placement for Virtual Meeting
Frequently Asked Questions
How can I adjust my webcam’s zoom level using built-in software?
Most webcams come with dedicated software or control panels that allow you to modify the zoom setting. Open the webcam’s software installed on your computer, navigate to the video settings or camera controls, and look for a zoom or magnification option. Adjust the slider or input to increase or decrease the zoom level until you achieve the desired framing for your class. Save your settings to ensure they apply during your session.
What steps should I take to change the zoom level through your video conferencing platform?
Many video conferencing tools offer in-app camera adjustments. During your call, access the settings or video options menu. Locate the camera or video quality section, then find the zoom or crop controls. Move the slider to adjust the zoom level, focusing more closely on your face or the whiteboard as needed. Test the new zoom setting before your class begins to confirm it provides the right framing.
Are there physical controls on my webcam to modify zoom, and how do I use them?
If your webcam has physical buttons or a joystick, you can often control zoom directly. Refer to the webcam’s manual to identify the zoom control button or dial. During use, press or rotate the control to zoom in or out. Keep in mind that not all webcams include physical zoom features; in such cases, software adjustments remain your primary option.
Can I adjust the zoom level by changing the camera resolution?
Altering the camera resolution alone does not directly change the zoom level. However, selecting a higher resolution can provide a clearer image, making digital zooms sharper. Conversely, lowering the resolution may give a broader field of view without zooming. To control zoom precisely, use dedicated zoom controls within software or hardware features rather than changing resolution settings alone.
Is it possible to set a specific zoom level for consistent camera framing in my classes?
Yes, most webcams or their software allow you to save custom settings, including your preferred zoom level. Once you adjust the zoom to suit your typical framing, save these settings within the software or device configuration. This way, every time you start a session, the webcam maintains your preferred view, saving you from readjusting each time.
Final Thoughts
To adjust the webcam zoom level for class, start by opening your video conferencing app settings. Locate the camera options and find the zoom or view control. Use the slider or input field to set the desired zoom level for clear visibility. Experiment with different settings to find the most comfortable view during your class sessions. Remember, knowing how to adjust webcam zoom level for class helps you present yourself professionally and stay focused.



