


This guide walks you through building a sturdy, custom gaming desk on a budget. You’ll learn the simple process of constructing a durable frame and attaching a solid desktop top, requiring only basic tools and a weekend of your time. The result is a personalized desk that fits your exact space, style, and gaming needs.
Key Takeaways
- Planning is Paramount: Accurate measurements and a clear design plan prevent costly mistakes and ensure your DIY gaming desk fits your space perfectly.
- Butcher Block is Beginner-Friendly: A pre-finished butcher block countertop offers an ideal balance of durability, aesthetics, and ease of use for your first desk build.
- Square and Level are Non-Negotiable: Constantly check for square angles and level surfaces during assembly to avoid a wobbly or uneven final gaming desk.
- Manage Your Cables Proactively: Integrating cable management solutions like raceways or baskets during the build is far easier than adding them later.
- Sturdy Legs are Worth the Investment: Using robust, adjustable hairpin legs or a well-braced 2×4 frame guarantees a stable platform for your expensive monitors and peripherals.
- Personalization is the Reward: The true benefit of building your own desk is the ability to tailor its dimensions, finish, and features to your unique gaming setup.
Quick Answers to Common Questions
Want a taller standing desk?
Use adjustable-height hairpin legs or build your 2×4 frame with taller vertical supports. Always ensure the base remains wide and stable for safety.
How to make the desk deeper for sim racing?
Simply choose a wider butcher block countertop, like 30 or 36 inches deep. Ensure your leg frame or supports are built to match this new depth.
Best way to protect the wood finish?
Use a coaster for all drinks! Reapply a thin coat of polyurethane every few years if the surface sees heavy wear from mouse movement and keyboard shifts.
No power tools?
Many hardware stores will make cuts for you for a small fee. You can assemble the entire desk with pre-cut wood, a screwdriver, sandpaper, and a brush.
How to add RGB lighting?
Adhesive-backed LED light strips are perfect. Stick them to the underside of the desk top along the back edge for a cool, functional glow that reduces eye strain.
How to Build a Gaming Desk Easy: Your DIY Weekend Project
Ever feel like store-bought gaming desks are too small, too flimsy, or just too expensive? You are not alone. Building your own custom gaming desk is a fantastic solution. It is easier than you think. This guide will show you a simple, effective method to build a rock-solid gaming desk. You will end up with a perfect centerpiece for your setup. Best of all, you can do it without advanced woodworking skills.
We will focus on a classic and sturdy design. It uses a solid wood top on a simple frame. This method is affordable, highly customizable, and perfect for beginners. Let’s grab some tools and build the gaming desk of your dreams.
What You Need: Tools and Materials
Gathering everything first makes the build process smooth and easy. Here is your shopping and tool list.

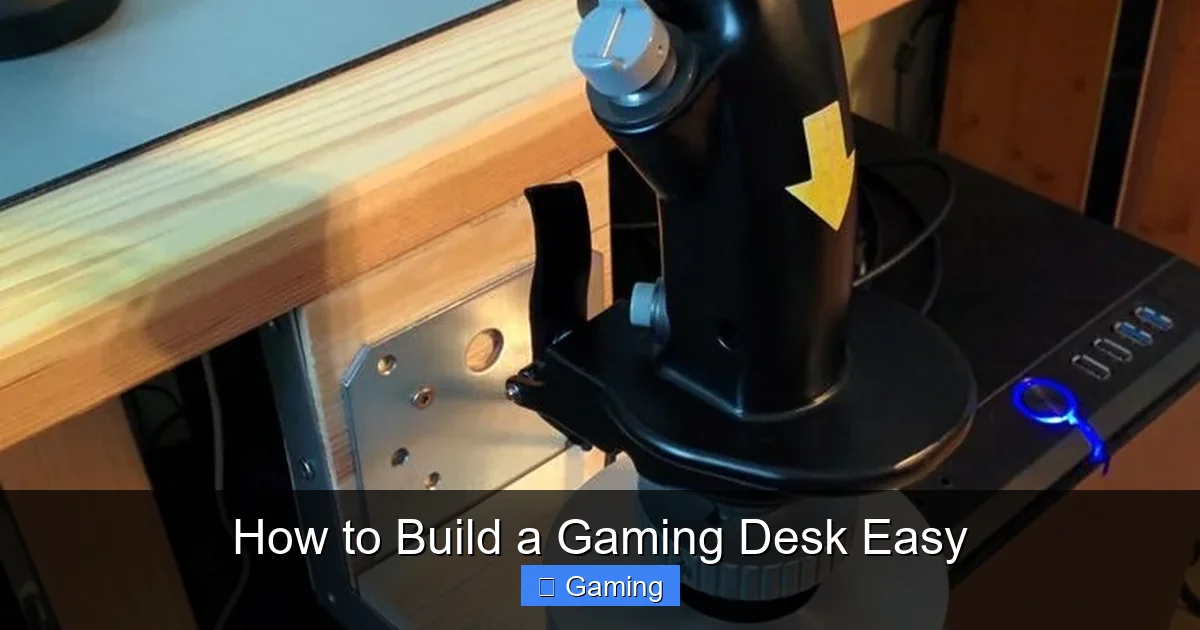
Visual guide about How to Build a Gaming Desk Easy
Image source: thehomeroute.s3.amazonaws.com
Materials List
- Desktop Top: One 6-foot (72″) x 25″ Butcher Block Countertop (like birch or maple). This is the star of your new gaming desk.
- Desk Legs/Frame: Choose one option:
- Option A (Easiest): Four (4) 28″ Industrial Hairpin Legs.
- Option B (Most Sturdy): Six 8-foot 2×4 boards for a full frame.
- Fasteners:
- For Hairpin Legs: 16 Wood Screws (usually included with legs).
- For 2×4 Frame: 3-inch wood screws, 2.5-inch pocket hole screws (if using a Kreg Jig), wood glue.
- Finishing Supplies: Sandpaper (120-grit and 220-grit), tack cloth, polyurethane (water-based for clear finish).
- Cable Management: 1-2 adhesive cable management raceways or a under-desk basket.
Tools List
- Power Drill/Driver
- Measuring Tape
- Speed Square or Carpenter’s Square
- Level (at least 24″)
- Saw (Circular Saw or Hand Saw) – only if cutting the top or 2x4s.
- Clamps (helpful but optional)
- Sander (Orbital is best, but sanding block works)
- Brush or Foam Applicator
- Safety Glasses & Hearing Protection
Step-by-Step Instructions to Build Your Gaming Desk
Follow these clear steps. Take your time. Building your gaming desk should be fun!
Visual guide about How to Build a Gaming Desk Easy
Image source: i.pinimg.com
Step 1: Plan and Measure Your Space
First, decide where your new gaming desk will live. Measure the length and depth of that space. Leave room for your chair and to push back. A standard depth of 25-30 inches is great for monitors and keyboards. The 72-inch length we suggested fits most rooms and gives you tons of space for multiple monitors. Mark this area with painter’s tape on the floor to visualize it.
Step 2: Prepare the Desktop
Your butcher block top might need minor prep. Sand the entire surface lightly with 120-grit sandpaper. Always sand with the wood grain. This smooths any rough spots. Wipe away all dust with a tack cloth. Now, apply a protective finish. Water-based polyurethane is great. It dries fast and keeps the wood’s natural color. Apply 2-3 thin coats with a foam brush, sanding lightly with 220-grit between coats. Let it dry completely as per the can’s instructions.
Tip: If your space needs a shorter desk, you can cut the butcher block. Measure twice, mark your cut line with a straight edge, and cut slowly with a circular saw. Support the wood well to prevent splintering.
Step 3: Assemble the Base (Choose Your Path)
This is the core step. Choose the method that fits your skill and style.
Path A: Attaching Hairpin Legs (Super Easy)
- Flip the finished desktop upside down on a soft surface (like a blanket).
- Measure and mark where each leg will go. Place them 4-6 inches from each corner for stability.
- Pre-drill small pilot holes for your screws. This prevents the wood from splitting.
- Align a leg with your marks. Use your drill to screw it firmly into place. Repeat for all four legs.
- Double-check that all legs are tight and flush against the desktop.
Path B: Building a 2×4 Frame (Maximum Stability)
- Cut your 2x4s: Two pieces at your desk length (e.g., 70″), and four pieces at your desk depth minus 3″ (e.g., 22″ for a 25″ deep top).
- Build two identical rectangular “ladder” frames. These will be the front and back aprons. Use 3-inch screws and wood glue at the joints.
- Connect these two frames with the remaining 2x4s as cross-supports. Place one in the center and one near each end.
- Constantly check for square using your speed square. Ensure the frame is perfectly flat on the ground.
- Flip the desktop upside down. Carefully center the frame on it. Attach it by driving screws down through the top into the frame below. Use at least two screws per connection point.
Step 4: The Grand Flip and Leveling
This is the exciting moment. With help, carefully flip your new gaming desk upright. Place it in its final spot. Now, grab your level. Place it along the front edge, back edge, and side-to-side. If you used hairpin legs, they often have adjustable feet. Simply twist them to perfectly level the desk. For a 2×4 frame, you may need to add thin shims under any leg that is too short.
A perfectly level desk is crucial for comfort and stability during long gaming sessions.
Step 5: Install Cable Management
Do this now before you load the desk up! Run your power strip’s cord to where it will plug in. Adhere a cable raceway along the back edge underneath the desk. Feed all your device cables (monitor, PC, chargers) into this raceway. For a super-clean look, use Velcro straps inside the raceway to bundle wires together. An under-desk basket is also great for holding a power strip and excess cable length.
Troubleshooting Common Issues
- Desk is Wobbly: First, re-tighten all screws and bolts. Ensure the floor is level and use adjustable feet or shims. For a 2×4 frame, adding diagonal corner braces can eliminate side-to-side sway.
- Top Feels Uneven: You may have missed a spot while sanding. Lightly sand the entire top again with a higher grit (220) to even it out before applying another coat of finish.
- Screw Won’t Tighten: If a screw hole becomes stripped, remove the screw. Fill the hole with a bit of wood glue and insert a wooden toothpick or dowel. Let it dry, then cut it flush. You can now drive the screw into this new, solid material.
Conclusion: Game On Your New Creation
And there you have it! You now know how to build a gaming desk the easy way. You did not just save money. You created a piece of furniture tailored exactly to you. This desk will handle your triple-monitor setup, your streaming gear, and those long weekend gaming marathons. The sense of pride every time you sit down is the ultimate reward. Now, wire up your PC, organize your peripherals, and enjoy your brand-new, custom-built command center. Great job, builder!
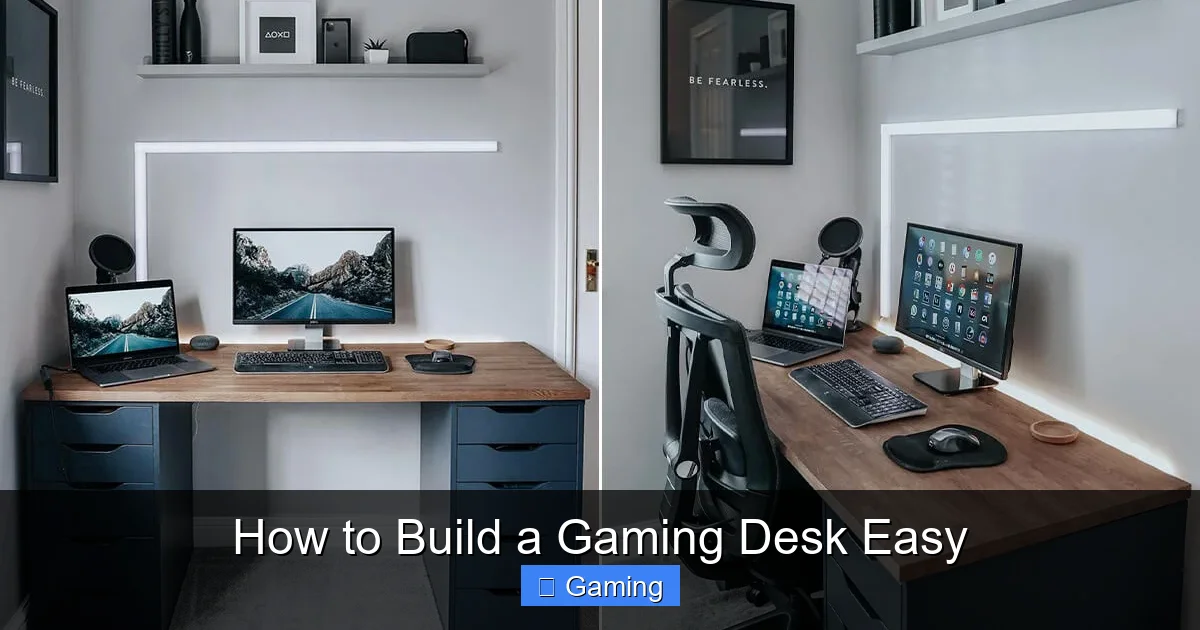
Visual guide about How to Build a Gaming Desk Easy
Image source: gridfiti.com



