


Discover how to connect your webcam to your desktop PC with this easy-to-follow guide. We cover everything from plugging it in and installing drivers to positioning and testing, ensuring you get clear video calls and recordings. Get ready to enhance your virtual communication and content creation today, making connecting your webcam to your desktop PC a breeze!
How to Connect Webcam to Desktop PC
In today’s digital world, a webcam is more than just a gadget; it’s your window to connecting with friends, family, and colleagues, attending virtual classes, or even creating content. Whether you’re setting up a new home office, upgrading your streaming setup, or just trying to make video calls easier, learning how to connect webcam to desktop PC is a fundamental skill. And guess what? It’s much simpler than you might think!
This comprehensive guide will walk you through every step of the process, from unboxing your new webcam to optimizing its settings for crystal-clear video. We’ll cover everything you need to know to get your webcam up and running smoothly, ensuring you can confidently connect webcam to desktop PC without any hassle. Let’s get started!
Key Takeaways
- Choose the Right USB Port: Always use a USB 2.0 or 3.0 port, preferably one directly on your PC’s motherboard (usually the rear ports), for optimal performance and stability when you connect webcam to desktop PC.
- Driver Installation is Key: While many modern webcams are plug-and-play, be prepared to manually install drivers from the manufacturer’s website if your PC doesn’t detect it automatically or if you want access to advanced features.
- Proper Positioning Matters: Place your webcam at eye level, typically atop your monitor, to create a natural and engaging video presence. Consider your background too!
- Test, Test, Test: Always use a built-in app like Windows Camera or your preferred video conferencing software (e.g., Zoom, Teams) to confirm your webcam is working correctly and to adjust settings.
- Troubleshooting Basics: If you encounter issues, start by checking your USB connection, updating drivers, and verifying your operating system’s privacy settings to ensure applications have permission to access your webcam.
- Optimize for Quality: Dive into your webcam’s settings to adjust resolution, frame rate, brightness, contrast, and focus for the best possible image and video quality.
- Prioritize Privacy: For peace of mind, consider using a physical privacy cover for your webcam when it’s not in use.
What You’ll Need Before You Connect Webcam to Desktop PC
Before we dive into the steps, let’s make sure you have everything ready:
- Your Webcam: Obviously! Ensure it’s an external USB webcam, as this guide focuses on connecting such devices to a desktop PC.
- Your Desktop PC: Powered on and ready to go.
- An Available USB Port: Your desktop PC should have several USB ports. We’ll discuss choosing the best one shortly.
- Internet Access: This is crucial for downloading drivers if they don’t install automatically.
- Optional (but Recommended): A clean, well-lit space for positioning your webcam, and perhaps a small cloth to clean the lens.
Getting Started: Your Pre-Connection Checklist
Before you even think about plugging anything in, a quick check can save you a lot of time and frustration later. This quick checklist will ensure your desktop PC is prepared to welcome your new peripheral.
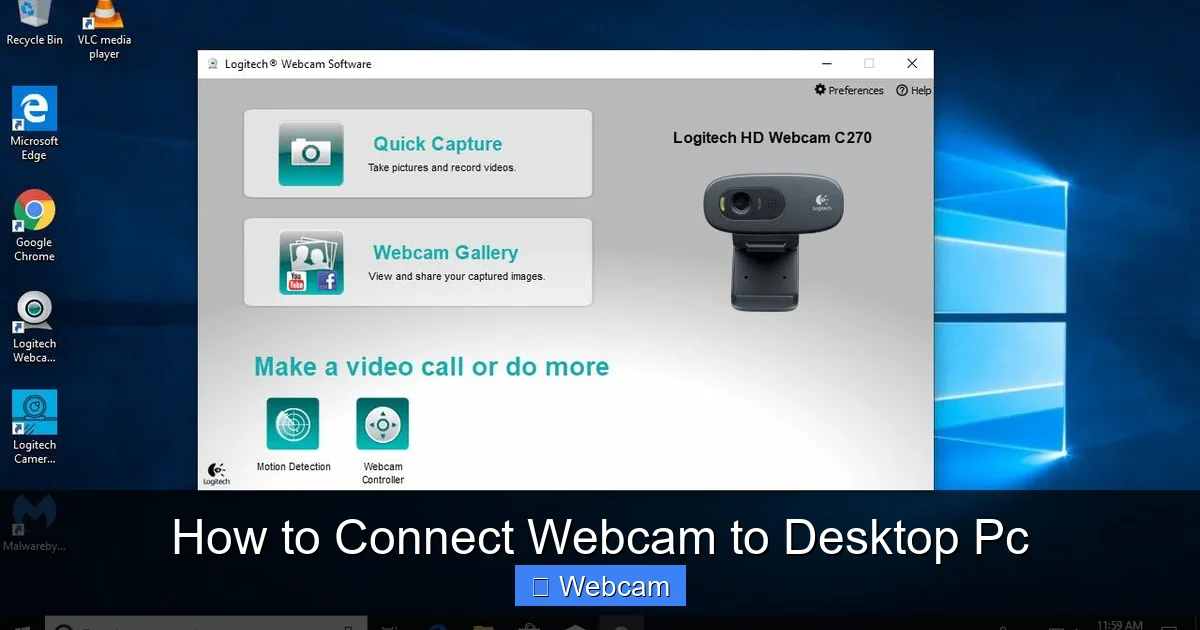
Visual guide about How to Connect Webcam to Desktop Pc
Image source: lifewire.com
Understand Your Webcam Type
Most external webcams today connect via a USB cable. This guide specifically focuses on these types. While some older or specialized webcams might use other connectors, USB is the standard.
Check Your Desktop PC’s USB Ports
Take a look at your desktop PC. You’ll likely find USB ports on both the front and the back. USB ports come in different versions (USB 2.0, 3.0, 3.1, 3.2, and Type-C). Don’t worry too much about the exact version for basic functionality, but generally, newer versions (like USB 3.0, often blue) offer faster data transfer, which can be beneficial for high-resolution webcams. For the best connection, aim for a port directly on the motherboard (usually found at the back of your PC).
Confirm Internet Access
Your desktop PC will need an active internet connection. Why? Because most modern operating systems (like Windows) will attempt to automatically find and install the necessary drivers for your webcam once it’s plugged in. If automatic installation fails, you’ll need the internet to download drivers directly from the webcam manufacturer’s website.
Have Test Software Ready
Once connected, you’ll want to test your webcam. Windows comes with a built-in Camera app, which is perfect for this. Alternatively, have your preferred video conferencing software (like Zoom, Microsoft Teams, Google Meet, or Skype) ready to launch.
Step 1: Unbox and Inspect Your Webcam
Carefully open your webcam’s packaging. Remove the webcam and its cable. Take a moment to inspect the device. Look for any visible damage to the lens, body, or the USB connector. If you see anything amiss, it’s best to contact the retailer or manufacturer.

Visual guide about How to Connect Webcam to Desktop Pc
Image source: galigear.com.au
Most webcams come with an attached USB cable, while some might have a detachable one. Ensure the cable is securely connected to the webcam if it’s detachable.
Step 2: Choose the Best USB Port on Your Desktop PC
Selecting the right USB port can sometimes impact performance and stability when you connect webcam to desktop PC. Here’s how to make the best choice:
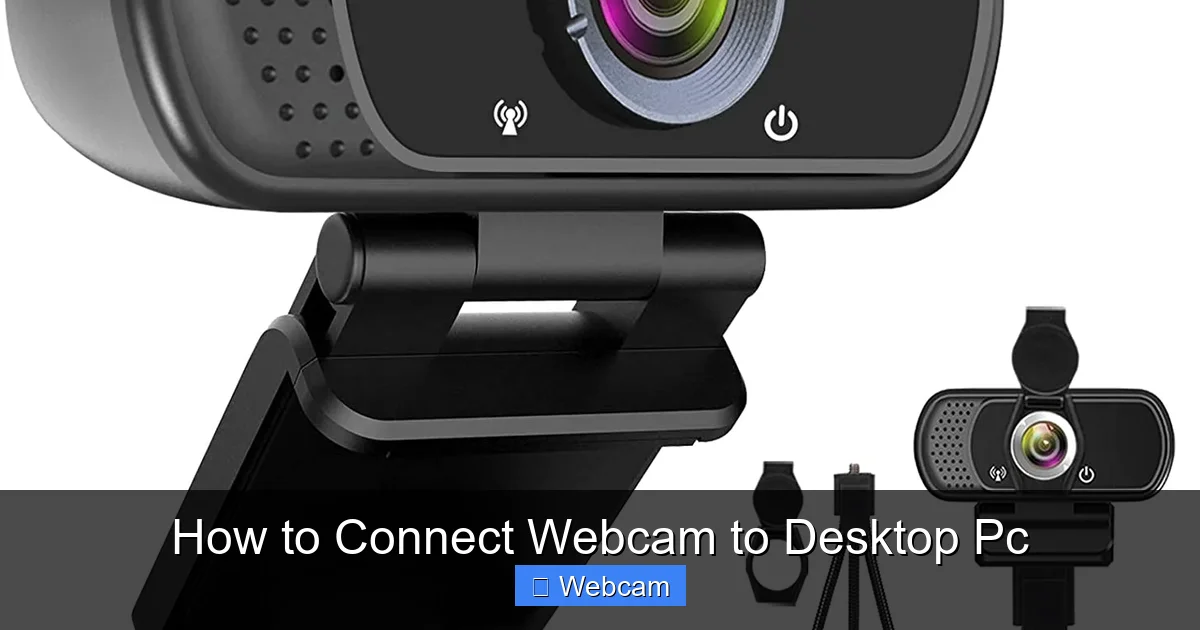
Visual guide about How to Connect Webcam to Desktop Pc
Image source: bargainlow.com
USB 2.0 vs. USB 3.0/3.1/3.2
- USB 2.0: These ports are typically black. They offer slower data transfer speeds but are perfectly adequate for most standard definition (SD) and even some high definition (HD) webcams.
- USB 3.0/3.1/3.2: Often identified by their blue color or a “SS” (SuperSpeed) symbol, these ports offer significantly faster data transfer rates. If your webcam supports 1080p, 4K, or higher frame rates, using a USB 3.0 or newer port is recommended for optimal performance.
Front vs. Rear USB Ports
- Rear Ports: These are directly connected to your desktop PC’s motherboard. They generally provide more stable power and data connections. For a reliable and consistent webcam experience, always try to use a rear USB port first.
- Front Ports: While convenient, front USB ports are often connected to the motherboard via an internal cable. This can sometimes lead to slightly less stable power delivery or minor interference, though for most webcams, you might not notice a difference. If rear ports are difficult to access, front ports are usually fine.
Avoid using a USB hub if you can, especially unpowered ones, as they can sometimes lead to power or connectivity issues. Plug the webcam directly into your desktop PC if possible.
Step 3: Plug In Your Webcam
Once you’ve chosen your port, it’s time to connect webcam to desktop PC. Carefully insert the USB connector from your webcam into the selected USB port on your desktop PC. Make sure it’s fully seated but don’t force it. The connection should feel firm but not overly tight. You might hear a small “ding” sound from your computer, indicating that a new USB device has been detected.
Step 4: Position Your Webcam for Success
Where you place your webcam significantly impacts your video quality and how you appear to others. Think about this *before* you start video calls.
Typical Placement Options
- On Top of Your Monitor: Most webcams come with an integrated clip or stand designed to sit securely on top of your monitor. This is the most common and often best position, placing the camera at or slightly above eye level.
- Using a Tripod or Stand: Some webcams include a small tripod, or you can purchase one separately. This offers more flexibility in positioning, allowing you to place the webcam anywhere around your desk.
Achieving the Best Angle
- Eye Level: Aim to have your webcam at roughly eye level. This creates a natural perspective, as if you’re looking directly at the person you’re speaking to.
- Avoid Upward Angles: Positioning your webcam too low (e.g., on your desk looking up) can create an unflattering “double chin” angle and reveal more of your ceiling than necessary.
- Center Yourself: Make sure your head and shoulders are comfortably centered in the frame. Leave a little headroom above your head.
- Consider Your Background: Take a moment to look at what’s behind you. A tidy, uncluttered, and well-lit background is always best. Avoid busy patterns or strong backlighting that can make you appear as a silhouette.
Step 5: Install the Necessary Drivers
This is a critical step to ensure your desktop PC can communicate with and fully utilize your webcam. Modern operating systems have made this process incredibly straightforward.
Automatic (Plug-and-Play) Installation
For most modern webcams, especially those from reputable brands, your Windows desktop PC will likely handle the driver installation automatically. After you plug in the webcam, you might see a notification in the bottom right corner of your screen saying “Setting up a device” or “Installing device drivers.” Once complete, it should notify you that “Your device is ready to use.”
This is the ideal scenario and usually means you’re ready to move to testing.
Manual Driver Installation (If Needed)
If your desktop PC doesn’t automatically detect or install the drivers, or if you want access to advanced features only available through manufacturer-specific software, you’ll need to install them manually.
- Check the Box/Manual: Your webcam might have come with an installation CD (less common now) or a quick start guide directing you to a specific website.
- Visit the Manufacturer’s Website: Go to the support or download section of your webcam’s manufacturer (e.g., Logitech, Microsoft, Razer, OBSBOT). Search for your specific webcam model.
- Download Drivers/Software: Download the latest drivers and any accompanying software for your operating system (Windows 10, Windows 11, etc.).
- Install: Run the downloaded installer file and follow the on-screen instructions. You might need to restart your PC after installation.
Using Windows Update
Sometimes, Windows Update can also find and install suitable drivers if the initial plug-and-play process fails. To check:
- Go to Settings > Update & Security (Windows 10) or Windows Update (Windows 11).
- Click Check for updates. If a webcam driver is available, it might download and install it.
Step 6: Test Your Webcam Connection
Now that your webcam is plugged in and drivers are installed, it’s time to confirm everything is working correctly!
Using the Windows Camera App
This is the quickest and easiest way to test your webcam:
- Click the Start button (Windows icon).
- Type “Camera” and select the Camera app from the search results.
- The Camera app should launch and display your webcam’s live feed. If it shows a blank screen or a “no camera detected” message, review the troubleshooting section.
Testing with Video Conferencing Software
It’s also a good idea to test your webcam with the specific software you plan to use (Zoom, Teams, Skype, etc.), as each program has its own settings.
- Open your chosen video conferencing application.
- Go to its Settings or Preferences (often a gear icon).
- Look for sections like “Audio & Video,” “Devices,” or “Video Settings.”
- You should see your webcam listed as an option. Select it, and you should see a live preview of your video.
- While you’re there, ensure the correct microphone (either your webcam’s built-in mic or an external one) is selected and working.
Step 7: Optimize Your Webcam Settings
Once confirmed working, you can fine-tune your webcam for the best possible quality. Many webcams and software offer these adjustments:
- Resolution & Frame Rate: Higher resolution (e.g., 1080p, 4K) and frame rate (e.g., 30fps, 60fps) mean better quality but require more bandwidth and processing power. Adjust according to your internet speed and PC’s capabilities.
- Brightness, Contrast, Saturation: These controls help you adjust the overall look of your video feed.
- White Balance: This adjusts color accuracy, making sure whites look white and colors appear natural, especially under different lighting conditions.
- Exposure: Controls how much light the webcam sensor receives. Adjust this to prevent your image from being too dark or washed out.
- Focus: Some webcams have manual focus, others autofocus. Ensure your face is sharp and clear.
- Microphone Settings: If your webcam has a built-in microphone, adjust its input volume to prevent it from being too loud or too quiet.
You can usually find these settings within the manufacturer’s software (if you installed it) or within the video settings of your conferencing application.
Troubleshooting Common Webcam Issues When You Connect Webcam to Desktop PC
Even with careful setup, sometimes things don’t go as planned. Here are solutions to common problems:
Webcam Not Detected / Not Showing Up
- Check USB Connection: Unplug the webcam, wait a few seconds, and plug it back into a different USB port (preferably a rear one).
- Restart Your PC: A simple restart can often resolve detection issues.
- Check Device Manager:
- Right-click the Start button and select Device Manager.
- Look under “Cameras” or “Imaging devices.” If your webcam is listed with a yellow exclamation mark, it indicates a driver problem.
- Right-click the device, select “Update driver,” and choose “Search automatically for drivers.” If that fails, “Uninstall device,” then restart your PC.
- If your webcam isn’t listed at all, it might not be getting power or has a hardware issue.
- Test on Another PC: If possible, try connecting your webcam to another desktop PC or laptop to determine if the issue is with the webcam itself or your PC.
Black Screen or No Image
- Privacy Settings: Windows has privacy settings that can block apps from accessing your camera.
- Go to Settings > Privacy & security (Windows 11) or Privacy > Camera (Windows 10).
- Ensure “Camera access” is turned On.
- Make sure “Let apps access your camera” is also On.
- Scroll down to “Choose which apps can access your camera” and ensure the specific app you’re using (e.g., Camera, Zoom) is allowed access.
- Check for Physical Cover: Some webcams have a physical privacy cover or lens cap. Make sure it’s open or removed!
- Application-Specific Settings: In your video conferencing app, ensure the correct webcam is selected if you have multiple options.
Poor Image/Video Quality
- Lighting: Poor lighting is the biggest culprit. Ensure you have good, soft lighting in front of you. Avoid strong backlighting.
- Adjust Settings: Use the webcam’s software or your application’s video settings to adjust brightness, contrast, white balance, and exposure.
- Resolution: Confirm your webcam is set to its highest possible resolution within your application’s settings.
- Clean the Lens: Gently wipe the webcam lens with a microfiber cloth. Dust and smudges can drastically reduce quality.
- Internet Speed: For streaming, a stable and fast internet connection is crucial. Poor internet can lead to blocky, pixelated video.
Microphone Not Working (if built-in)
- Windows Sound Settings:
- Right-click the speaker icon in your taskbar and select Sound settings.
- Under “Input,” ensure your webcam’s microphone is selected as the default device.
- Speak into the mic and check the input level meter to see if it’s registering sound.
- Application-Specific Settings: In your video conferencing app’s audio settings, ensure the webcam’s microphone is selected.
- Privacy Settings: Similar to camera access, Windows also has microphone privacy settings. Go to Settings > Privacy & security > Microphone and ensure apps are allowed access.
Drivers Not Installing Correctly
- Download Latest Drivers: Always go to the manufacturer’s official website for the most up-to-date drivers.
- Run as Administrator: When running driver installers, right-click the file and select “Run as administrator.”
- Temporarily Disable Antivirus: Occasionally, antivirus software can interfere with driver installations. Try disabling it temporarily during installation.
Advanced Tips for an Even Better Webcam Experience
Once you master how to connect webcam to desktop PC, here are a few extra tips to elevate your video presence:
- Lighting Solutions: Invest in a small ring light or a desk lamp that can illuminate your face evenly. Good lighting makes a huge difference.
- External Microphones: While webcams often have built-in mics, an external USB microphone (like a lavalier or desktop mic) will almost always provide superior audio quality.
- Webcam Privacy Covers: For peace of mind, consider attaching a physical sliding privacy cover to your webcam lens. It’s a simple, effective way to ensure no one is watching when you don’t want them to be.
- Clean Background: Always strive for a clean, uncluttered background. A plain wall or a bookshelf can look professional.
- Stable Internet: For the best video calls, a stable wired (Ethernet) connection is preferable over Wi-Fi, especially if you’re experiencing lag or drops.
Conclusion
Learning how to connect webcam to desktop PC is a straightforward process that significantly enhances your digital communication. By following these step-by-step instructions, from selecting the right USB port and installing drivers to positioning and troubleshooting, you’re now equipped to enjoy clear, high-quality video calls and recordings.
Don’t be afraid to experiment with settings and positioning to find what works best for your environment. With your webcam now successfully connected, the digital world is truly at your fingertips. Happy video calling!



