


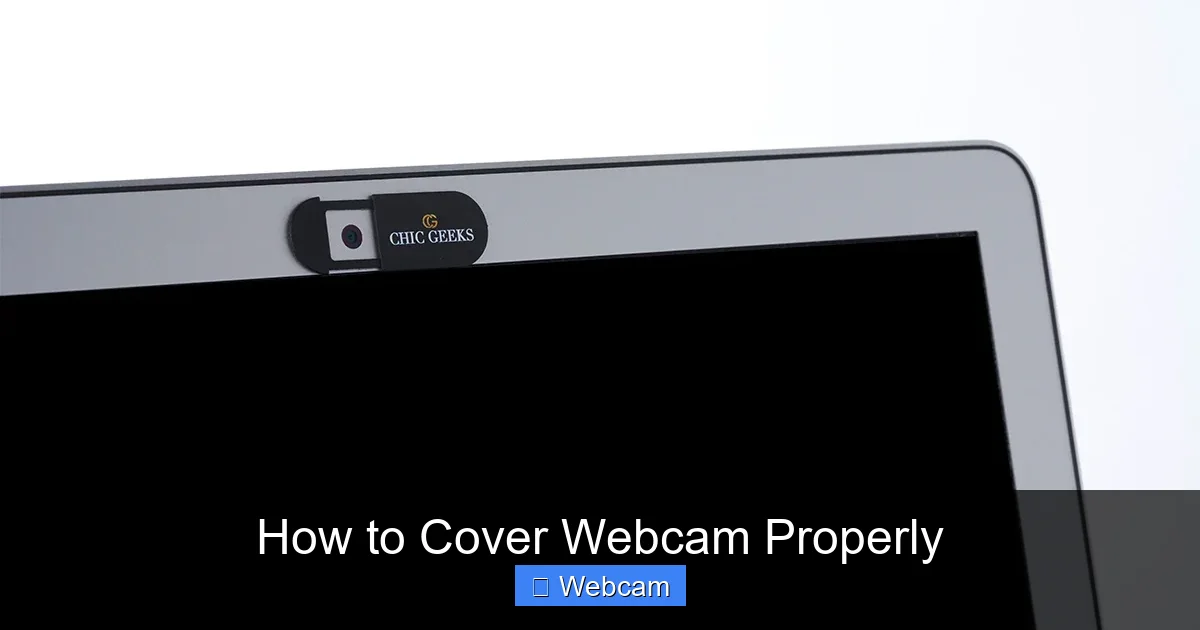
Protecting your digital privacy starts with simple steps like knowing how to cover your webcam properly. This guide offers comprehensive instructions, from installing dedicated physical covers to implementing budget-friendly DIY solutions and even software-based protections. By understanding and applying these methods, you can effectively prevent unauthorized access and secure your personal space from potential cyber threats.
In our increasingly connected world, webcams have become indispensable for communication. Yet, this convenience brings a significant privacy risk: the potential for unauthorized access. Alarming stories of webcam hacking, turning private spaces into public viewing portals, highlight this threat. The good news is that securing your webcam is simple, and this guide will show you exactly how to cover your webcam properly.
We’ll explore various effective methods, from installing dedicated physical covers to implementing budget-friendly DIY solutions and even exploring software safeguards. You’ll also find practical tips, crucial considerations to prevent device damage, and troubleshooting advice. By the end, you’ll have all the knowledge needed to effectively cover your webcam, ensuring your personal space remains private and secure, giving you peace of mind.
Key Takeaways
- Physical Covers are Best: Dedicated webcam covers or DIY options like tape provide the most reliable physical barrier against unauthorized viewing.
- Choose Wisely: Select a cover that fits your device, avoids screen damage (especially for laptops), and doesn’t leave sticky residue.
- DIY Solutions are Effective: Everyday items like sticky notes, electrical tape, or even band-aids can effectively cover your webcam in a pinch.
- Software is a Secondary Layer: Disabling your webcam in device settings or using privacy software adds an extra layer of protection but isn’t foolproof on its own.
- Prevent Screen Damage: Always be cautious when attaching anything to your laptop screen, ensuring it won’t exert pressure or leave marks when closed.
- Don’t Forget the Microphone: Some physical covers might unintentionally block your device’s microphone, so check placement.
- Holistic Privacy Approach: Covering your webcam is crucial, but combine it with updated software, strong passwords, and careful app permissions for comprehensive digital security.
Understanding the Risks of an Uncovered Webcam
Before diving into how to cover your webcam properly, it’s vital to understand why this action is so critical. An uncovered webcam is a potential open window into your private life. Cybercriminals and voyeurs can exploit software vulnerabilities to remotely activate your webcam without your knowledge. This surveillance, known as “camfecting,” can lead to:
- Privacy Invasion: Unauthorized viewing of your personal moments.
- Blackmail: Captured images or videos used for extortion.
- Identity Theft Clues: Surveillance can provide hints about your routine.
- Corporate Espionage: A gateway for competitors to spy on sensitive information.
These are real threats. Taking a moment to cover your webcam is a fundamental step in digital hygiene everyone should adopt.
Method 1: Using a Dedicated Webcam Cover (The Professional Approach)
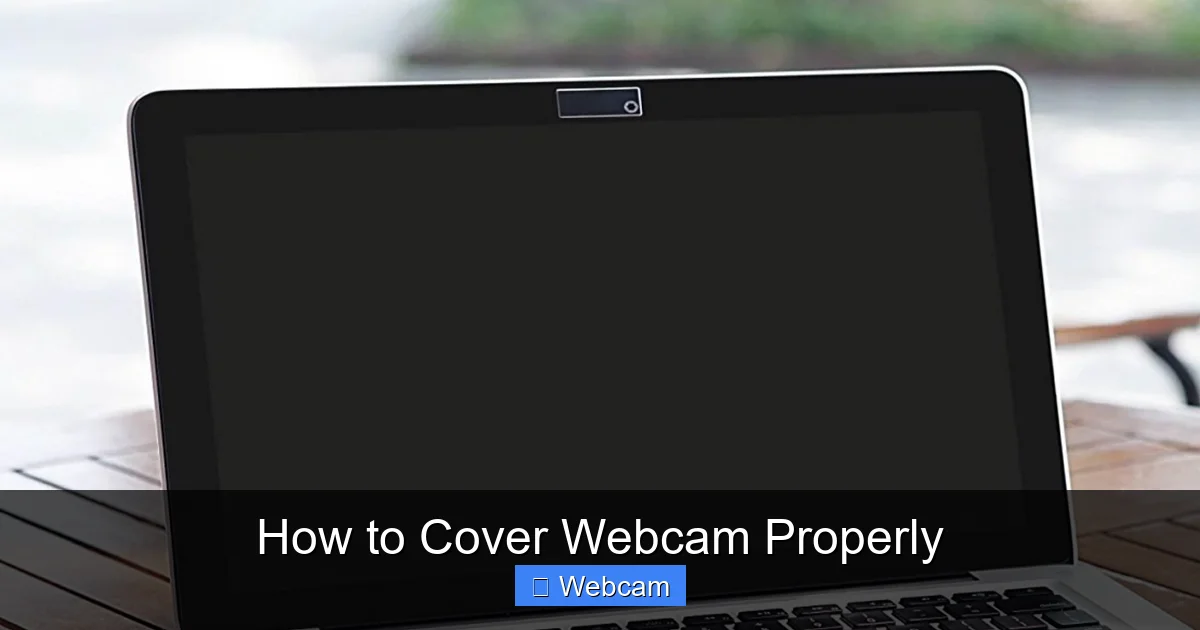
For a sleek, reliable, and aesthetically pleasing solution, a dedicated physical webcam cover is often the best choice. These small devices slide over your webcam lens, providing an impenetrable barrier when not in use. Easy to install and blending seamlessly, they ensure you properly cover your webcam whenever you need privacy.
Visual guide about How to Cover Webcam Properly
Image source: toolsandtoys.net
Choosing the Right Webcam Cover
When selecting a dedicated cover to effectively cover your webcam, consider the type (sliders are thin; magnetic ones need device compatibility), thickness (crucial for laptops – aim for ultra-thin 0.7mm or less to prevent screen damage), and adhesive quality (strong but non-residue forming is ideal, especially when you need to remove your webcam cover later).
Installation Steps
Installing a dedicated cover to cover your webcam is straightforward: First, thoroughly clean the area around your webcam lens with an alcohol wipe for proper adhesive grip. Second, carefully peel off the adhesive backing and position the cover precisely over your webcam. Third, gently press down for 10-15 seconds for a strong bond. Finally, test that the slider moves smoothly and completely covers the lens.
Advantages & Disadvantages
Dedicated covers offer a 100% reliable physical barrier and a professional, discreet look. They are easy to use and durable, making them the most secure way to cover your webcam. However, they incur a small cost, can potentially damage laptop screens if too thick, and may have occasional adhesive issues.
Method 2: DIY Solutions (The Budget-Friendly & Creative Approach)
You don’t need a fancy gadget to cover your webcam properly. Many everyday items serve as effective, immediate, or temporary solutions, ideal for a quick fix or if you prefer not to buy a dedicated cover. These simple methods allow you to effectively cover your webcam without extra cost.
Visual guide about How to Cover Webcam Properly
Image source: cdna.4imprint.com
Post-it Notes or Sticky Notes
Simply tear a small piece and place it over the lens. These are accessible and leave minimal residue, but can fall off easily, look unprofessional, and may not block all light.
Electrical Tape or Painter’s Tape
Cut a small piece of opaque electrical tape or painter’s tape and place it firmly over the lens. Electrical tape is great for blocking light and is secure. Painter’s tape is designed for clean removal. Be cautious, as electrical tape can leave sticky residue, and both can potentially damage screens if removed carelessly or left too long.
Band-Aids or Plasters
Use a small section of the adhesive part directly over the lens. This is a readily available option with generally gentle adhesive that blocks light effectively. However, it can be bulky and may not stick perfectly flat.
Cardboard or Thick Paper with Removable Adhesive
Cut a webcam-sized piece of material and attach it using a tiny dab of removable adhesive putty (like Blu Tack) or a small rolled piece of painter’s tape. This method is customizable and can look neater, providing a strong light block, though adhesive putty can sometimes leave marks.
Method 3: Software-Based Solutions (An Additional Layer of Protection)
While physical barriers are the most reliable way to cover your webcam properly, software solutions add an extra layer of defense by disabling the webcam at the operating system level, making it inaccessible to applications. This helps ensure your webcam is not activated unintentionally.

Visual guide about How to Cover Webcam Properly
Image source: imagegroup.co.nz
Disabling the Webcam in Device Manager (Windows) or Controlling Permissions (macOS)
For Windows, right-click Start > “Device Manager,” then expand “Imaging devices” or “Cameras.” Right-click your webcam and select “Disable device.” Confirm. For macOS, go to “System Settings” > “Privacy & Security,” select “Camera,” and uncheck applications you don’t want to have access. Remember to re-enable when needed.
Privacy Software & Antivirus Suites
Many modern antivirus programs and dedicated privacy tools monitor and control webcam access. These alert you when an application tries to use your camera, allowing you to block it. This provides another layer of protection when physically covering your webcam isn’t feasible.
Limitations of Software Solutions
Software solutions are helpful but not foolproof. Highly advanced malware can potentially bypass these restrictions. A physical barrier remains the most robust defense against unauthorized webcam access. Therefore, use software as a secondary line of defense, not a replacement for physically covering your webcam.
Important Considerations When Covering Your Webcam
When you cover your webcam properly, especially for long-term use, a few considerations are vital for protecting your device and ensuring effective privacy.
Screen Damage Prevention for Laptops
Modern laptops have thin bezels and tight tolerances. A webcam cover that’s too thick can prevent your laptop from closing completely, leading to screen cracking, pixel damage, or permanent marks. Always opt for ultra-thin dedicated covers (0.7mm or less) or soft, non-damaging DIY materials like sticky notes. Always test how your laptop closes with any new cover.
Microphone Blockage
Some devices have microphones located near the webcam. A large or poorly placed cover might muffle your microphone. Test your microphone after applying any cover to ensure clear audio.
Residue and Adhesion
Strong, permanent adhesives can leave stubborn residue or damage your device’s finish. Stick to gentle adhesives like painter’s tape, removable adhesive putty, or the screen-safe adhesive on dedicated webcam covers. Always clean the surface before application to get the best adhesion for your webcam cover and avoid unwanted marks.
Aesthetics vs. Security
Balance effectiveness with appearance. While electrical tape is highly effective, it might not be the most professional look. A sleek slider cover offers both security and aesthetics. Prioritize security, but choose a method you’re comfortable with for covering your webcam.
Troubleshooting Common Issues When Covering Your Webcam
Even when trying to cover your webcam properly, minor issues can arise. Here’s how to address them:
Webcam Cover Falling Off
Thoroughly clean the area with an alcohol wipe before reapplying. For dedicated covers, apply firm pressure for 15-30 seconds. For DIY, ensure the adhesive is strong enough, or try a different, safe material.
Sticky Residue Left Behind
Gently rub the residue with your finger or use isopropyl alcohol wipes (test on an inconspicuous area first) with a microfiber cloth. Avoid harsh chemicals that can damage your screen.
Cover Blocking Microphone
Identify your microphone’s location. Adjust a DIY solution’s size or placement. If using a dedicated cover, consider a smaller model designed to avoid microphones.
Accidental Screen Damage
Prevent by using ultra-thin covers (under 0.7mm) and testing laptop closure carefully. If you notice resistance, remove the cover immediately. Physical screen damage often requires professional repair.
Beyond the Webcam: Other Privacy Tips
While learning how to cover your webcam properly is an excellent start, comprehensive digital privacy requires a multi-faceted approach. Here are additional tips:
Keep Software Updated
Regularly update your operating system, browser, antivirus, and apps. Updates include critical security patches that fix vulnerabilities.
Use Strong, Unique Passwords
Avoid reusing passwords. Use combinations of letters, numbers, and symbols, or a reputable password manager.
Be Wary of Phishing
Never click on suspicious links or open attachments from unknown senders. Phishing is a common way to install malware that could compromise your system, even if you physically cover your webcam.
Review App Permissions
Regularly check and limit app access to your camera, microphone, location, and contacts to only those apps that genuinely need them.
Conclusion
In an age where digital surveillance is a tangible threat, knowing how to cover your webcam properly is a simple yet profoundly effective step towards safeguarding your personal privacy. Whether you opt for the sleek reliability of a dedicated webcam cover, the quick ingenuity of a DIY solution, or the added assurance of software safeguards, the most important thing is to take action and ensure your webcam is covered.
By implementing these practices, you’re not just protecting yourself from potential voyeurs; you’re reclaiming control over your digital footprint and ensuring your private moments remain truly private. Make covering your webcam a habit, and combine it with broader digital security practices for comprehensive peace of mind. Your privacy is worth protecting, and it starts with a simple, deliberate act.



