


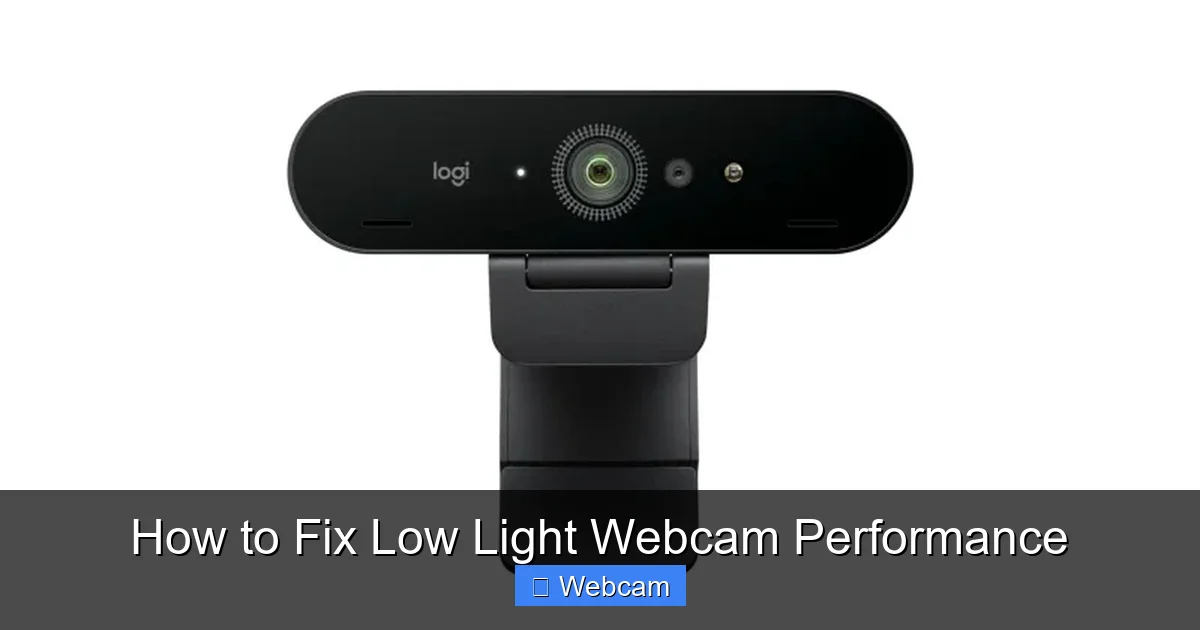
If your webcam struggles in low light, you’re not alone. This guide provides practical steps to enhance webcam brightness and image quality. From adjusting settings to using additional lighting, learn how to fix low light webcam performance and enjoy clearer video calls.
Key Takeaways
- Adjust webcam settings: Tweaking brightness, contrast, and exposure can significantly improve low light footage.
- Use external lighting: Adding a desk lamp or ring light enhances your webcam’s performance in dark environments.
- Upgrade your webcam: Modern webcams with better low-light sensors produce clearer images without extra lighting.
- Update drivers and software: Ensuring your webcam drivers are current can resolve performance issues.
- Optimize your environment: Position yourself near windows or light sources for better natural illumination.
- Test and troubleshoot: Regularly test your setup and adjust as needed to achieve optimal video quality.
How to Fix Low Light Webcam Performance
Are your video calls dark and hard to see? Low light can really affect your webcam’s image quality. Fortunately, there are simple steps you can take to improve your webcam’s performance in dim environments. In this guide, we’ll walk you through everything from basic settings adjustments to improving your lighting setup. By the end, you’ll be able to enjoy bright, clear video even in low-light conditions.
1. Understand Your Webcam’s Capabilities
Before making any changes, it’s helpful to understand what your webcam can do. Some webcams handle low light better than others. Check your webcam’s specifications or user manual to see if it has features like low-light correction, automatic exposure adjustment, or built-in LEDs.
Visual guide about How to Fix Low Light Webcam Performance
Image source: obsbot-static-resource.oss-accelerate.aliyuncs.com
- Low-light correction: Some webcams automatically brighten images in dim conditions.
- Automatic exposure: Adjusts the camera’s exposure to compensate for lighting changes.
- Built-in LEDs: Some webcams include lights to improve visibility in dark settings.
If your webcam has these features, ensure they are enabled in your camera software or device settings.
2. Adjust Webcam Settings for Better Low Light Performance
Step 1: Access Camera Settings
Depending on your operating system, access your webcam settings:
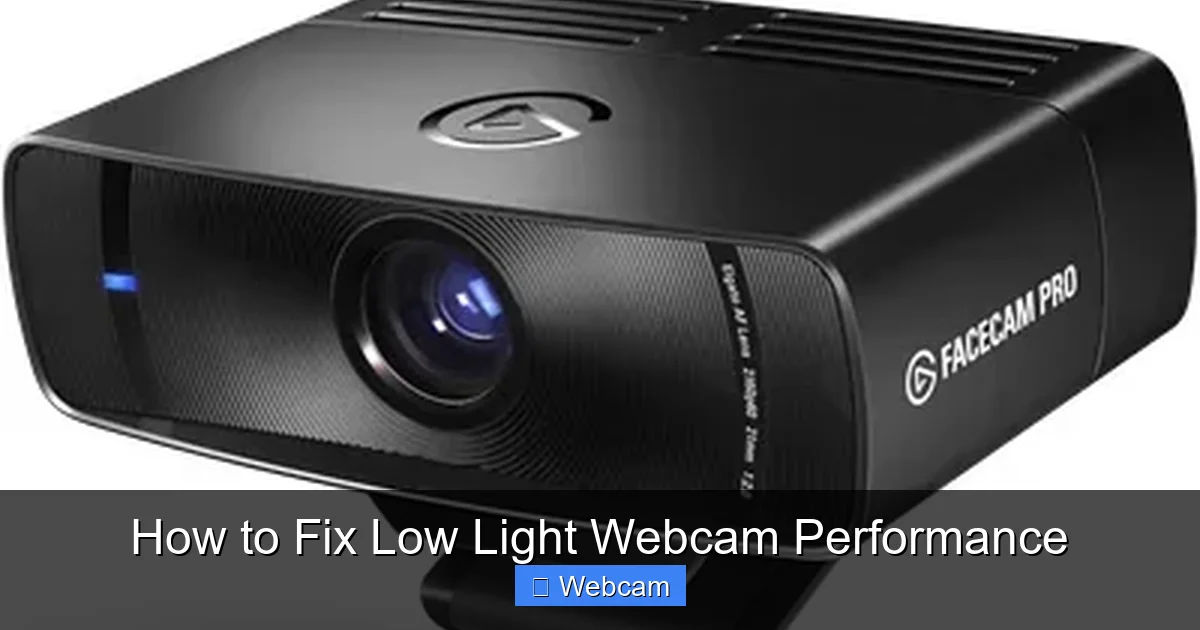
Visual guide about How to Fix Low Light Webcam Performance
Image source: resource-cdn.obsbothk.com
- Windows: Open the Camera app or go to Device Manager > Cameras > [Your Webcam] > Properties.
- Mac: Use Photo Booth or third-party apps like OBS or Logitech Capture.
- Third-party software: Many webcams come with dedicated apps that offer advanced controls.
Step 2: Increase Brightness and Exposure
Within the settings, look for controls labeled Brightness, Exposure, or Gain. Adjust these sliders to brighten your video feed. Increase exposure gradually to avoid overexposure or grainy images.
Step 3: Adjust Contrast and ISO
If available, tweak contrast and ISO settings. Higher ISO can brighten images but may introduce noise. Find a balance that makes your image clear without graininess.
Step 4: Enable Low-Light Mode or Automatic Settings
If your webcam software has a low-light mode or auto-exposure option, turn it on. This helps the webcam automatically adapt to lighting changes.
3. Improve Your Lighting Environment
Step 1: Use External Lighting
External lights are often the easiest way to improve low-light performance. Consider:

Visual guide about How to Fix Low Light Webcam Performance
Image source: resource-cdn.obsbothk.com
- Ring lights: Provide even, flattering illumination around your face.
- Desk lamps: Place a lamp behind or to the side of your webcam to light your face.
- LED panels: Adjustable panels offer versatile lighting options.
Step 2: Position Your Light Correctly
Place lights facing you, not behind you, to avoid backlighting. Keep the light source slightly above eye level for natural illumination. Avoid harsh shadows by diffusing the light with a lampshade or softbox.
Step 3: Use Natural Light
If possible, face a window during the day. Natural sunlight provides excellent illumination but avoid direct sunlight that causes glare or overexposure.
4. Upgrade or Change Your Webcam
If your webcam is old or low quality, upgrading might be the best solution. Look for webcams with features like:
- Low-light sensors: Better handle dim conditions.
- Wider apertures: Allow more light in for clearer images.
- Built-in ring lights: Provide added illumination.
Popular models like Logitech C920 or Brio are known for good low-light performance and can significantly improve your video quality.
5. Update Drivers and Software
Outdated drivers can cause performance issues. Regularly check for updates from your webcam manufacturer’s website. Updated drivers often include improvements in low-light handling and overall stability.
- Visit the manufacturer’s support page.
- Download and install the latest driver updates.
- Update your video conferencing app to the latest version.
This ensures your webcam operates at its best and leverages the latest features.
6. Test and Troubleshoot Your Setup
After making adjustments, test your webcam in different lighting scenarios. Use video recording apps or video conferencing platforms to see the results.
- Check for graininess or noise, and adjust exposure settings accordingly.
- Experiment with different light positions and intensities.
- Reset settings if you encounter issues after adjustments.
If problems persist, consider resetting your webcam settings or trying a different USB port.
7. Additional Tips for Optimal Webcam Performance
- Maintain a clean lens: Wipe your webcam lens regularly with a soft cloth to remove dust and smudges.
- Avoid backlighting: Ensure light sources are in front of you, not behind.
- Position yourself properly: Sit facing the light source for even illumination.
- Use a neutral background: Clutter-free backgrounds help your camera focus better and improve overall video quality.
Conclusion
Improving low light webcam performance is achievable with a combination of software adjustments, environmental improvements, and sometimes hardware upgrades. By understanding your webcam’s features, optimizing settings, and enhancing your lighting setup, you can enjoy clear, bright video in any lighting condition. Don’t forget to regularly test and tweak your setup for the best results. Happy video chatting!
Additional Resources
- Logitech Webcam Support
- Microsoft Support for Camera Settings
- TechRadar Guide to Webcam Low-Light Improvements
Disclaimer
Results may vary depending on your webcam model and environment. Always follow safety guidelines when setting up additional lighting or making hardware changes.



