


If your desktop webcam isn’t working, you’re not alone. This guide walks you through simple, effective fixes to get your camera up and running again—whether it’s a driver issue, software conflict, or hardware problem.
Key Takeaways
- Check physical connections first: Ensure your webcam is properly plugged in and powered on, especially if it’s an external USB device.
- Update or reinstall webcam drivers: Outdated or corrupted drivers are a common cause of webcam failure—use Device Manager to refresh them.
- Grant app permissions: Windows and macOS restrict camera access by default—make sure your apps have permission to use the webcam.
- Test with multiple apps: If one app can’t access the camera, try another (like Zoom, Skype, or Camera app) to isolate the issue.
- Disable conflicting software: Antivirus tools or other camera apps may block access—temporarily disable them to test.
- Check BIOS/UEFI settings (for built-in cameras): Some desktops with integrated cameras require enabling the camera in firmware settings.
- Try a different USB port or computer: This helps determine if the issue is with the webcam, port, or system.
Quick Answers to Common Questions
Is your webcam light on but not working?
The light may indicate power, not function. Check app permissions and try a different program to confirm.
Can you hear audio but not see video?
The app might be using the wrong camera. Go into the app’s video settings and select your webcam manually.
Does the webcam work in one app but not another?
This points to app-specific permissions or settings. Check the app’s privacy or camera settings and re-enable access.
Is your webcam not showing up in Device Manager?
Try a different USB port or restart your computer. If it still doesn’t appear, the hardware may be faulty.
Still not working after all steps?
Test the webcam on another computer. If it fails there too, it’s likely defective and needs replacement.
How to Fix Webcam on Desktop
Is your desktop webcam not working during video calls, recordings, or live streams? Don’t worry—most webcam issues are fixable with a few straightforward steps. Whether you’re using an external USB webcam or a built-in camera on an all-in-one desktop, this guide will help you diagnose and resolve common problems quickly. You’ll learn how to check connections, update drivers, adjust settings, and troubleshoot software conflicts—all without needing technical expertise.
In this guide, we’ll walk you through a complete troubleshooting process to get your webcam working again. From simple fixes like checking cables to more advanced steps like editing system settings, you’ll have everything you need to restore camera functionality.
Step 1: Check Physical Connections
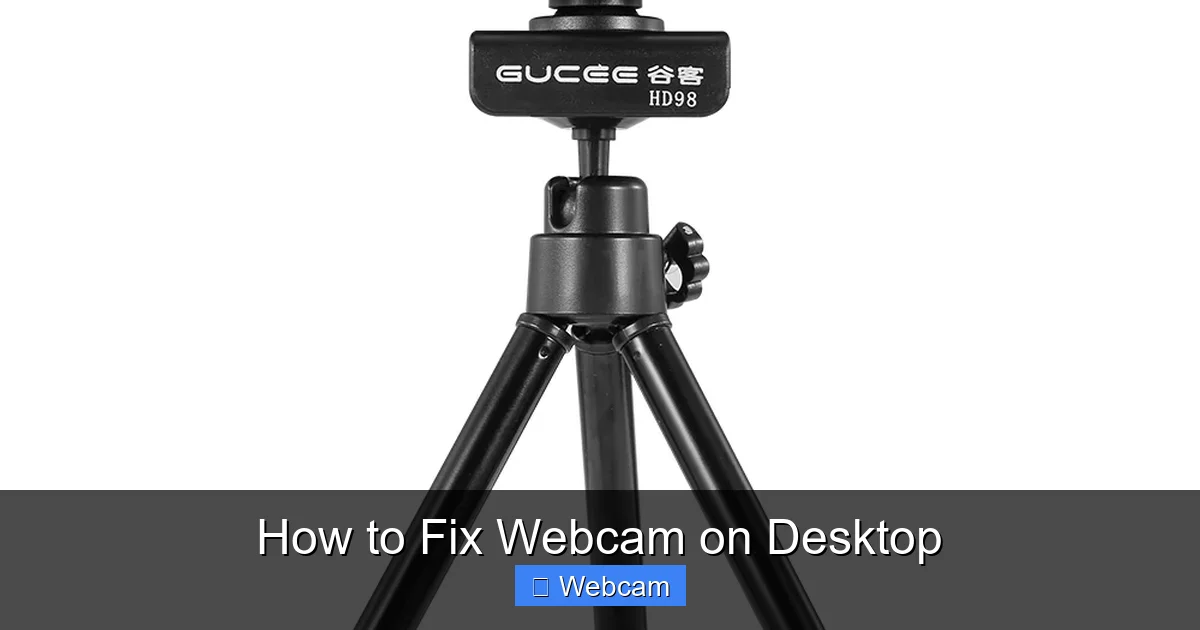
The first and easiest step is to make sure your webcam is properly connected. Even experienced users sometimes overlook this basic check.
Visual guide about How to Fix Webcam on Desktop
Image source: i5.walmartimages.com
For External USB Webcams
- Unplug the webcam from your desktop and plug it back in firmly.
- Try a different USB port—preferably a USB 3.0 (blue) port for better performance.
- If you’re using a USB hub, connect the webcam directly to the computer instead.
- Check for any visible damage to the cable or lens.
For Built-in Webcams (All-in-One Desktops)
- Ensure the desktop is powered on and not in sleep mode.
- Look for a physical camera shutter or cover—some models have a sliding cover that blocks the lens.
- Restart the computer to reset internal hardware connections.
Pro Tip: If the webcam has a power light, check if it turns on when connected. No light? It might not be receiving power.
Step 2: Test the Webcam in Different Apps
Sometimes the issue isn’t the webcam—it’s the app you’re using. Testing across multiple programs helps narrow down the cause.

Visual guide about How to Fix Webcam on Desktop
Image source: images.nexusapp.co
Try These Apps
- Windows Camera App: Search for “Camera” in the Start menu and open it. If the camera works here, the problem is likely app-specific.
- Zoom or Skype: Open a test meeting or call a friend to see if the camera activates.
- Web-Based Tools: Visit sites like webcammictest.com to test your camera in a browser.
If the camera works in one app but not another, the issue is likely a permission or settings problem within the non-working app.
Step 3: Check App and System Permissions
Modern operating systems restrict camera access for privacy. If an app can’t access your webcam, it might be blocked by default.
On Windows 10/11
- Go to Settings > Privacy & Security > Camera.
- Make sure “Camera access” is turned on.
- Scroll down and ensure the apps you use (like Zoom, Chrome, or Teams) are allowed to access the camera.
- Toggle the permission off and on again to refresh it.
On macOS
- Open System Settings > Privacy & Security > Camera.
- Check the list of apps and ensure the ones you use have a checkmark next to them.
- If an app isn’t listed, open it and try to use the camera—it should prompt for permission.
Note: Some browsers like Chrome or Firefox also manage their own camera permissions. Check the browser settings if using a web-based app.
Step 4: Update or Reinstall Webcam Drivers
Outdated or corrupted drivers are one of the most common reasons a webcam stops working. Updating them can often fix the issue.
How to Update Drivers on Windows
- Press Windows + X and select Device Manager.
- Expand the Cameras or Imaging devices section.
- Right-click your webcam and select Update driver.
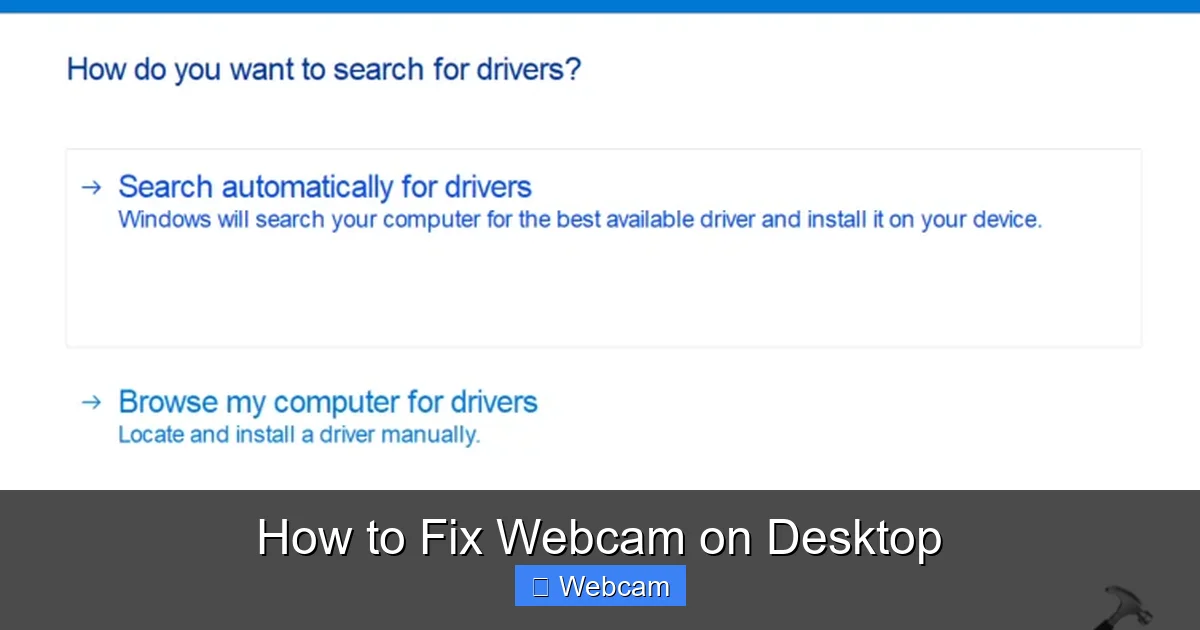
- Choose “Search automatically for drivers” and let Windows find and install updates.
If That Doesn’t Work: Reinstall the Driver
- In Device Manager, right-click the webcam and select Uninstall device.
- Restart your computer. Windows will automatically reinstall the driver.
- Alternatively, visit the manufacturer’s website (like Logitech, Microsoft, or Dell) to download the latest driver manually.
Pro Tip: If your webcam disappears from Device Manager after uninstalling, try plugging it into a different USB port to trigger detection.
Step 5: Disable Conflicting Software
Antivirus programs, firewall tools, or other camera-related software can sometimes block webcam access.
What to Check
- Temporarily disable your antivirus or firewall (only for testing—re-enable afterward).
- Close any other apps that might be using the camera (like OBS, Discord, or another video call app).
- Check for third-party camera software (like ManyCam or YouCam) that might be overriding default settings.
If disabling a program fixes the issue, consider adjusting its settings or switching to a different tool.
Step 6: Check BIOS/UEFI Settings (For Built-in Cameras)
Some all-in-one desktops or custom-built systems have webcam settings in the BIOS/UEFI. If the camera isn’t detected at all, it might be disabled at the firmware level.
How to Access BIOS/UEFI
- Restart your computer and press the designated key (usually F2, F10, DEL, or ESC) during startup.
- Navigate to the Advanced or Security tab.
- Look for options like “Onboard Camera,” “USB Camera,” or “Integrated Webcam.”
- Make sure it’s set to Enabled.
- Save changes and exit.
Note: BIOS menus vary by manufacturer. Refer to your desktop’s manual if you’re unsure.
Step 7: Test on Another Computer
If none of the above steps work, test your webcam on another desktop or laptop. This helps determine whether the issue is with the camera or your system.
- Plug the webcam into another computer.
- Open the Camera app or a video call tool.
- If it works, the problem is likely software-related on your original desktop.
- If it doesn’t work, the webcam may be faulty and need replacement.
Bonus Tip: Try using a different webcam on your desktop. If it works, your original camera is likely the issue.
Troubleshooting Common Webcam Problems
Here are quick fixes for specific issues you might encounter:
- Black screen: Usually a driver or permission issue. Reinstall drivers and check app access.
- Blurry or grainy image: Clean the lens with a microfiber cloth. Adjust lighting and camera settings in the app.
- Webcam not detected: Check USB connection, update drivers, or enable in BIOS.
- Audio works but video doesn’t: Confirm the app is using the correct camera source—some apps default to a different device.
- Webcam turns off during calls: Could be overheating or power-saving settings. Disable USB selective suspend in Power Options.
Conclusion
Fixing a webcam on a desktop doesn’t have to be complicated. By following these steps—checking connections, testing apps, updating drivers, and adjusting permissions—you can resolve most issues quickly. Start with the simplest fixes and work your way up. If your webcam still doesn’t work after trying everything, it may be time to consider a replacement, especially if it’s an older model.
Remember, regular maintenance like keeping drivers updated and cleaning the lens can prevent future problems. With a little patience and the right approach, you’ll be back to clear video calls and smooth recordings in no time.



