


Is your laptop webcam not working? This guide walks you through simple troubleshooting steps to fix webcam issues on laptops. Whether it’s a driver problem, privacy setting, or hardware fault, we’ve got you covered. By the end, your webcam should be up and running.
Key Takeaways
- Check physical obstructions: Dust or stickers on the webcam lens can block the view and cause blurry or no image.
- Update or reinstall webcam drivers: Outdated or corrupted drivers are a common cause of webcam failure.
- Enable the webcam in BIOS/UEFI: Some laptops disable the webcam in firmware settings—check before assuming a hardware fault.
- Adjust privacy settings: On Windows and macOS, apps must be allowed to access the webcam—verify permissions.
- Test with multiple apps: Try using the webcam in Zoom, Teams, or built-in apps like Camera to isolate the issue.
- Use built-in troubleshooters: Both Windows and macOS have tools to automatically detect and fix webcam problems.
- Consider hardware replacement: If all else fails, the webcam may be physically damaged and need repair or replacement.
How to Fix Webcam on Laptop: A Complete Step-by-Step Guide
Have you ever tried to join a video call only to realize your laptop webcam isn’t working? Whether you’re attending a Zoom meeting, recording a tutorial, or just want to share a quick selfie, a non-functioning webcam can be frustrating. But don’t worry—most webcam issues are fixable with a few simple steps. In this guide, we’ll walk you through everything you need to know about how to fix webcam on laptop, from basic checks to advanced troubleshooting. By the end, you’ll know exactly what to do when your webcam stops working, no matter the cause.
Before we dive in, it’s important to understand that laptop webcams can fail for many reasons: software glitches, outdated drivers, privacy settings, or even physical damage. The good news is that most of these issues are easy to resolve without needing to replace your laptop. Let’s start with the most common causes and work our way through practical solutions.
Step 1: Check for Obvious Physical Issues
The first thing to do when your laptop webcam isn’t working is to look for any obvious problems. Sometimes, the issue is as simple as a dirty lens or something blocking the camera.
Remove Obstructions and Clean the Lens
Check the area around your webcam for dust, lint, or stickers. Many laptops have a small plastic cover over the webcam that can accidentally be covered by a screen protector or dust. Gently clean the lens with a soft, dry cloth. Avoid using water or cleaning solutions unless you’re sure the lens is safe for it.
Ensure the Webcam Cover is Open
Some laptops come with a sliding privacy cover or a shutter that blocks the webcam. Make sure this cover is fully open. If your laptop doesn’t have a physical cover, check if there’s a small button or switch near the webcam that might have been accidentally pressed.
Step 2: Test the Webcam in Different Apps
Not all apps behave the same way with webcams. To find out if the issue is app-specific or system-wide, try using your webcam in multiple applications.
Use the Built-in Camera App
On Windows, open the Camera app (search for it in the Start menu). On macOS, open the Photo Booth or QuickTime Player and start a new movie recording. If the webcam works here, the problem is likely with the app you were using before.
Try a Popular Video Conferencing App
Open Zoom, Microsoft Teams, or Skype. Go to settings and select your webcam. If the video feed appears, the issue may be a setting in the app. If it still doesn’t work, move on to the next step.
Step 3: Check Privacy and Permissions
Modern operating systems have strict privacy controls. Even if your webcam works, apps won’t be able to use it unless you allow access.
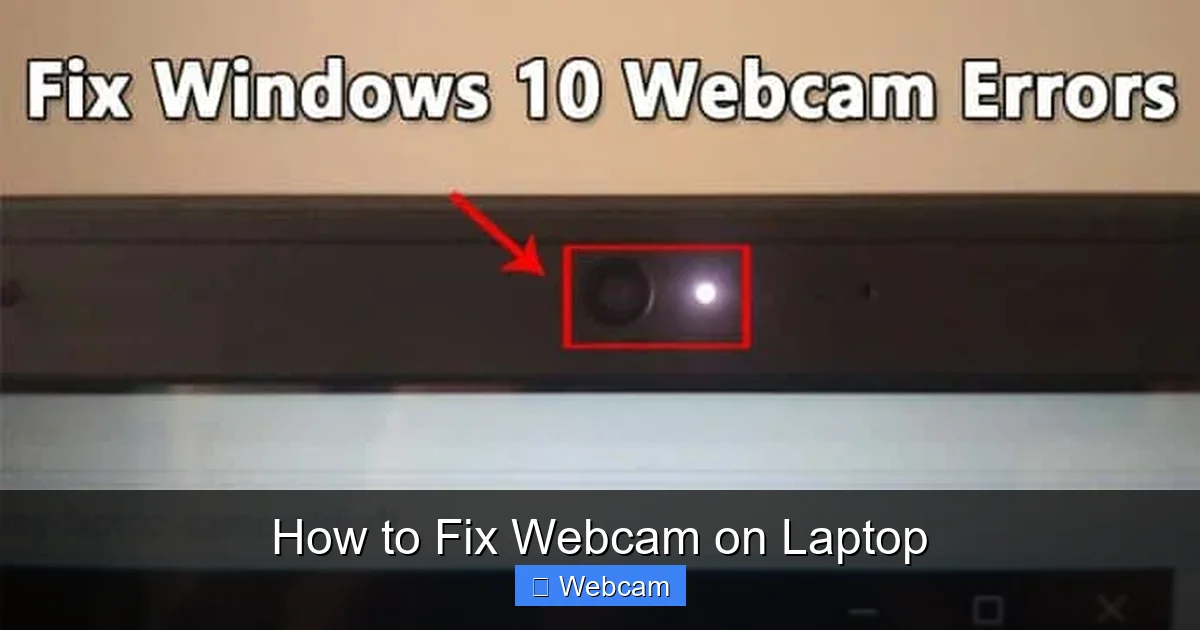
Visual guide about How to Fix Webcam on Laptop
Image source: techviral.net
On Windows:
- Go to Settings > Privacy & Security > Camera.
- Make sure the toggle for Allow apps to access your camera is turned on.
- Scroll down to see which apps have permission. Enable access for apps like Zoom, Teams, or your browser.
On macOS:
- Go to System Settings > Privacy & Security > Camera.
- Ensure your desired apps (e.g., Zoom, Safari) are checked in the list.
- If you don’t see the app listed, click the lock icon (if locked) and enter your password to make changes.
After adjusting permissions, restart the app and test again.
Step 4: Update or Reinstall Webcam Drivers
Outdated or corrupted drivers are one of the most common reasons why a laptop webcam stops working. Drivers act like translators between your operating system and hardware—if they’re outdated or broken, the webcam won’t function properly.
Update Drivers on Windows:
- Press Windows + X and select Device Manager.
- Expand the Imaging devices or Cameras section.
- Right-click your webcam (it might be listed as “Integrated Camera” or similar) and select Update driver.
- Choose Search automatically for drivers and let Windows find and install updates.
Reinstall Drivers:
- In Device Manager, right-click the webcam and select Uninstall device.
- Check the box that says Delete the driver software for this device if available.
- Restart your laptop. Windows will automatically reinstall the driver.
Update Drivers on macOS:
macOS usually manages drivers automatically, but you can check for system updates:
- Go to System Settings > General > Software Update.
- Install any available updates. Apple often includes driver fixes in system updates.
Step 5: Run the Built-in Troubleshooter
Both Windows and macOS have built-in tools that can automatically detect and fix common webcam issues.
Windows Camera Troubleshooter:
- Go to Settings > System > Troubleshoot > Other troubleshooters.
- Find Camera and click Run.
- Follow the on-screen instructions. The tool will scan for problems and suggest fixes.
macOS Built-in Tools:
macOS doesn’t have a dedicated camera troubleshooter, but you can:
- Reset the SMC (System Management Controller) on Intel Macs.
- Reset NVRAM/PRAM to restore default settings.
- Try booting in Safe Mode (hold Shift during startup) to see if the issue persists.
Step 6: Check BIOS/UEFI Settings
Some laptops allow you to disable the webcam in the BIOS/UEFI firmware. This is rare but possible, especially on business or older models.
How to Check:
- Restart your laptop and press the BIOS key (usually F2, F10, or Del) during startup.
- Look for a section like Security, Peripherals, or Integrated Devices.
- Ensure the webcam is enabled. If it’s disabled, change the setting and save.
- Exit BIOS and test the webcam again.
Note: This step requires caution. If you’re not comfortable with BIOS settings, skip to the next section.
Step 7: Test in Safe Mode
Safe Mode starts your laptop with minimal drivers and services. If the webcam works in Safe Mode, a third-party app or driver is likely causing the conflict.
Windows Safe Mode:
- Press Windows + R, type msconfig, and press Enter.
- Go to the Boot tab, check Safe boot, and select Minimal.
- Restart your laptop and test the webcam.
- To exit Safe Mode, repeat the steps and uncheck Safe boot.
macOS Safe Mode:
- Shut down your Mac.
- Turn it on and immediately hold the Shift key until you see the login screen.
- Log in and test the webcam.
- Restart normally after testing.
Step 8: Roll Back or Reinstall Software
If you recently installed updates or software that might have affected the webcam, consider rolling back or reinstalling.
- Uninstall any recent updates via Settings > Windows Update > Update History > Uninstall updates.
- Uninstall video conferencing apps and reinstall them from official sources.
- Check if your laptop manufacturer has a support page with specific webcam drivers—download and install them manually.
Step 9: Consider Hardware Failure
If none of the above steps work, the webcam may be physically damaged. Signs include:
- No image even in Safe Mode.
- Distorted or black screen.
- Physical damage around the webcam area.
In this case, you may need to:
- Contact the laptop manufacturer for repair.
- Visit a certified technician.
- For older laptops, consider replacing the webcam module (if DIY-friendly).
Preventing Future Webcam Issues
Once your webcam is working, here are a few tips to keep it in good shape:
- Keep your OS updated: Regular updates include security and driver fixes.
- Use a physical cover: It protects your privacy and prevents accidental blockage.
- Avoid covering the lens: Even with a cover, don’t place stickers or tape over the camera.
- Clean the lens regularly: A microfiber cloth is all you need.
Conclusion
Now you know exactly how to fix webcam on laptop—whether it’s a software glitch, driver issue, or privacy setting. Start with the simplest fixes like checking permissions and cleaning the lens, then move to more advanced steps like updating drivers or checking BIOS settings. Most webcam problems are not hardware-related and can be resolved in minutes.
Remember, patience is key. Try one step at a time, and don’t skip testing after each change. If your laptop is still under warranty, avoid opening it yourself unless you’re confident in your skills. With this guide, you’re well-equipped to handle most webcam issues and get back to video calling, recording, or streaming without a hitch.



