


Facing an upside-down webcam can be incredibly frustrating, but it’s often a straightforward fix. This guide will walk you through common solutions, from checking physical orientation and updating drivers to adjusting software settings in communication apps and dedicated webcam utilities. Most issues are resolved by correcting driver glitches or incorrect application-specific image settings, getting your camera back to normal in no time.
How to Fix Webcam Upside Down
There’s nothing quite like joining a video call, only to realize your face is showing up on screen completely upside down! It’s an annoying and often confusing problem, whether it’s your built-in laptop camera or an external webcam. You might wonder, “Why is my webcam upside down?” and more importantly, “How do I fix webcam upside down?”
The good news is that an upside-down webcam is usually a software glitch, a driver issue, or an incorrect setting, rather than a hardware fault. This comprehensive guide will walk you through every possible solution, from the simplest restarts to more in-depth driver management and software adjustments. By the end, you’ll have your camera picture-perfect and right-side up.
Let’s dive in and fix your webcam upside down issue once and for all!
Key Takeaways
- Restart is Key: Always start with a simple computer restart; it often resolves temporary glitches causing your webcam to be upside down.
- Drivers are Crucial: Outdated, corrupted, or incompatible webcam drivers are a primary suspect. Update or reinstall them directly through Device Manager or your manufacturer’s website.
- Check Software Settings: Most video conferencing applications (Zoom, Teams, Skype) and dedicated webcam utilities have built-in options to rotate, flip, or mirror your camera feed. This is a very common fix.
- Physical Orientation Matters: For external webcams, ensure it hasn’t been accidentally mounted or placed upside down. It sounds simple, but it happens!
- Manufacturer Utilities: Look for specific software provided by your webcam’s manufacturer; they often include advanced settings for image orientation.
- Test Across Applications: If your webcam is only upside down in one app, the problem is likely specific to that application’s settings, not a system-wide driver issue.
Step 1: Restart Your Computer and Webcam
It might sound too simple to be true, but a fresh start can work wonders for many computer glitches, including an upside-down webcam. Sometimes, software processes get stuck, or a temporary conflict arises that causes your camera feed to invert. A full reboot can clear these temporary states.
How to Perform a Restart:
- For Windows: Click the “Start” button, then the power icon, and select “Restart.”
- For macOS: Click the Apple menu in the top-left corner and select “Restart…”
- For External Webcams: If you’re using an external webcam, unplug it from the USB port, wait about 10-15 seconds, and then plug it back in *after* your computer has fully restarted. This allows the system to re-detect and re-initialize the device.
Once your computer is back up and running, open an application that uses your webcam (like the built-in Camera app or a video conferencing tool) and check if the image is still upside down. If the problem persists, move on to the next step.
Step 2: Check Physical Orientation (External Webcams)
Before diving into complex software solutions, let’s rule out the most obvious physical possibility, especially if you have an external webcam. It’s surprisingly easy to accidentally mount or place a webcam upside down, especially if it has a versatile clip or stand.
Visual guide about How to Fix Webcam Upside Down
Image source: ilinuxgeek.com
What to Look For:
- Webcam Logo/Brand Name: Most webcams have a brand name or logo printed on them. Ensure this text is right-side up.
- Indicators: Check for any LED indicators or microphone holes. These are usually positioned in a way that suggests the correct orientation.
- Mounting: If your webcam clips to the top of your monitor, ensure the clip is designed to hold it with the lens pointing forward and the body upright.
Sometimes, a flexible stand or a quick setup might lead to an inverted camera. Simply adjusting its physical position could be the quickest way to fix your webcam upside down problem. If you’ve confirmed your external webcam is physically oriented correctly, or if you’re using a built-in laptop camera, proceed to the next step.
Step 3: Update or Reinstall Webcam Drivers
Outdated, corrupted, or incorrect drivers are one of the most common culprits behind an upside-down webcam. Drivers are essential software that allows your operating system to communicate with your hardware. If this communication is faulty, your camera might interpret commands incorrectly, leading to an inverted image.

Visual guide about How to Fix Webcam Upside Down
Image source: ilinuxgeek.com
How to Update Drivers (Windows):
Windows often manages drivers automatically, but sometimes a manual update is needed to fix webcam upside down issues.
- Open Device Manager:
- Right-click on the “Start” button and select “Device Manager.”
- Alternatively, type “Device Manager” into the Windows search bar and open it.
- Locate Your Webcam:
- Expand the “Cameras” or “Imaging devices” category.
- You should see your webcam listed here (e.g., “Integrated Webcam,” “Logitech Webcam C920”).
- Update Driver:
- Right-click on your webcam device.
- Select “Update driver.”
- Choose “Search automatically for drivers.” Windows will then search online for the latest compatible driver and install it if a newer version is found.
- Restart Your Computer: After the update, restart your computer to ensure the changes take effect.
How to Reinstall Drivers (Windows):
If updating doesn’t work, uninstalling and reinstalling the driver can often resolve deeper corruption issues. This essentially gives your system a fresh start with the driver.
- Open Device Manager: As described above.
- Locate Your Webcam: Find your webcam under “Cameras” or “Imaging devices.”
- Uninstall Driver:
- Right-click on your webcam device.
- Select “Uninstall device.”
- If prompted, check the box that says “Delete the driver software for this device” (this is crucial for a clean reinstall).
- Click “Uninstall.”
- Restart Your Computer:
- Once your computer restarts, Windows will typically detect the missing hardware and automatically reinstall a generic driver or the latest one it can find. This often fixes the upside-down webcam issue.
- Test: Open your Camera app or a video conferencing app to check if the image is now correct.
Check Manufacturer’s Website for Latest Drivers:
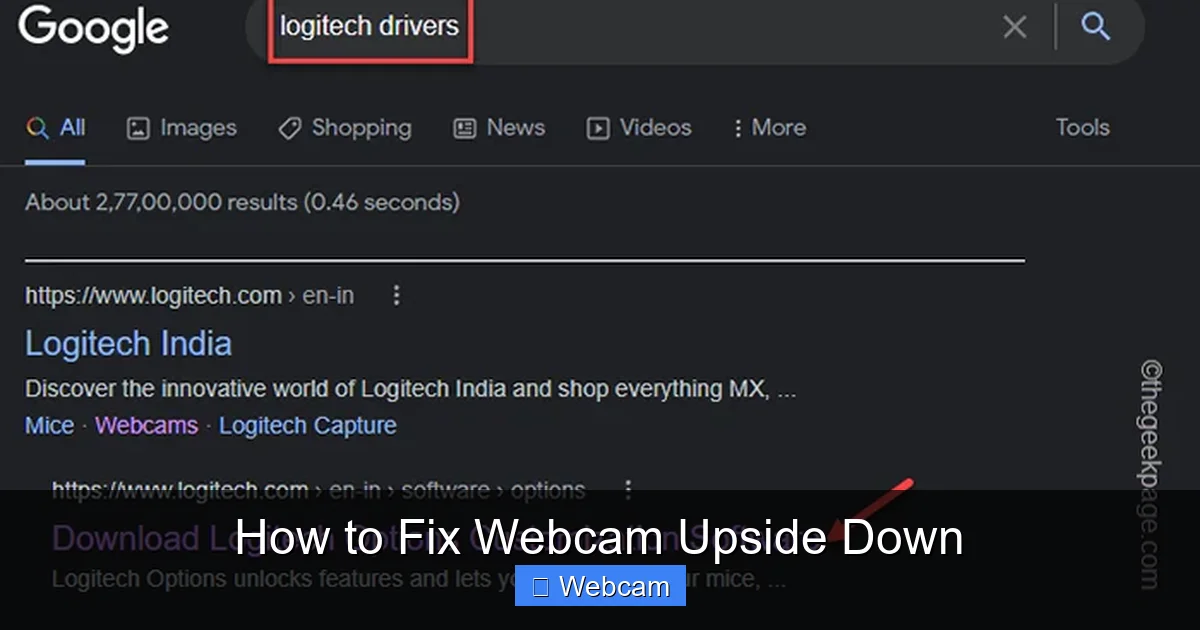
Sometimes, Windows’ automatic driver search might not find the absolute latest or correct driver from the manufacturer, especially for specific webcam models. This is particularly important if you have a branded external webcam (like Logitech, Razer, Microsoft Lifecam, etc.).
- Identify Your Webcam Model: Look for the model number on the webcam itself or in Device Manager.
- Visit Manufacturer’s Support Page: Go to the official website of your webcam’s manufacturer (e.g., logitech.com/support, razer.com/support).
- Download Latest Drivers: Navigate to the “Support,” “Drivers,” or “Downloads” section. Enter your webcam’s model number and download the latest drivers specifically designed for your operating system (Windows 10, Windows 11, macOS, etc.).
- Install and Restart: Run the downloaded installer and follow the on-screen instructions. Restart your computer afterward.
For macOS users, driver management is generally more integrated. macOS typically handles webcam drivers automatically through system updates. If you’re experiencing an upside-down webcam on a Mac, ensure your macOS is fully updated (System Settings > General > Software Update). If it’s an external webcam, check the manufacturer’s website for Mac-specific software or drivers.
Step 4: Adjust Webcam Settings in Software
Often, the problem isn’t with the drivers, but with settings within the applications that use your webcam. Many video conferencing tools and dedicated webcam utilities include options to rotate, flip, or mirror the camera feed. This is a very common reason why your webcam might appear upside down.
Visual guide about How to Fix Webcam Upside Down
Image source: ilinuxgeek.com
Check Communication Applications (Zoom, Microsoft Teams, Google Meet, Skype):
Each application has its own video settings. You’ll need to check them individually.
For Zoom:
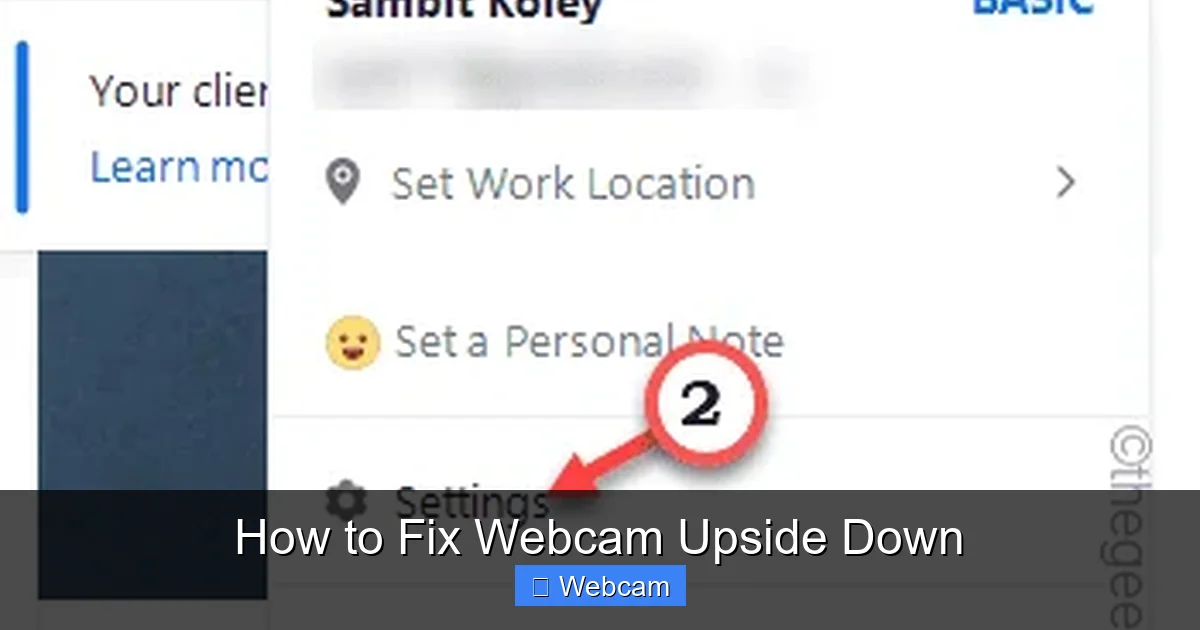
- Open Zoom and click on your profile picture, then “Settings.”
- Go to the “Video” tab.
- You’ll see a preview of your camera feed. Look for “Rotate 90°” or “Mirror my video.” Click “Rotate 90°” until your image is right-side up. Make sure “Mirror my video” is set according to your preference (it usually flips horizontally, not vertically, but sometimes can cause confusion).
For Microsoft Teams:
- Open Teams, click on your profile picture, and select “Settings.”
- Go to “Devices.”
- Scroll down to the “Camera” section. Here you should see a preview. Teams typically doesn’t have a direct “rotate” option within its settings itself. If your camera is upside down here, it’s more likely a system/driver issue or an external utility setting. However, ensure the correct camera is selected.
For Google Meet:
- During a call or when joining, click the “Settings” icon (gear icon).
- Go to the “Video” tab.
- You’ll see a preview. Like Teams, Meet usually relies on the system’s default camera orientation. If it’s upside down here, the fix likely lies outside Meet (drivers or other webcam software).
For Skype:
- Open Skype, click on your profile picture, then “Settings.”
- Go to “Audio & Video.”
- In the “Video” section, you’ll see a preview. Look for any “Rotate” or “Flip” options. If not present, again, the issue is likely system-wide.
Practical Tip: If your webcam is upside down in *only one* of these applications, the problem is definitely within that app’s settings or how it interacts with the camera, not a system driver issue. This helps narrow down your troubleshooting efforts to fix webcam upside down.
Check Dedicated Webcam Utility Software:
Many external webcams come with their own dedicated software (e.g., Logitech Capture, Razer Synapse, OBS Studio for virtual cameras). These utilities often provide more granular control over camera settings, including image orientation.
- Open Manufacturer’s Software: Launch the software that came with your webcam (e.g., “Logitech Capture,” “Razer Synapse”).
- Find Image Settings: Look for sections like “Video Settings,” “Camera Control,” “Image Settings,” or “Properties.”
- Look for Flip/Rotate: Within these settings, search for options like “Rotate,” “Flip Vertical,” “Flip Horizontal,” “Mirror,” or “Image Orientation.” Adjust these until your picture is correctly oriented.
- Save Changes: Ensure you save any changes you make.
Windows Camera App Settings:
The built-in Windows Camera app sometimes has basic settings that can affect orientation, though this is less common for a full flip.
- Open the “Camera” app from the Start Menu.
- Click the “Settings” gear icon in the top right.
- Browse through the settings. While direct flip/rotate options are rare here, ensuring the app recognizes the correct camera and doesn’t have any unusual settings might help.
Step 5: Utilize Third-Party Webcam Software or Virtual Camera Solutions
If direct settings in your apps or manufacturer software aren’t helping to fix your webcam upside down issue, a third-party virtual camera solution can often override or correct the feed before it reaches your applications.
OBS Studio (Open Broadcaster Software):
OBS Studio is a powerful, free, and open-source tool often used for streaming, but it can also act as a virtual webcam. This means you can create a scene in OBS, correct your camera’s orientation within it, and then feed that corrected output to Zoom, Teams, or any other app.
- Download and Install OBS Studio: Get it from the official website (obsproject.com).
- Add Your Webcam as a Source:
- In OBS, in the “Sources” box, click the “+” icon.
- Select “Video Capture Device.”
- Choose your webcam from the dropdown list.
- Correct Orientation in OBS:
- Right-click on your webcam source in the “Sources” list.
- Go to “Transform” > “Flip Vertical” or “Rotate 180 degrees” until your image is correct. You can also use “Edit Transform” (Ctrl+E) for more precise rotation.
- Start Virtual Camera:
- In the “Controls” box (bottom right), click “Start Virtual Camera.”
- Select OBS Virtual Camera in Your App:
- Now, go to your video conferencing app (Zoom, Teams, etc.).
- In its video settings, select “OBS Virtual Camera” (or similar name) as your camera source instead of your direct webcam.
This method essentially intercepts your camera’s feed, allows you to fix its orientation, and then sends the corrected feed to other applications. It’s a robust workaround if other methods fail to fix webcam upside down.
Step 6: Scan for Malware or Viruses
While less common, some malicious software or viruses can interfere with device drivers and system processes, potentially causing erratic behavior like an upside-down webcam. Running a full system scan can rule this out.
How to Scan:
- Windows Security: For Windows users, utilize the built-in “Windows Security” (formerly Windows Defender). Open it from the Start menu, go to “Virus & threat protection,” and run a “Full scan.”
- Third-Party Antivirus: If you use a third-party antivirus program (e.g., Avast, McAfee, Norton), ensure it’s up to date and run a comprehensive scan.
If malware is detected and removed, restart your computer and check your webcam. This is a good general maintenance step even if it doesn’t solve your specific upside-down webcam problem.
Step 7: Perform a System Restore (Windows)
If your webcam started appearing upside down recently after a system update, new software installation, or driver change, a System Restore might revert your system to a previous state when the webcam was working correctly.
How to Perform System Restore:
- Open System Restore:
- Type “Create a restore point” into the Windows search bar and select the corresponding result.
- In the “System Properties” window, click the “System Restore…” button.
- Follow Wizard:
- Click “Next” and choose a restore point from a date *before* your webcam started showing as upside down.
- Follow the on-screen prompts to complete the restore. Your computer will restart during this process.
Important Note: System Restore will undo system changes made since the chosen restore point, but it won’t affect your personal files (documents, pictures, etc.). It’s a powerful tool, but use it as a last resort if all other methods fail to fix your webcam upside down.
Troubleshooting Tips and Further Checks
If you’ve gone through all the steps above and your webcam is still upside down, consider these additional troubleshooting tips:
- Try a Different USB Port (External Webcams): Sometimes, a faulty USB port or port controller can cause strange device behavior. Try plugging your external webcam into a different USB port on your computer.
- Test with Another Computer: If possible, test your external webcam on another computer. If it works correctly there, the issue is definitely with your primary computer’s software or settings. If it’s still upside down on another computer, you might have a rare hardware defect in the webcam itself.
- Run System File Checker (Windows): Open Command Prompt as an administrator and type
sfc /scannowand press Enter. This tool checks for and repairs corrupted Windows system files which could potentially affect driver functionality. - Check BIOS/UEFI Settings (Advanced Users): For some built-in cameras, there might be very basic settings in the BIOS/UEFI firmware, though a “flip” option is extremely rare here. Only attempt this if you are comfortable navigating BIOS.
Conclusion
An upside-down webcam can be a truly annoying issue, making video calls and content creation frustrating. However, as you’ve seen, the solution is almost always a software-based fix, ranging from a simple restart or driver update to adjusting specific application settings or using a virtual camera. By systematically working through these steps, you should be able to identify and fix your webcam upside down problem.
Remember to start with the easiest solutions first—a restart or checking physical orientation—before diving into driver reinstallations or third-party software. With patience and these detailed instructions, you’re well on your way to getting your camera feed back to normal and facing the world right-side up!



