


In this guide, you’ll discover how to hide your webcam feed in OBS while recording. Whether you want a clean recording or to switch views seamlessly, these simple steps will help you control your webcam visibility effectively. Mastering this technique ensures your videos look professional and distraction-free.
Key Takeaways
- Understanding OBS Layers: Learn how OBS uses scenes and sources to manage what appears in your recording.
- Hiding Webcam Source: Use the eye icon or toggle visibility to hide your webcam during recordings.
- Using Scenes for Flexibility: Create multiple scenes to switch between webcam visible and hidden views seamlessly.
- Hotkeys for Quick Control: Set hotkeys to hide or show your webcam instantly during recordings.
- Practical Tips: Keep your sources organized to switch views smoothly without disrupting your workflow.
- Troubleshooting: Learn common issues and how to fix them if your webcam still appears when it shouldn’t.
Introduction
If you’re creating videos or live streams with OBS Studio, you might want to hide your webcam at certain moments. For example, when showing slides, gameplay, or screen recordings, the webcam can sometimes be distracting or unnecessary. Fortunately, OBS makes it easy to hide or show your webcam feed with a few simple steps. In this guide, you’ll learn how to hide your webcam feed in OBS while recording without interrupting your workflow. Whether you’re a beginner or an experienced user, these tips will help you produce professional-looking videos with more control over your webcam display.
Understanding OBS Layout and Sources
Before we dive into hiding your webcam, it’s helpful to understand how OBS manages your video sources. OBS uses scenes and sources to organize what appears in your recording or stream. A scene can contain multiple sources, such as your screen, webcam, images, and audio inputs.
Visual guide about How to Hide Webcam Feed in Obs While Recording
Image source: tipsforefficiency.com
Each source can be individually toggled on or off, giving you flexibility. For example, you can have one scene with the webcam visible and another with the webcam hidden. Switching between these scenes allows you to control what your viewers see during recording or streaming.
Step-by-Step Guide to Hiding Webcam Feed in OBS
Step 1: Open Your OBS Studio
Start by launching OBS Studio on your computer. Make sure you have your scene set up with your webcam as a source.

Visual guide about How to Hide Webcam Feed in Obs While Recording
Image source: recorder.easeus.com
Step 2: Locate Your Webcam Source
In the Sources panel at the bottom of OBS, find the source that represents your webcam. It might be named “Video Capture Device” or something similar.
- If you have multiple sources, identify which one is your webcam.
Step 3: Hide Your Webcam Source Temporarily
Option 1: Use the Eye Icon
Next to each source, there is an eye icon. Clicking this icon toggles the visibility of that source.
- Click the eye icon next to your webcam source to hide it. The icon will disappear, indicating the source is hidden.
- This change is immediate and only affects your local recording or stream.
Option 2: Disable the Source
If you prefer, right-click the webcam source and select “Disable”. This completely disables the source until you enable it again.
- To enable it back, right-click and select Enable.
Step 4: Use Scenes for Advanced Control
Creating multiple scenes is a smart way to manage different views easily. For example:
- Scene 1: With webcam visible
- Scene 2: Webcam hidden
Switching between these scenes during recording is seamless and allows for professional production.
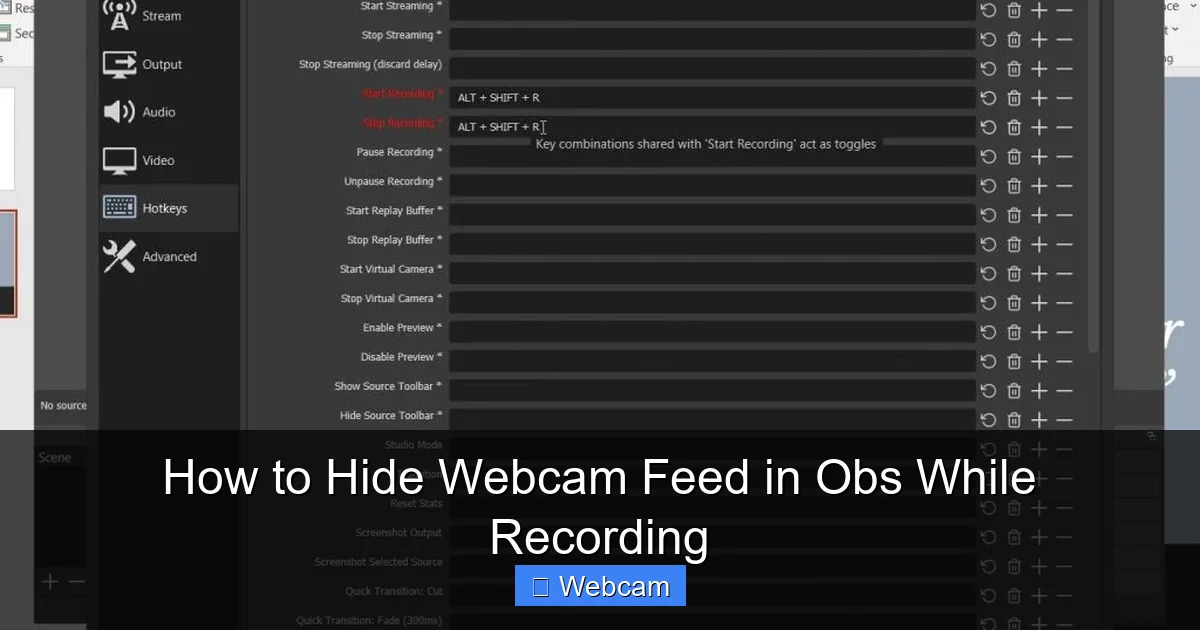
Step 5: Set Hotkeys to Toggle Webcam Visibility
Why Use Hotkeys?
Hotkeys allow you to quickly hide or show your webcam without navigating through the interface. This is especially useful during live recordings or streams.
How to Set Hotkeys:
- Go to Settings in OBS (bottom right corner).
- Select Hotkeys from the menu.
- Scroll down to find your webcam source or scene.
- Assign a hotkey for Hide and Show (or toggle) actions.
- Click Apply and close settings.
Now, pressing your hotkeys during recording will instantly hide or show your webcam feed.
Step 6: Practice and Confirm Your Settings
Before starting a full recording, do a quick test. Use your hotkeys or manually toggle the visibility to confirm everything works as expected. Ensure your scene switches smoothly and your webcam appears or disappears correctly.
Additional Tips for Managing Webcam Visibility
- Use Scene Transitions: Smoothly switch between scenes with or without webcam to enhance your video quality.
- Organize Your Sources: Name your sources clearly to avoid confusion when toggling visibility.
- Preview Your Scene: Use the Studio Mode in OBS to preview changes before going live or recording.
- Keep Hotkeys Simple: Choose easily memorable hotkeys to avoid accidental presses.
Troubleshooting Common Webcam Hiding Issues
- The webcam still shows after hiding: Make sure you’ve toggled the eye icon and not just minimized the source window. Also, check if you have multiple scenes and the webcam is active in the current scene.
- Hotkeys don’t work: Confirm hotkeys are correctly assigned and not conflicting with other applications.
- Webcam source is disabled but still visible: Disable the source from the sources list or remove it temporarily if needed.
Conclusion
Controlling your webcam visibility in OBS is straightforward once you understand the scene and source system. By toggling the eye icon, creating dedicated scenes, or setting hotkeys, you can easily hide your webcam during recordings. This flexibility allows you to produce professional-looking videos tailored to your content needs. Practice these steps, organize your sources well, and you’ll have full control over your webcam feed in OBS.

Visual guide about How to Hide Webcam Feed in Obs While Recording
Image source: recorder.easeus.com
Final Tips
- Always test your setup before recording or streaming.
- Use hotkeys for quick toggling during live sessions.
- Keep your scenes organized for smooth transitions.



