


Discover how to record video with your webcam in minutes using built-in tools or free software. No expensive gear needed—just a few simple steps to get clear, professional-looking videos for work, school, or fun. From adjusting settings to saving your clips, this guide makes webcam recording fast, easy, and stress-free.
Have you ever wanted to record a quick tutorial, document a family moment, or create content for social media—but didn’t know where to start? Recording video with your webcam is one of the easiest ways to capture high-quality footage without needing expensive cameras or editing suites. Whether you’re using a laptop with a built-in webcam or an external USB model, this guide will walk you through every step—from setup to saving your final video.
In this comprehensive how-to guide, you’ll learn how to record video with your webcam using simple tools and techniques. We’ll cover everything from choosing the right software to optimizing lighting and audio. You’ll also find practical tips to avoid common mistakes and troubleshooting steps if things don’t go as planned. By the end, you’ll feel confident recording smooth, clear videos that look great on any screen.
Key Takeaways
- Choose the right software: Use built-in tools like Windows Camera or macOS Photo Booth, or try free options like OBS Studio or Zoom for more control.
- Set up your webcam properly: Position it at eye level, ensure good lighting, and check focus to improve video quality.
- Adjust video settings: Select resolution, frame rate, and lighting to match your needs—720p is good for most uses, but 1080p offers sharper detail.
- Test before recording: Do a quick preview to check audio, video, and framing so you’re ready to go when it counts.
- Save and organize your files: Choose a clear folder name and format (like MP4) to keep your videos easy to find and share.
- Troubleshoot common issues: Fix problems like blurry video, no sound, or lag by updating drivers, checking connections, or lowering resolution.
- Enhance your recording: Use a backdrop, softbox lights, or a tripod for a more polished, professional look.
What You’ll Need to Record Video with Your Webcam
Before diving in, make sure you have the basics covered. Most modern computers come with a built-in webcam, but if you’re using an external model, ensure it’s plugged in and recognized by your system.
- Webcam: Built-in or external USB webcam (HDMI webcams are less common and may require capture cards).
- Computer: Windows PC, Mac, or even a Chromebook (most have built-in cameras).
- Software: Built-in tools like Camera (Windows) or Photo Booth (Mac), or free apps like OBS Studio, Zoom, or Streamlabs.
- Internet connection: Only needed if you’re using cloud-based apps or live streaming.
- Quiet, well-lit space: Natural light is best, but avoid harsh shadows or backlighting.
Step-by-Step: How to Record Video with Your Webcam
Step 1: Choose Your Recording Software
The first step in learning how to record video with your webcam is picking the right tool. You have several options, depending on your computer and needs.
- Built-in apps: On Windows, open the “Camera” app (search in Start menu). On Mac, use “Photo Booth” (found in Applications). These are great for quick recordings and require no download.
- Free third-party software: OBS Studio is powerful and free, ideal for long recordings or streaming. Zoom and Microsoft Teams also let you record video calls directly.
- Browser-based tools: Sites like Google Meet or Webcam Toy let you record directly in your browser—no install needed.
For beginners, starting with the built-in app is easiest. If you need more features like scene transitions or screen sharing, try OBS Studio.
Step 2: Set Up Your Webcam
Proper setup makes a big difference in video quality. Follow these steps to get the best results.
Position the Webcam Correctly
Place your webcam at eye level—this avoids unflattering angles. If it’s built-in (like on a laptop), prop the device up with a book or stand. External webcams can be mounted on a tripod for stability.
Check Lighting
Good lighting is essential. Sit facing a window for natural light, or use a softbox lamp to the side—never behind you. Avoid fluorescent lights, which can flicker on video.
Test Focus and Exposure
Most webcams auto-focus, but if your face looks blurry, tap the screen (on touch devices) or adjust settings in your software. Look for “exposure” or “auto-focus” options and enable them.
Step 3: Adjust Video Settings
To record video with your webcam at the best quality, tweak a few settings before starting.
Select Resolution and Frame Rate
- Resolution: 720p (HD) is sufficient for most purposes. For sharper video, choose 1080p.
- Frame rate: 30 fps (frames per second) is standard. Use 60 fps for smoother motion, like gaming or dancing.
You’ll find these options in your software settings (e.g., in OBS, go to Settings > Video).
Check Audio Input
Ensure your microphone is selected. If you have a headset with a mic, choose it in the sound settings. Test your voice by speaking near the mic and checking the audio meter.
Step 4: Do a Test Recording
Before recording the real thing, do a 10-second test. This helps you catch issues like poor lighting, off-center framing, or muted audio.
- Look directly at the camera.
- Smile and speak clearly.
- Review the playback—does the video look clear? Is your voice loud enough?
If something’s off, adjust lighting, reposition the camera, or turn up the mic volume.
Step 5: Start Recording
Once you’re happy with the test, press the record button. Here’s what to expect:
- On Windows Camera: Click the red circle.
- On Mac Photo Booth: Click the red record button.
- In OBS Studio: Click “Start Recording” and the time counter will begin.
Record for as long as needed—whether it’s a 2-minute intro or a 15-minute lecture.
Step 6: Stop and Save Your Video
When finished, click “Stop Recording.” Your video will usually save automatically.
- Default location: On Windows, check “Videos > Camera Roll.” On Mac, look in “Movies > Photo Booth” or “Desktop.”
- File format: Most apps save as MP4, which works on phones, tablets, and computers.
Name your file something clear, like “Webcam_Interview_Final.mp4.”
Step 7: Review and Share
Watch your video to ensure it meets your expectations. If you spot issues—like choppy audio or dark corners—you can edit it using free tools like Shotcut or DaVinci Resolve.
Then, share your video via email, social media, or cloud storage.
Tips for High-Quality Webcam Recordings
Want your videos to look professional? Follow these expert tips.
- Use a neutral background: A plain wall or bookshelf works better than clutter.
- Dress appropriately: Bright colors stand out more on camera.
- Minimize noise: Turn off fans and close windows to reduce background sound.
- Use a headset mic: Built-in mics are okay, but headsets reduce echo and pickup.
- Keep software updated: Updates often fix bugs and improve performance.
Troubleshooting Common Webcam Recording Problems
Even with the best setup, things can go wrong. Here’s how to fix them.
Problem: Video is Blurry
Solution: Clean the webcam lens with a soft cloth. Check focus settings in your software. If using a laptop, close other apps to free up processing power.
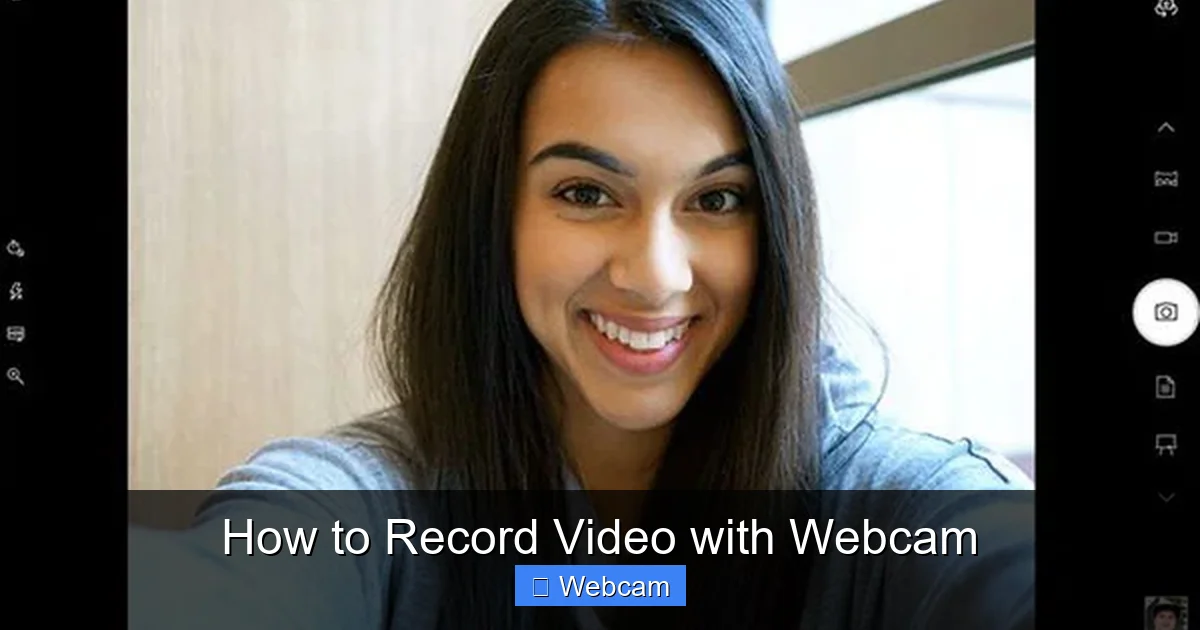
Visual guide about How to Record Video with Webcam
Image source: anymp4.com
Problem: No Audio
Solution: Go to your computer’s sound settings and select the correct microphone. Test it in the recording software. If using a headset, ensure the plug is fully inserted.
Problem: Webcam Not Detected
Solution: Try unplugging and reconnecting the webcam. Update drivers from the manufacturer’s website. Restart your computer if needed.
Problem: Lag or Freezing
Solution: Lower the video resolution or frame rate. Close background apps like browsers or games. Use a USB 3.0 port if available.
Problem: Poor Lighting
Solution: Add a lamp to the side of your face. Avoid recording with the window behind you—it creates silhouettes.
Conclusion: You’re Ready to Record!
Learning how to record video with your webcam opens up countless possibilities—from creating educational content to staying connected with family. With just a few simple steps, you can produce clear, professional-looking videos using tools you already have.
Remember to test your setup, adjust settings for the best quality, and save your files in an organized way. And don’t worry if it’s not perfect the first time—practice makes progress.
Now grab your laptop, position your webcam, and start recording. The world is waiting to see your video!



