


Experiencing blurry video, wrong colors, or microphone problems with your webcam? This comprehensive guide will show you exactly how to reset webcam settings across various platforms. You’ll learn simple, step-by-step methods to get your camera working perfectly again, ensuring crystal-clear video calls and recordings. Say goodbye to frustrating technical glitches and hello to a smooth webcam experience!
How to Reset Webcam Settings
Hey there! Are you struggling with your webcam? Maybe your video looks blurry, too dark, or the colors are all wrong. Perhaps your microphone isn’t picking up your voice, or the image is even upside down! These common issues can turn a simple video call into a frustrating experience. The good news is, often, the solution is just to reset webcam settings. It’s like giving your camera a fresh start.
This comprehensive guide will walk you through exactly how to reset webcam settings on various platforms, including Windows, macOS, and even within your web browser. We’ll cover everything from simple fixes to more in-depth troubleshooting, ensuring you can get your webcam back to optimal performance. By the end of this guide, you’ll be well-equipped to handle most webcam glitches like a pro. Let’s dive in!
Key Takeaways
- Understand the “Why”: Resetting webcam settings is crucial for resolving common issues like blurry video, poor lighting, or incorrect microphone input, often caused by software conflicts or misconfigurations.
- Platform-Specific Steps: The process to reset webcam settings varies significantly depending on your operating system (Windows, macOS) and the specific application you’re using. This guide covers methods for each scenario.
- Utilize Built-in Tools: Windows users can often reset settings effectively via Device Manager (uninstalling/reinstalling drivers) or by resetting the Camera app, while Mac users might adjust camera permissions in System Settings.
- Check Proprietary Software: Many webcams come with their own dedicated software (e.g., Logitech G HUB). This software often provides advanced controls and, critically, a specific option to restore factory default settings, which is often the most direct way to reset webcam settings.
- Browser and App Permissions: Beyond operating system settings, always check browser-specific camera permissions and individual application settings (like Zoom or Google Meet). These can override system defaults and often need to be adjusted or reset independently.
- Troubleshooting is Key: If a simple reset doesn’t immediately fix the problem, basic troubleshooting steps like updating drivers, checking physical connections, or restarting your computer can often resolve persistent webcam issues.
- Regular Maintenance: Keeping your webcam drivers updated and regularly checking software for conflicts helps prevent the need for frequent resets, ensuring your webcam performs optimally for all your video needs.
Why You Might Need to Reset Webcam Settings
Webcams are complex pieces of hardware and software working together. Over time, or after software updates, settings can get jumbled. Here are some common reasons why you might need to reset webcam settings:
- Blurry or Pixelated Video: If your video quality suddenly drops, a reset can clear corrupted settings.
- Incorrect Color or Exposure: Your video might appear too dark, too bright, or have an odd color tint. This often happens after an application changes settings and doesn’t restore them properly.
- Inverted or Mirrored Image: Sometimes, the camera feed might be flipped horizontally or vertically, making your video look disorienting.
- Microphone Not Working: Many webcams have built-in microphones. If your audio isn’t working, resetting the webcam settings can sometimes fix microphone input issues.
- Settings Not Sticking: You adjust brightness, contrast, or zoom, but they revert to old settings every time you close the app.
- Software Conflicts: Different applications might try to use your webcam with their own preferred settings, leading to conflicts.
When you reset webcam settings, you effectively revert them to their factory defaults, clearing any potentially problematic custom configurations.
Before You Start: Essential Preliminary Checks
Before you dive into resetting specific settings, a few quick checks can often solve the problem without needing a full reset. Think of these as your first line of defense:

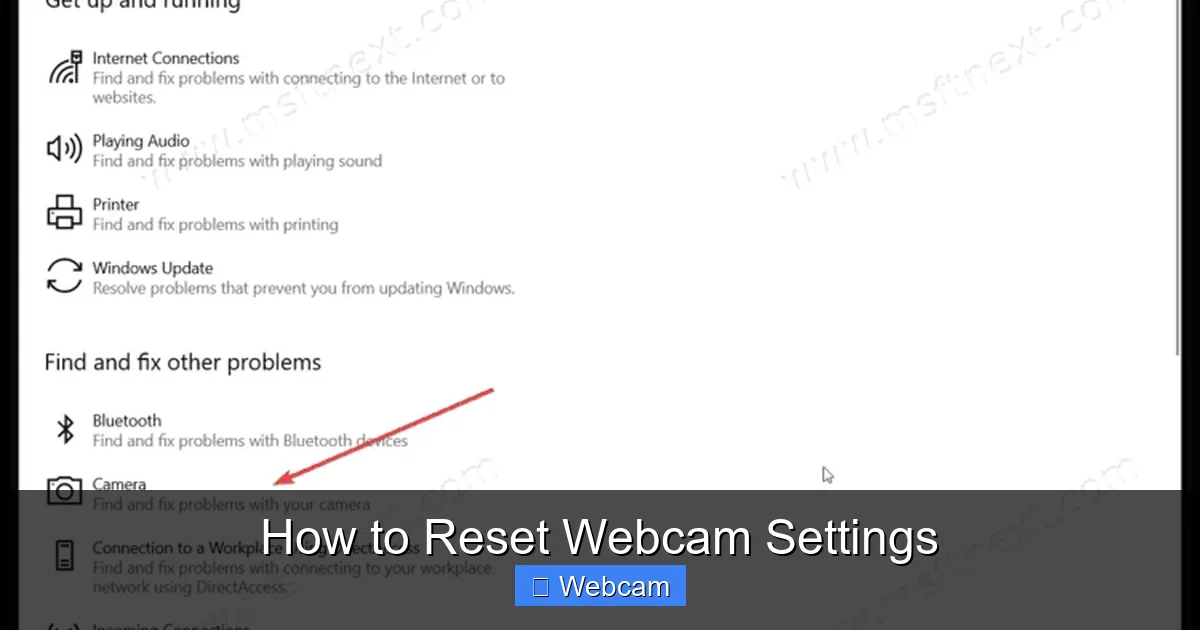
Visual guide about How to Reset Webcam Settings
Image source: msftnext.com
1. Check Physical Connections
Ensure your webcam is securely plugged into a USB port. If it’s an external webcam, try unplugging it and plugging it back into a different USB port. Sometimes, a loose connection is all it takes.
2. Restart Your Computer
It sounds cliché, but a simple restart can resolve many temporary software glitches, including those affecting your webcam. It clears temporary memory and reinitializes drivers.
3. Test with Another Application
Try using your webcam with a different application (e.g., if it’s not working in Zoom, try Google Meet or the built-in Camera app). This helps determine if the issue is with the webcam itself or a specific application.
4. Check for Driver Updates
Outdated or corrupted drivers are a common cause of webcam problems. Keeping your drivers up-to-date is crucial for optimal performance. You can usually find updated drivers on your webcam manufacturer’s website or through your operating system’s update utility.
How to Reset Webcam Settings on Windows
Windows offers several ways to reset webcam settings, depending on the nature of the problem. We’ll cover the most effective methods here.

Visual guide about How to Reset Webcam Settings
Image source: msftnext.com
1. Reset via Device Manager (Driver Reinstallation)
This method effectively uninstalls and then reinstalls your webcam’s driver, which often clears any persistent software-level settings issues.
- Step 1: Open Device Manager. Right-click the Start button (Windows icon) and select “Device Manager” from the list.
- Step 2: Locate Your Webcam. Expand the “Cameras” or “Imaging devices” section. You should see your webcam listed (e.g., “Integrated Webcam,” “Logitech C920”).
- Step 3: Uninstall the Device. Right-click on your webcam and select “Uninstall device.” If prompted, check the box that says “Delete the driver software for this device” (if available) to perform a clean uninstallation. Confirm your action.
- Step 4: Restart Your Computer. After uninstalling, restart your computer. Windows will automatically detect the webcam and reinstall its drivers upon startup, effectively performing a reset webcam settings operation.
- Step 5: Check Webcam Functionality. Open the Camera app or your preferred video conferencing software to confirm the reset was successful.
2. Reset the Camera App Settings
If the issue is primarily within the Windows Camera app itself, resetting the app can help.
- Step 1: Open Windows Settings. Press
Windows key + Ito open Settings. - Step 2: Navigate to Apps. Click on “Apps,” then “Apps & features.”
- Step 3: Find the Camera App. Scroll down or use the search bar to find “Camera.” Click on it.
- Step 4: Access Advanced Options. Select “Advanced options.”
- Step 5: Reset the App. Scroll down and click the “Reset” button. Confirm when prompted. This will reset the app’s data, including its specific camera settings, without affecting the webcam driver.
3. Adjust Privacy Settings
Sometimes, your webcam might not be working because apps don’t have permission to access it. This isn’t strictly a “reset webcam settings” action, but it’s a critical check.
- Step 1: Open Privacy Settings. Go to
Settings > Privacy & security(orPrivacyon older Windows versions). - Step 2: Check Camera Access. On the left-hand menu, click “Camera” under “App permissions.”
- Step 3: Ensure Access is On. Make sure “Camera access” is turned “On.” Also, ensure “Let apps access your camera” is “On,” and then individually check that the specific apps you want to use your webcam with are also turned “On.”
How to Reset Webcam Settings on macOS
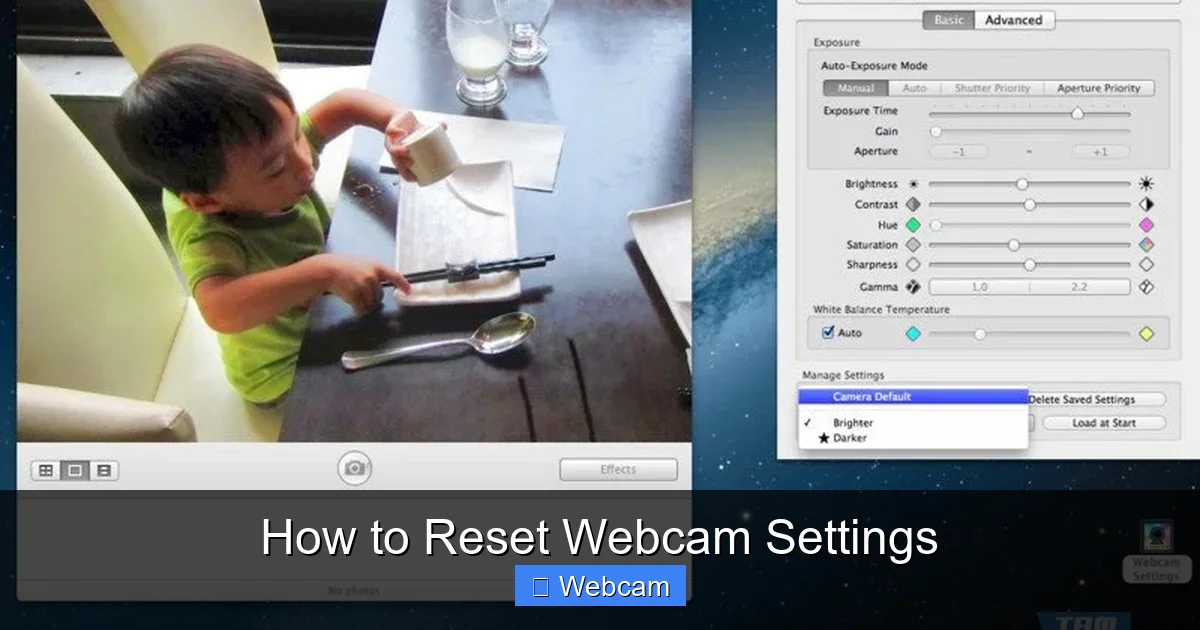
Mac users also have a few methods to tackle webcam issues and reset webcam settings.
Visual guide about How to Reset Webcam Settings
Image source: img.tamindir.com
1. Manage Camera Privacy & Permissions
Similar to Windows, macOS has strong privacy controls that might prevent your webcam from working correctly.
- Step 1: Open System Settings (or System Preferences). Click the Apple menu (top-left corner) and select “System Settings” (macOS Ventura and later) or “System Preferences” (older macOS).
- Step 2: Navigate to Privacy & Security. In System Settings, click “Privacy & Security” in the sidebar. In System Preferences, click “Security & Privacy,” then the “Privacy” tab.
- Step 3: Check Camera Access. Select “Camera” from the list on the right (or left for older macOS).
- Step 4: Grant Access to Apps. Ensure that the applications you want to use your webcam with (e.g., Zoom, Photo Booth, Chrome) have a checkmark next to them. If an app isn’t working, try unchecking and rechecking the box to reset its permission.
2. Application-Specific Settings
Many video conferencing apps on macOS have their own internal settings for camera selection and adjustments. If you’re having trouble in one app, check its specific preferences.
- Step 1: Open the Application. Launch the app where your webcam is having issues (e.g., Zoom, Google Meet via Chrome, Microsoft Teams).
- Step 2: Access Preferences/Settings. Go to the app’s preferences or settings. This is usually found under the app’s name in the menu bar (e.g., “Zoom” > “Preferences”) or within a settings icon.
- Step 3: Find Video Settings. Look for a “Video” or “Camera” section. Here you can often select your camera, adjust resolution, brightness, contrast, and sometimes even find a “Reset” button for these specific in-app video settings.
3. Reset PRAM/NVRAM (Advanced)
This is a more advanced troubleshooting step for persistent issues, as PRAM/NVRAM stores certain system settings, including some related to hardware. While not a direct “reset webcam settings” command, it can sometimes resolve underlying hardware communication problems.
- Step 1: Shut Down Your Mac. Completely turn off your computer.
- Step 2: Start and Press Keys. Turn on your Mac and immediately press and hold these four keys together:
Option,Command,P, andR. - Step 3: Hold Until Second Startup Sound. Keep holding the keys until your Mac restarts and you hear the startup sound a second time (or until the Apple logo appears and disappears a second time on Macs without a startup sound).
- Step 4: Release Keys. Release the keys and let your Mac start normally.
How to Reset Webcam Settings in Web Browsers
If you primarily use your webcam for web-based applications (like Google Meet, Zoom web client, or other video chat sites), you’ll need to check your browser’s settings.
1. Google Chrome
- Step 1: Open Chrome Settings. Click the three vertical dots in the top-right corner, then select “Settings.”
- Step 2: Navigate to Privacy and Security. In the left sidebar, click “Privacy and security.”
- Step 3: Go to Site Settings. Click “Site Settings.”
- Step 4: Access Camera Permissions. Scroll down and click “Camera” under “Permissions.”
- Step 5: Manage Camera Access. Here you can see which sites are allowed or blocked from using your camera. You can click the trashcan icon next to a site to reset its permission, forcing it to ask again. You can also select your preferred camera if you have multiple.
2. Mozilla Firefox
- Step 1: Open Firefox Settings. Click the three horizontal lines in the top-right corner and select “Settings.”
- Step 2: Go to Privacy & Security. In the left sidebar, click “Privacy & Security.”
- Step 3: Access Camera Permissions. Scroll down to the “Permissions” section and find “Camera.” Click the “Settings…” button next to it.
- Step 4: Reset Site Permissions. You’ll see a list of websites that have requested camera access. You can “Remove Website” for any entry to reset its camera permissions.
3. Microsoft Edge
- Step 1: Open Edge Settings. Click the three horizontal dots in the top-right corner and select “Settings.”
- Step 2: Navigate to Cookies and site permissions. In the left sidebar, click “Cookies and site permissions.”
- Step 3: Access Camera Permissions. Scroll down and click “Camera” under “Site permissions.”
- Step 4: Manage Camera Access. Similar to Chrome, you can view allowed and blocked sites. Click the trashcan icon next to a site to revoke its permission, effectively resetting its access.
How to Reset Webcam Settings Using Proprietary Software
Many popular webcams (like those from Logitech, Razer, Creative, etc.) come with their own dedicated software. This software often offers the most comprehensive control over your webcam’s advanced settings and often includes a direct option to reset webcam settings to factory defaults.
- Step 1: Install/Open the Software. If you haven’t already, download and install the software for your specific webcam model from the manufacturer’s website (e.g., Logitech G HUB, Razer Synapse, Creative App).
- Step 2: Locate Your Webcam. Once opened, the software should detect and display your connected webcam.
- Step 3: Find Reset Option. Navigate through the software’s settings or preferences. Look for sections related to “Video,” “Camera Settings,” “Image,” or “Advanced Settings.” Most proprietary software will have a clear “Reset,” “Restore Defaults,” or “Factory Reset” button within these sections.
- Step 4: Confirm Reset. Click the reset button and confirm your action if prompted. This is typically the most thorough way to reset webcam settings to their original factory state.
- Step 5: Reconfigure if Needed. After the reset, you might need to re-adjust any specific settings you prefer, such as brightness, contrast, field of view, or anti-flicker options.
Troubleshooting Common Webcam Reset Issues
Even after attempting to reset webcam settings, you might still encounter problems. Here are some common issues and how to troubleshoot them:
Webcam Not Detected After Reset
- Check Cables: Ensure the USB cable is firmly connected and try a different USB port.
- USB Hub Issues: If you’re using a USB hub, try plugging the webcam directly into your computer.
- Device Manager (Windows): Open Device Manager. If you see an “Unknown device” or a device with a yellow exclamation mark, right-click and choose “Update driver” or “Scan for hardware changes.”
- Restart: A full computer restart can often help the system detect newly reinstalled hardware.
Settings Don’t Stick or Revert
- Check for Conflicting Software: Are multiple applications trying to control your webcam simultaneously? Close all apps that might be using the camera except the one you’re testing.
- Proprietary Software Settings: If you have manufacturer software, ensure its settings aren’t overriding your desired settings. Sometimes, background processes from these apps can force certain parameters.
- User Permissions: Ensure your user account has the necessary permissions to save settings.
Poor Image Quality Persists
- Lighting: Good lighting is crucial. Ensure you are well-lit from the front, not from behind.
- Lens Cleanliness: A simple smudge on the lens can significantly degrade quality. Gently clean the lens with a microfiber cloth.
- Resolution Settings: Check the resolution setting in your application or webcam software. A lower resolution will result in a blurrier image.
- Internet Bandwidth: For online calls, poor internet connection can cause video quality to drop.
Microphone Issues Persist
- Check Default Input Device: Ensure your webcam’s microphone is selected as the default input device in your operating system’s sound settings and in your application’s audio settings.
- Volume Levels: Check the microphone’s input volume in your system settings.
- Mute Button: Ensure your microphone isn’t physically muted on the webcam itself or virtually muted in your software.
Conclusion
Dealing with a finicky webcam can be annoying, but knowing how to reset webcam settings gives you a powerful tool to resolve many common problems. Whether it’s a simple application reset on Windows, adjusting privacy permissions on macOS, or diving into browser settings, you now have a comprehensive guide at your fingertips.
Remember to always start with the simpler checks before moving to more complex steps like driver reinstallation. Regular updates and occasional checks of your webcam’s settings will help ensure crystal-clear video and audio for all your online interactions. Now go forth and enjoy your perfectly working webcam!



