


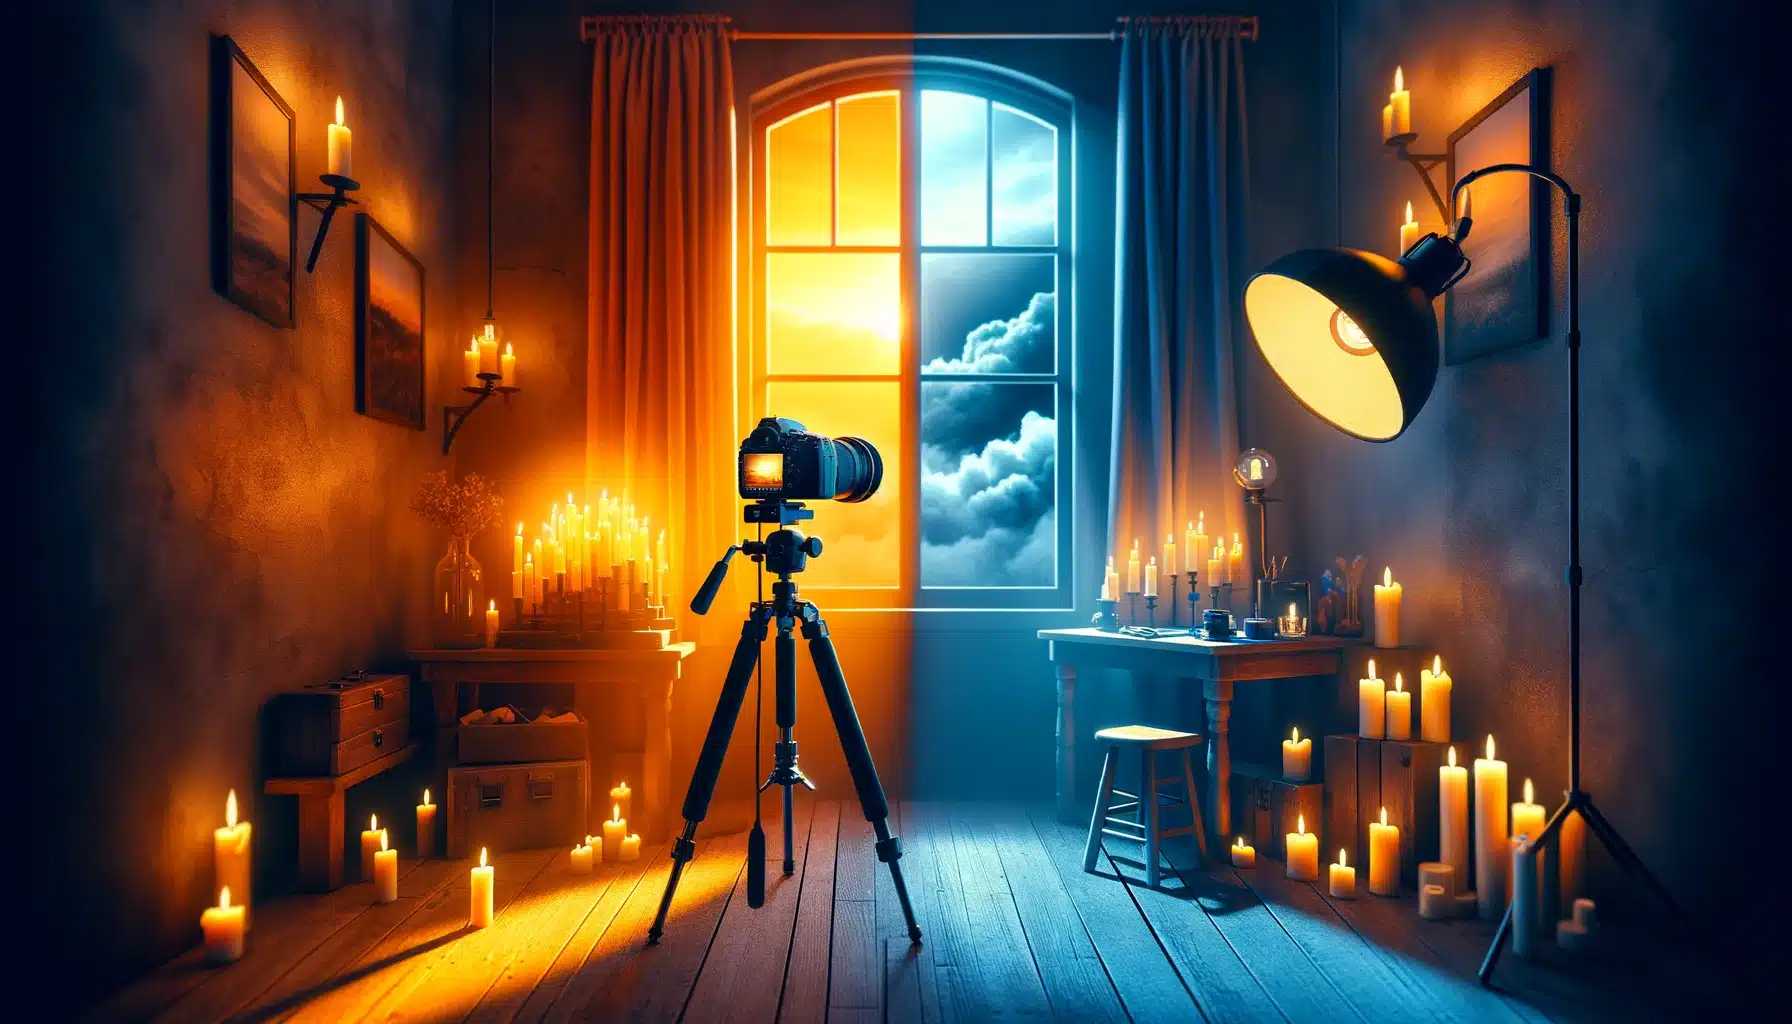
To set the perfect color temperature for photo editing, simply adjust the sliders in your editing software until the colors look natural and pleasing to your eye. Think of it as finding the right warm or cool tone that enhances your photo’s mood. In brief, you can change the color temperature using sliders labeled as “temperature” or “white balance” in photo editing tools, moving toward warmer hues for a cozy feel or cooler hues for a crisp, fresh look. These adjustments help correct lighting issues or creatively set the scene’s atmosphere, making your photos more appealing and true to life.
Getting the color temperature right is crucial for transforming a good photo into a stunning one. Whether you’re correcting a shot that looks too yellow or too blue, or you’re trying to create a specific mood, mastering this simple technique can elevate your editing game. The process is straightforward: using your editing software’s white balance or temperature control, move the slider until the colors match what you remember or want to convey. With a little practice, setting the right temperature will become second nature, ensuring your photos always look their best.

How to Set Color Temperature for Photo Editing
Color temperature plays a key role in making your photos look natural and appealing. It affects the overall mood and tone of an image, so understanding how to adjust it is important for any photographer or hobbyist. In this section, we’ll explore the basics of color temperature and why it matters in photo editing.
What Is Color Temperature?
Color temperature describes the hue of a light source measured in Kelvin (K). It indicates whether the light appears warm (yellow or orange) or cool (blue). For example, sunlight during sunset has a low Kelvin value and looks warm, while midday sunlight has a higher Kelvin value and appears cooler.
In photos, color temperature influences how colors are rendered. A correct setting can make the scene feel more natural, while an incorrect one can make it look strange or off-balance. Understanding this helps you create images that match your vision or real-life conditions.
Why Is Color Temperature Important in Photo Editing?
Adjusting color temperature allows you to correct color imbalances caused by different light sources. It helps you achieve consistency across multiple images and enhances the overall aesthetic. Correctly set, it can also evoke specific feelings, such as warmth or coolness.
For example, a photo taken indoors under incandescent light might look overly warm. Changing the temperature to a cooler setting can neutralize this effect. Conversely, a daytime photo might need warming to add coziness.
Understanding the Kelvin Scale
The Kelvin scale ranges from about 1000K to 10000K and above. Here are some common examples:
| Kelvin Range | Lighting Conditions | Appearance |
|---|---|---|
| 1000K – 2000K | Candlelight or firelight | Very warm, orange-red |
| 2500K – 3500K | Incandescent bulbs, sunset | Warm, yellowish |
| 4000K – 5000K | Daylight, cloudy sky | Neutral, balanced |
| 5500K – 6500K | Clear midday sunlight | Cooler, bluish |
| 7000K+ | Shade, overcast sky | Very cool, icy blue |
How to Set Color Temperature in Different Photo Editing Tools
Using Adobe Lightroom
In Lightroom, you can adjust the temperature slider located in the Basic panel. Moving it to the left makes the photo warmer, while moving it to the right cools it down. For precise control, view the histogram to see how the adjustments affect overall exposure.
Using Adobe Photoshop
Photoshop offers several options for adjusting color temperature. The most common method is through the Camera Raw filter where you find the Temperature slider. You can also use the Match Color feature or apply Photo Filter layers for more control.
Using Mobile Photo Editing Apps
Apps like Snapseed or VSCO have easy-to-use sliders for temperature adjustments. Typically, they include a simple slider labeled “Temperature” or “White Balance” to quickly enhance your image’s tone.
Best Practices for Setting Color Temperature
Initial Assessment
Start by visually analyzing your photo. Decide if it needs warming or cooling based on the scene and your artistic intent. Use the histogram and color indicators if available to guide your adjustments.
Adjust in Small Increments
Make subtle changes rather than large jumps. Small adjustments help you retain natural colors. Use your software’s preview feature to see the effects before finalizing.
Use Neutral References
If your photo contains neutral gray or white areas, use them as references. Adjust the temperature until these areas appear neutral, ensuring the rest of the image aligns naturally.
Common Mistakes to Avoid
- Overcooling or overwarming: Excessive adjustment can make images look unnatural. Strive for a balanced tone.
- Ignoring the scene context: Consider the original lighting conditions rather than forcing a specific look.
- Neglecting skin tones: For portraits, make sure skin tones look realistic by adjusting temperature carefully.
Complementary Adjustments to Enhance Your Photo
Adjusting color temperature works best when combined with other edits. Consider tweaking exposure, contrast, and saturation to achieve a cohesive look. Proper color grading can add mood and depth to your images.
Related Topics in Color Editing
White Balance Correction
White balance settings are closely related to color temperature. Correct white balance ensures neutral whites, which improves overall color accuracy. Understanding how to fine-tune white balance helps you set the right tone from the start.
Color Grading
After adjusting the temperature, use color grading tools to further refine the image’s mood. This step can involve tweaking hues and saturation across different color ranges for a stylized finish.
Using Presets and Auto Settings
Many photo editing tools offer auto or preset options for white balance and color temperature. While convenient, always review these adjustments to ensure they match your creative goals.
Tips for Achieving Consistent Results Across Photos
- Use a calibration target: Shooting with a gray card helps you set accurate color temperature during editing.
- Create custom presets: Save your preferred temperature settings for quick application to similar images.
- Batch edit when possible: For multiple photos shot under similar conditions, apply consistent temperature adjustments to maintain uniformity.
Understanding how to set color temperature is essential for producing natural and appealing images. Whether you’re correcting color imbalances or creating special effects, mastering this adjustment allows you to better control the final look of your photos. Practice regularly, experiment with different settings, and you’ll develop an intuitive sense for how temperature influences your images.
Color Temperature Explained and How to adjust it in Photoshop
Frequently Asked Questions
What are some effective ways to adjust color temperature during photo editing?
When editing photos, you can adjust the color temperature using sliders or controls in your editing software. Moving the slider toward cooler tones (blue) adds a sense of chilliness, while shifting toward warmer tones (yellow) creates a cozy or sunny effect. Experiment with small adjustments to see how each change affects your image’s overall mood and color balance.
How do you identify the optimal color temperature for a photo?
To find the best color temperature, analyze the lighting conditions when the photo was taken. Look for natural cues like the warmth of sunlight or the coolness of shade. Use your editing software’s preview options and compare different temperature settings to see which one best enhances the image without making colors appear unnatural.
What role does white balance play in setting color temperature for photos?
White balance controls the color temperature to make whites appear neutral in your photos. Proper white balance ensures that colors look natural and true to life. Adjusting the white balance or color temperature in editing allows you to correct color casts caused by different lighting conditions, resulting in a more accurate and appealing image.
Final Thoughts
Setting the correct color temperature is key to achieving natural-looking photos. Adjust the slider in your editing software until the image’s warmth or coolness matches your desired mood.
Experiment with different settings, and trust your eye to find the perfect balance.
Knowing how to set color temperature for photo editing helps you create consistent and appealing images that resonate with viewers.



