


Setting up your Logitech webcam on Mac is simple and fast. This guide walks you through the entire process, from unboxing to using your camera in apps. You’ll learn how to connect, install software, and fix common issues.
Key Takeaways
- Check Compatibility: Ensure your Logitech webcam works with your Mac model and macOS version before setup.
- Use Built-in Tools: macOS includes native camera access, so no extra drivers are usually needed for Logitech cams.
- Install Logitech Software: For advanced features, download Logitech Camera Settings or Logi Tune from the official site.
- Grant Camera Permissions: Allow apps like Zoom or FaceTime to use your camera in System Settings.
- Test Your Webcam: Use QuickTime Player or Photo Booth to confirm your webcam is working properly.
- Troubleshoot Issues: If the camera isn’t detected, check cables, restart your Mac, or reset camera permissions.
- Keep Software Updated: Regular updates ensure compatibility and fix bugs with your Logitech webcam.
How to Setup Logitech Webcam on Mac: Complete Step-by-Step Guide
Setting up your Logitech webcam on Mac doesn’t have to be complicated. Whether you’re using it for video calls, streaming, or recording, most Logitech webcams work seamlessly with macOS right out of the box. This guide will walk you through everything you need to know to get your webcam up and running quickly and easily. From unboxing to testing, we’ll cover all the steps so you can start using your camera without frustration.
By the end of this guide, you’ll understand how to connect your webcam, install necessary software, troubleshoot common problems, and ensure your Logitech camera works perfectly with your Mac. Let’s dive in!
Before You Begin: Check Compatibility and Requirements
Before plugging in your Logitech webcam, it’s important to make sure it’s compatible with your Mac. While most modern Logitech webcams work with macOS, older models might not be supported on the latest operating systems.
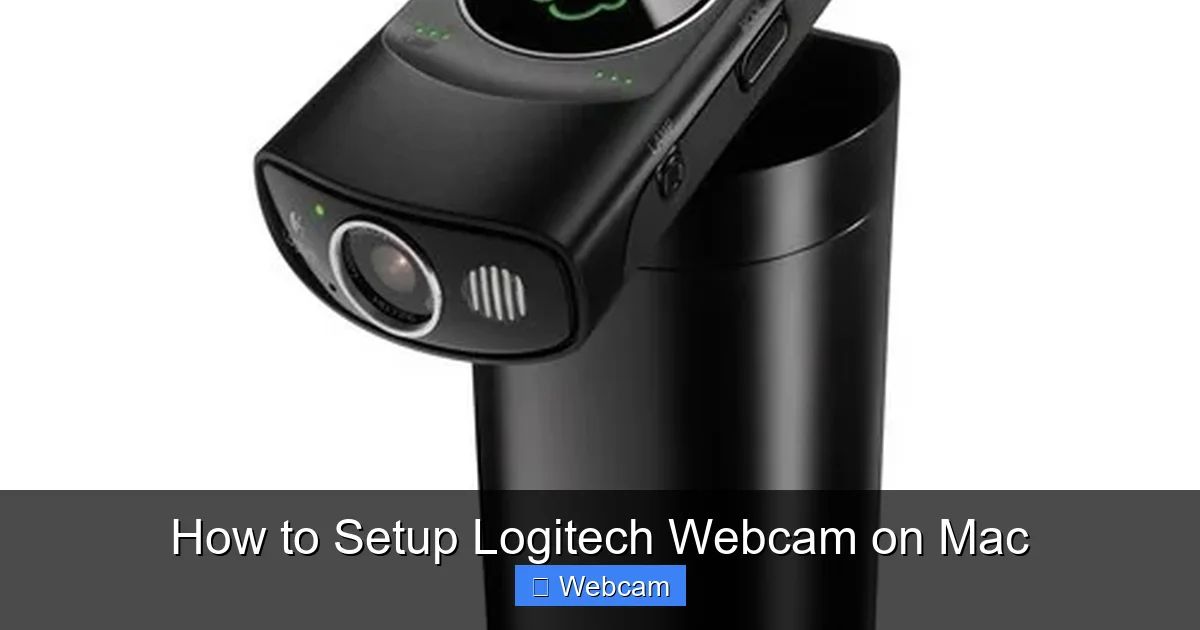
Visual guide about How to Setup Logitech Webcam on Mac
Image source: slashgear.com
Here’s what to check:
- Mac Model: Most Macs from 2012 onward support external USB webcams. If you have an older Mac, verify compatibility on Logitech’s support page.
- macOS Version: macOS Monterey (12.x), Ventura (13.x), and Sonoma (14.x) are widely supported. Check your macOS version by clicking the Apple logo > About This Mac.
- Webcam Model: Popular models like the Logitech C920, C922, Brio, and Stream work well with Mac. Visit Logitech’s official site to confirm your model.
If you’re unsure, Logitech provides a compatibility checker on their website. Once confirmed, you’re ready to move to the next step.
Step 1: Unbox and Connect Your Logitech Webcam
The first step in setting up your Logitech webcam on Mac is physically connecting it. This process is straightforward and takes just a few minutes.
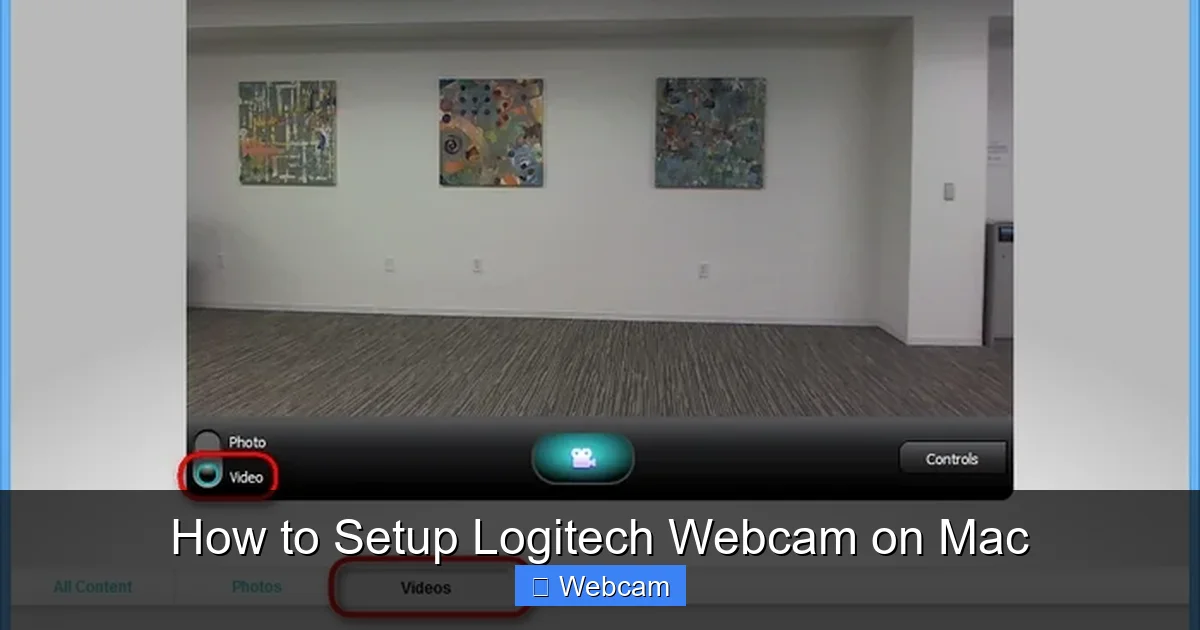
Visual guide about How to Setup Logitech Webcam on Mac
Image source: entrancementace.weebly.com
What You’ll Need
- Your Logitech webcam
- A USB-A to USB-C adapter (if your Mac has USB-C/Thunderbolt ports only)
- A working Mac computer
Step-by-Step Connection
- Unbox the webcam: Remove the Logitech webcam from its packaging. Don’t remove the plastic cover from the lens yet.
- Connect the webcam: Plug the USB cable into your webcam. If your Mac has USB-C ports, you may need a USB-A to USB-C adapter.
- Plug into your Mac: Insert the other end of the cable into a USB port on your Mac.
- Wait for recognition: macOS should automatically detect the new device. You’ll see a notification in the top-right corner of your screen.
Most Logitech webcams don’t require external power—they draw power directly from your Mac via USB. If your webcam has a separate power adapter (like the Brio), plug it in as well.
Once connected, your Mac should recognize the camera. You’re now ready to test and configure it.
Step 2: Test Your Webcam Using Built-in Apps
macOS includes two built-in apps that make it easy to test your Logitech webcam without installing extra software: QuickTime Player and Photo Booth. These tools are perfect for confirming your camera is working.
Test with QuickTime Player
QuickTime Player is a powerful media tool that lets you record video directly from your webcam.
- Open QuickTime Player (found in Applications or by searching in Spotlight).
- Click File > New Movie Recording.
- Look at the recording window. You should see your video feed.
- If the video appears, your webcam is working correctly.
- To switch cameras, click the small arrow next to the record button and select your Logitech webcam from the list.
Test with Photo Booth
Photo Booth is a fun way to preview your webcam and take snapshots.
- Open Photo Booth (search in Spotlight or find in Applications).
- Your face should appear in the preview window.
- Try adjusting lighting or moving closer to the camera to test functionality.
If you see your video feed in either app, your Logitech webcam is successfully connected and recognized by your Mac.
Step 3: Install Logitech Software (Optional but Recommended)
While macOS supports your Logitech webcam without extra software, installing Logitech’s official apps unlocks advanced features like background blur, lighting adjustment, and custom settings.
Download Logi Tune or Logitech Camera Settings
Logi Tune is the newer, all-in-one app for customizing your webcam experience. Logitech Camera Settings is the older version, but still useful.
- Go to Logitech’s official software page.
- Search for your webcam model (e.g., “Logitech C920” or “Brio”).
- Click Download for Logi Tune or Logitech Camera Settings.
- Open the downloaded .dmg file and drag the app to your Applications folder.
- Open the app and follow the setup prompts.
Once installed, you can adjust settings like:
- Resolution and frame rate
- Auto-focus and exposure
- Background effects
- Audio input (if using a mic)
These tools make it easy to optimize your video quality for professional calls or streaming.
Step 4: Grant Camera Permissions in macOS
For your Logitech webcam to work in apps like Zoom, FaceTime, or Teams, macOS needs permission to access it. This is a common step that’s often overlooked.
How to Enable Camera Access
- Open System Settings (or System Preferences on older macOS versions).
- Click Privacy & Security.
- Select Camera from the left menu.
- You’ll see a list of apps. Toggle on the apps you want to use your webcam (e.g., Zoom, FaceTime, Slack).
- If your app isn’t listed, restart it after enabling permission—it may not appear until the app is open.
If you don’t see your Logitech webcam listed, restart your Mac and reconnect the camera. Sometimes macOS needs a full restart to detect new hardware.
Always keep camera permissions up to date, especially after macOS updates, which can reset privacy settings.
Step 5: Use Your Webcam in Popular Apps
Now that your Logitech webcam is set up, you can use it in any app that supports video input. Here’s how to get started in some of the most common applications.
In Zoom
- Open Zoom and join or start a meeting.
- Click the gear icon (Settings) > Video.
- Under Camera, select your Logitech webcam from the dropdown menu.
- Enable Mirror my video if you want a flipped image (like in a mirror).
- Test your video by clicking Test Camera at the bottom of the settings.
In FaceTime
- Open FaceTime and start a call.
- Click the camera icon in the top-right corner to switch to your Logitech webcam.
- If it doesn’t switch, go to System Settings > Camera and ensure your Logitech device is selected as the default.
In Microsoft Teams
- Open Teams and go to a meeting.
- Click the three dots (More actions) > Settings.
- Go to Devices > Camera.
- Select your Logitech webcam from the list.
These steps ensure your Logitech webcam works smoothly across all major video platforms.
Troubleshooting Common Issues
Even with a quality Logitech webcam, you might run into issues. Here are solutions to the most common problems when setting up your webcam on Mac.
Webcam Not Detected
If your Mac doesn’t recognize the webcam:
- Try a different USB port.
- Use a different USB cable.
- Restart your Mac.
- Reset the SMC (System Management Controller) if using a MacBook with Apple Silicon—this can resolve hardware detection issues.
Blurry or Low-Quality Video
Improve video clarity by:
- Adjusting lighting in your room.
- Cleaning the webcam lens with a soft cloth.
- Using Logi Tune to adjust focus and exposure.
- Ensuring you’re not too close or too far from the camera.
No Sound from Built-in Mic
If your Logitech webcam has a microphone and it’s not working:
- Go to System Settings > Sound.
- Select your Logitech webcam under Input.
- Adjust the input volume slider.
- Test by speaking and checking the input level meter.
App Can’t Access Camera
If an app says it can’t access the camera:
- Check System Settings > Privacy & Security > Camera.
- Ensure the app is allowed access.
- Reopen the app after changing permissions.
These steps resolve most setup issues with Logitech webcams on Mac.
Tips for Optimal Webcam Performance
To get the best experience from your Logitech webcam on Mac, follow these practical tips:
- Use good lighting: Natural light or soft ring lights improve video quality.
- Position the camera at eye level: This creates a more professional appearance.
- Update firmware: Logitech occasionally releases firmware updates. Check their website for your model.
- Keep software updated: Regularly update Logi Tune or Camera Settings for new features.
- Use a stable mount: A tripod or clip keeps your webcam steady during long calls.
These small adjustments make a big difference in how you appear on video.
Conclusion
Setting up your Logitech webcam on Mac is a simple process that takes just a few minutes. By following this guide, you’ve learned how to connect your camera, test it with built-in tools, install optional software, and use it in popular apps. You’ve also covered troubleshooting tips and best practices to keep your webcam running smoothly.
Whether you’re working from home, attending virtual meetings, or streaming content, your Logitech webcam is now ready to deliver clear, high-quality video. Remember to keep your macOS and Logitech software updated for the best performance.
With your webcam properly configured, you can focus on what matters—connecting with others, sharing ideas, and making the most of your digital presence.



