


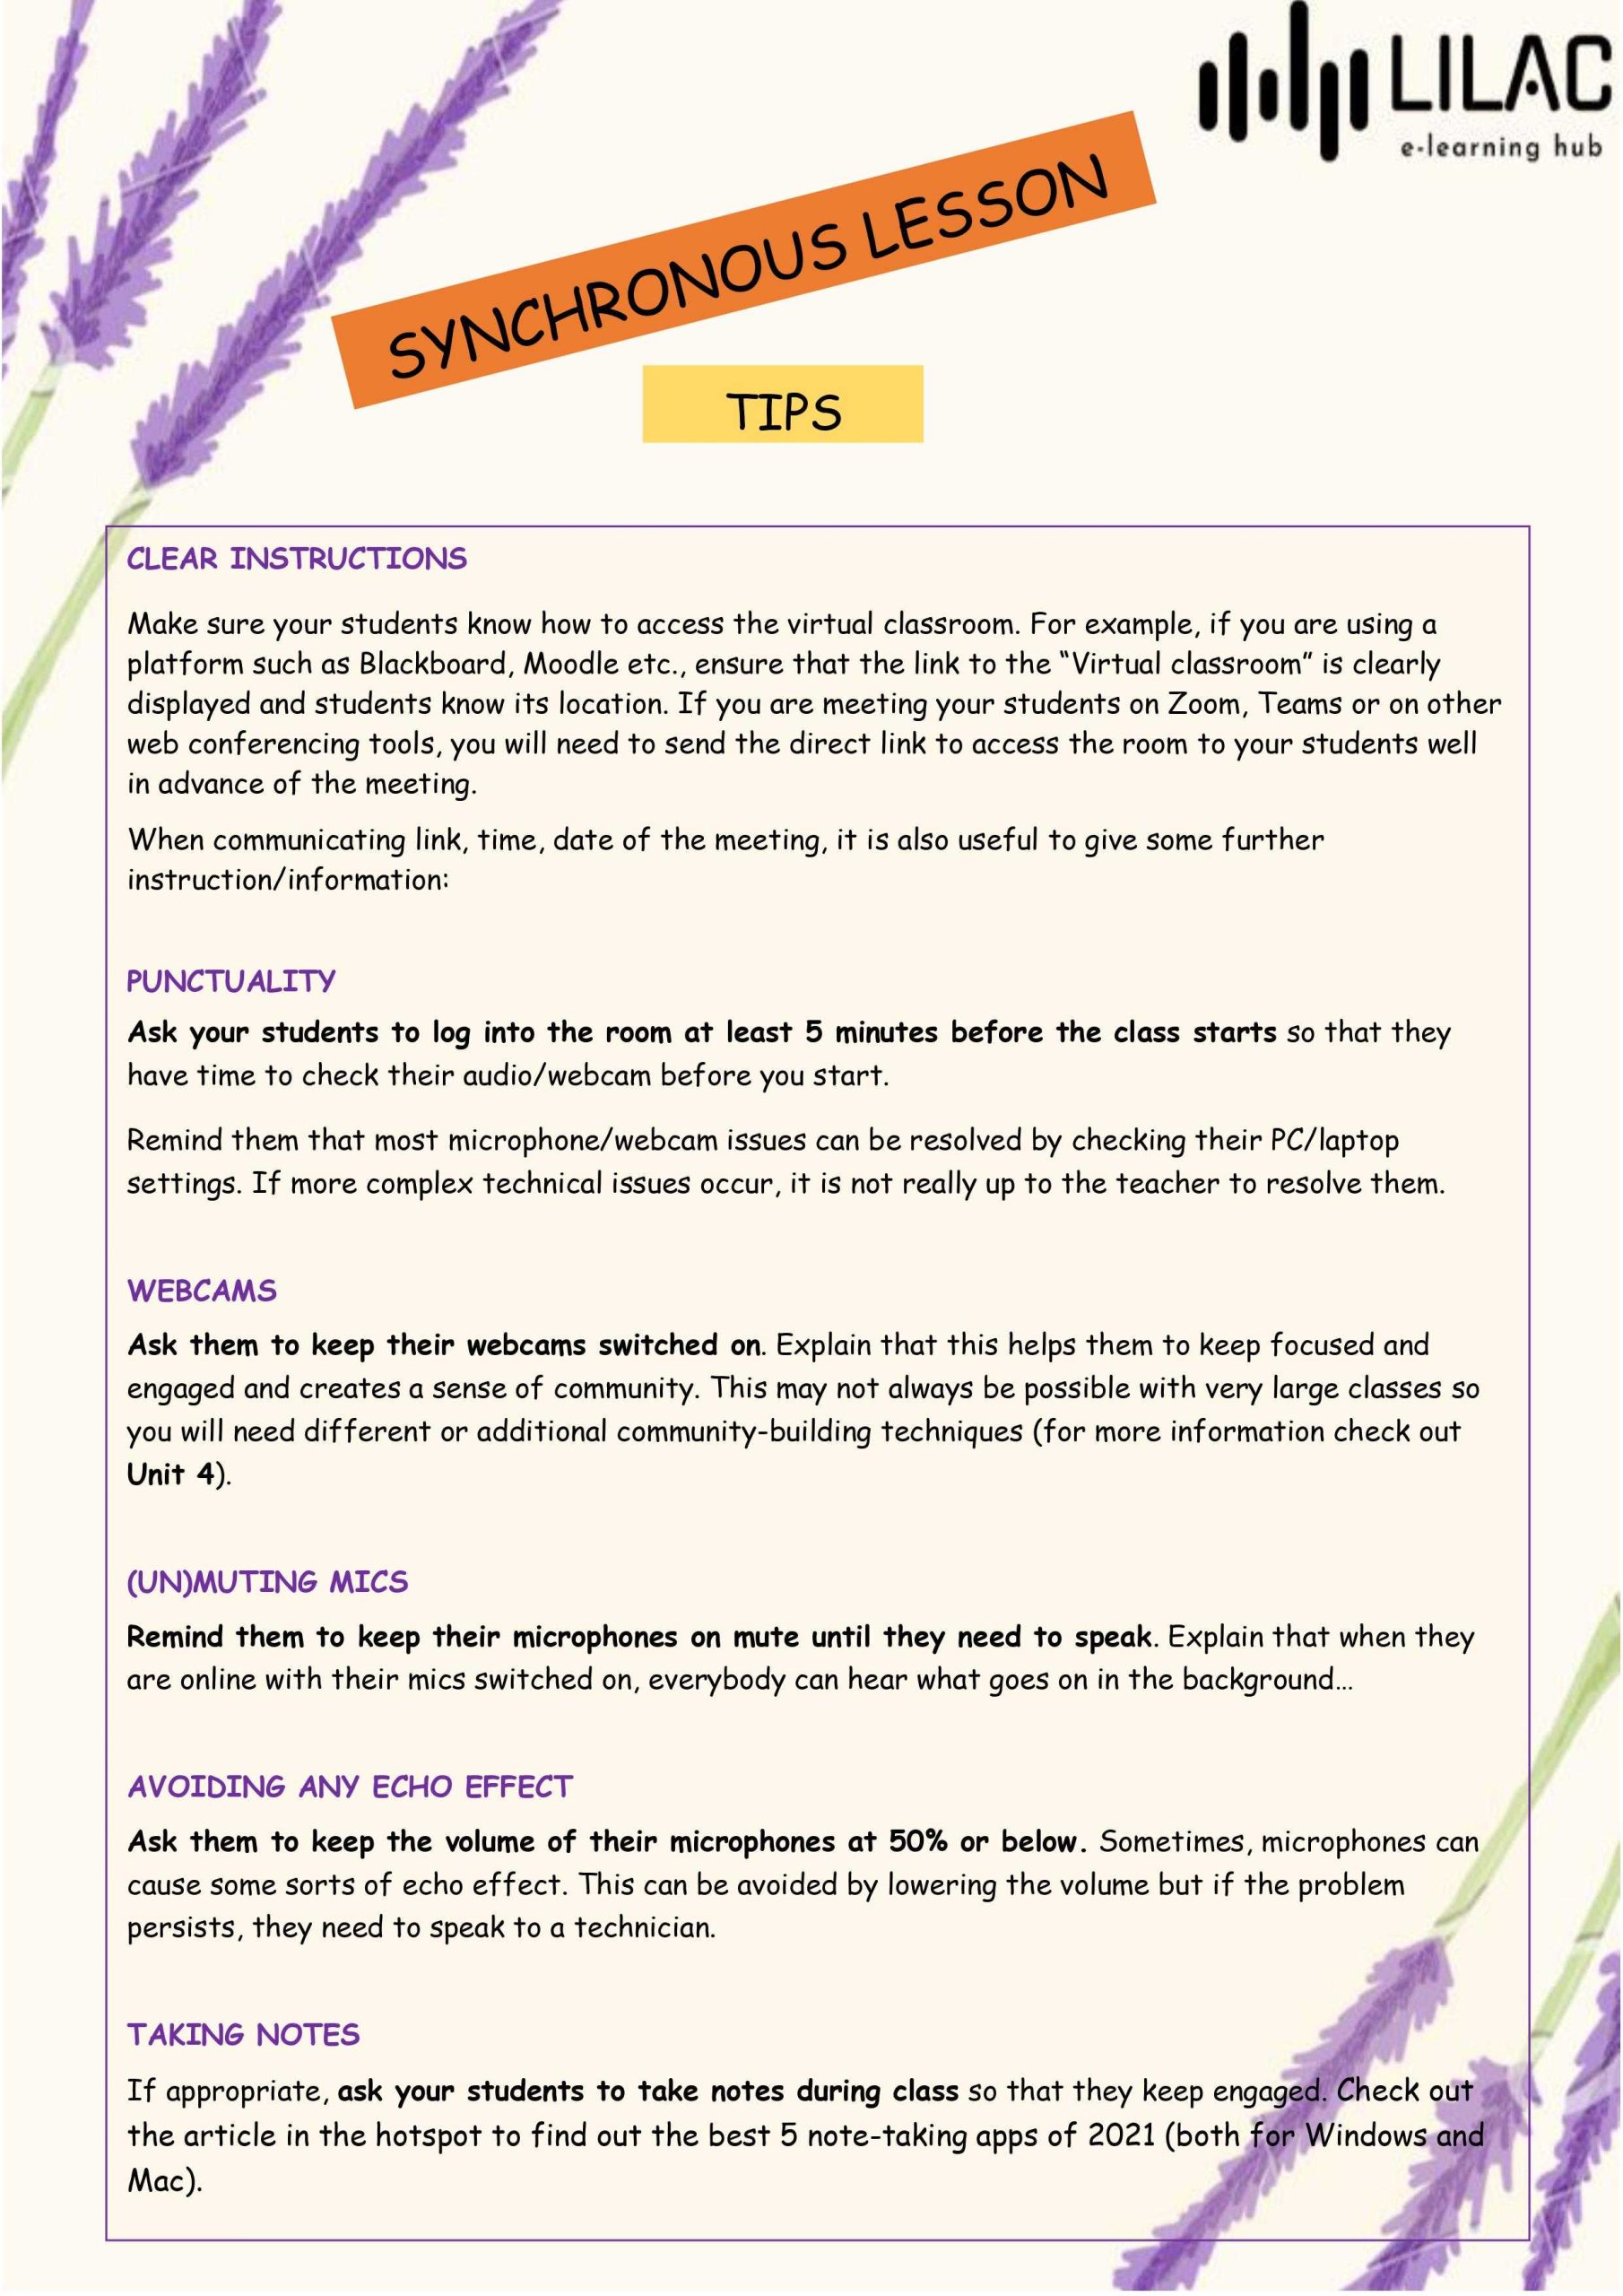
Want to ensure your webcam works perfectly before your online class begins? Quick tip: open your video conferencing app, navigate to settings, and run a quick test or preview to see if your camera displays correctly. Checking your webcam beforehand saves you from last-minute surprises and keeps your class running smoothly.
To test your webcam before class, simply open your video app and use the built-in preview or test feature to verify your camera is functioning properly. You can also try using your webcam in a simple video call or recording a quick clip to double-check the image quality and audio. Doing this in advance helps you troubleshoot any issues early, ensuring you’re ready to participate confidently once your class starts.
In today’s digital learning environment, having a reliable webcam is essential for clear communication and a smooth online experience. Preparing your camera ahead of time might seem trivial, but it’s a crucial step to avoiding frustration or delays when it’s time to join your class. Whether you’re using a laptop, external webcam, or built-in camera, the process is quick and straightforward. By testing your webcam before the class, you can confirm everything is working correctly, adjust your lighting or background if needed, and ensure you look your best. Staying proactive with this simple check will help set a positive tone for your learning session and give you peace of mind, so you can focus entirely on engaging with your classmates and instructor.

How to Test Webcam Before Class Starts: A Step-by-Step Guide
Making sure your webcam works properly before class begins is essential for a smooth online learning experience. If your camera isn’t functioning correctly, you might miss important parts of your lesson or appear disconnected to your teacher. This guide will walk you through simple, effective ways to test your webcam in advance so you’re ready for class day.
Understanding Why Webcam Testing Is Important
Testing your webcam ahead of time saves you from last-minute surprises. It helps identify issues such as poor image quality, connectivity problems, or hardware malfunctions. Being prepared ensures that you can focus on learning without technical worries.
Checking Your Webcam Hardware
Ensure Your Webcam Is Properly Connected
If you’re using a separate external webcam, make sure it is securely plugged into your computer or laptop. Use the correct port, usually a USB connection, and ensure it is fully inserted. For built-in webcams, skip to the next step.
Inspect for Physical Damage
Look for any visible damage or dirt on the camera lens. Clean the lens gently with a soft cloth if it appears smudged or dusty. Damaged hardware may need professional repair or replacement.
Testing Your Webcam Using Built-in Tools
Using Windows Devices
Most Windows computers have a built-in app called Camera. To open it, type “Camera” into the search bar and select the app. If your webcam is working, you should see a live view in the window.
Using Mac Devices
Mac users can test their webcam through applications like Photo Booth. Open Photo Booth from the Applications folder to see if the camera displays your image correctly.
Utilizing Online Webcam Testing Websites
Popular Free Online Tools
- Webcam Test: Visit webcamtest.com and click on “Test my webcam”.
- CamTest: Use camtest.com for quick testing without downloads.
Steps to Use Online Tools
- Open your preferred browser and navigate to one of the sites listed above.
- Allow the site to access your webcam when prompted.
- Ensure the camera feed appears clearly and isn’t fuzzy or delayed.
Adjusting Your Webcam Settings for Better Quality
Brightness and Contrast
If your image appears too dark or washed out, adjust the brightness and contrast settings within your camera app or operating system. Proper lighting can also improve image clarity.
Resolution Settings
Set your webcam to its highest supported resolution. Higher resolution provides clearer images, which is especially helpful for online class presentations.
Focus and Framing
Make sure your face is centered and the camera focuses correctly. Adjust the angle and distance as needed to get a good shot.
Testing Audio and Video Synchronization
Importance of Audio-Video Sync
In many online classes, clear audio paired with video is crucial for effective communication. Test both elements simultaneously to avoid lag or mismatched timing.
How to Check Audio
- Open your video conferencing app and turn on your camera and microphone.
- Speak naturally and see if your voice is heard clearly through your speakers or headphones.
- Adjust microphone volume if necessary.
Addressing Sync Issues
If you notice delay or lag, restart your device or close other applications that may be hogging bandwidth. Using a wired internet connection can also improve stability.
Ensuring Your Internet Connection Is Sufficient
Check Your Bandwidth
Run a speed test using sites like Speedtest.net to verify your upload and download speeds. A steady, high-speed internet connection ensures smooth video and audio during class.
Optimize Your Internet Use
Avoid streaming videos or downloading large files during class times. Connect your device directly to your router with an Ethernet cable if possible for better stability.
Preparing for the Actual Class: Final Checklist
- Verify your webcam’s physical connection or built-in status.
- Test your webcam using your device’s camera app or online tools.
- Adjust settings for clarity and focus.
- Check audio quality and synchronization.
- Ensure your internet connection is fast and stable.
- Close unnecessary applications to free up system resources.
Additional Tips for a Successful Webcam Test
Perform Multiple Tests
Test your webcam at different times to ensure it works consistently. This helps catch intermittent issues.
Update Your Camera Drivers and Software
Keep your webcam drivers current by visiting the manufacturer’s website or using device update tools. Updated software often improves performance and fixes bugs.
Use Proper Lighting and Background
Good lighting enhances image quality, making your video look clear. Choose a clean, uncluttered background to appear professional in your class.
Practice Using Your Webcam Beforehand
Set up a quick recording or video call with a friend or family member. Practice framing, lighting, and speaking clearly. This boosts your confidence before the actual class.
Related Topics to Consider
While testing your webcam, also think about other tech needs for online learning. This includes microphone quality, screen sharing options, and backup internet plans. Preparing these in advance ensures a seamless class experience.
By following these steps, you can easily verify that your webcam is ready to go before your class starts. A quick pre-class check helps you avoid interruptions and ensures your participation is smooth throughout your online lesson.
How to setup $10 1080p Aukey Webcam #tech #setup #desksetup #aukey #webcam #camera
Frequently Asked Questions
What steps can I take to verify my webcam’s functionality before a class begins?
To check your webcam beforehand, open the platform you plan to use for your class and navigate to the video or device settings. Most platforms offer a preview feature that displays your camera feed. Ensure your webcam is enabled and select it as the default device. If the preview appears clear and shows your image properly, your webcam is functioning correctly.
How can I troubleshoot if my webcam does not show an image during the test?
If you see no image during the test, first verify that your webcam is properly connected to your computer. Check if the camera drivers are up-to-date and functioning correctly. Restart your device and reopen the application. In device settings, ensure your webcam is selected and enabled. If problems persist, try reconnecting the webcam or testing it on another application to determine if the issue lies with the device or the platform.
Are there specific applications or websites I can use to test my webcam before class?
Yes, you can use several online tools and built-in applications to test your webcam. Websites like Webcam Test, Pixect, or Online Camera Test let you quickly check your camera feed without setting up a class platform. Additionally, many operating systems include built-in camera apps—like Camera on Windows or Photo Booth on Mac—that allow you to verify your camera’s functionality directly from your device.
What should I do if my webcam’s video quality appears poor during testing?
If the video quality is not clear, check your internet connection, as a slow connection can affect image clarity during online tests. Adjust the camera settings within the application or platform to optimize resolution if possible. Ensure your webcam lens is clean and free of smudges. Updating your webcam drivers and closing unnecessary applications that may consume bandwidth can also improve video quality.
Is it necessary to check my webcam on a different device before the class?
Testing your webcam on another device can help identify hardware issues or compatibility problems. If your webcam works well on a different computer, the issue might be related to your original device or software settings. Performing this test ensures your webcam is functional and ready for your upcoming class, preventing last-minute technical difficulties.
Final Thoughts
To test webcam before class starts, ensure your device is connected properly. Open your video conferencing app and locate the video settings. Check the camera preview to confirm clarity and positioning. If issues arise, restart your device or update your webcam drivers. Taking these steps guarantees your webcam functions smoothly, allowing you to participate confidently in class.



