


Discover how to use your laptop webcam for video calls, streaming, or recording with simple steps. This guide walks you through setup, troubleshooting, and privacy settings to help you get the most out of your built-in camera. Whether you’re new to webcams or just need a refresher, you’ll learn how to activate, adjust, and secure your webcam with ease.
Key Takeaways
- Built-in webcams are convenient: Most modern laptops come with a built-in webcam, so you don’t need extra equipment to start video chatting or recording.
- Check your webcam settings: Use your computer’s settings or built-in camera app to verify that your webcam is recognized and functioning.
- Adjust lighting for better video quality: Good lighting makes a big difference in how clear and professional your video looks during calls or recordings.
- Use privacy settings to control access: Disable your webcam when not in use to protect your privacy and prevent unauthorized access.
- Troubleshoot common issues: If your webcam isn’t working, check drivers, permissions, and software settings to resolve the problem.
- Test your webcam before important calls: Always do a quick test to ensure your audio and video are working properly before joining meetings or streams.
How to Use My Webcam on Laptop: A Complete Step-by-Step Guide
Your laptop’s built-in webcam is more than just a tool for video calls—it’s your gateway to connecting with others, sharing content, and even starting a creative side project. Whether you’re using Zoom, streaming on YouTube, or recording a presentation, knowing how to use your webcam effectively is essential. This guide walks you through everything you need to know—from turning on your webcam to troubleshooting common issues and keeping it secure.
By the end of this article, you’ll understand how to activate your webcam, adjust settings for the best video quality, and protect your privacy. Let’s dive in and make sure your webcam is ready to go!
Why Use Your Laptop Webcam?
Most laptops today come with a built-in webcam, usually located at the top of the screen. These cameras are designed for everyday use—video calls, online classes, virtual meetings, and even casual streaming. Unlike external webcams, built-in models are always ready and don’t require extra setup. They’re lightweight, energy-efficient, and built right into your device.
But using your webcam isn’t just about convenience. It also helps improve communication. Seeing someone’s face during a call makes conversations feel more personal and engaging. For content creators, a working webcam is the foundation of high-quality video production.
Still, many users don’t know how to properly set up or troubleshoot their webcam. That’s where this guide comes in. We’ll cover everything from checking if your webcam is detected to adjusting privacy settings and fixing common problems.
Step 1: Check if Your Webcam Is Working
Before you start using your webcam, make sure it’s actually working. Most laptops have a built-in camera, but sometimes it might be disabled or not recognized by the system.
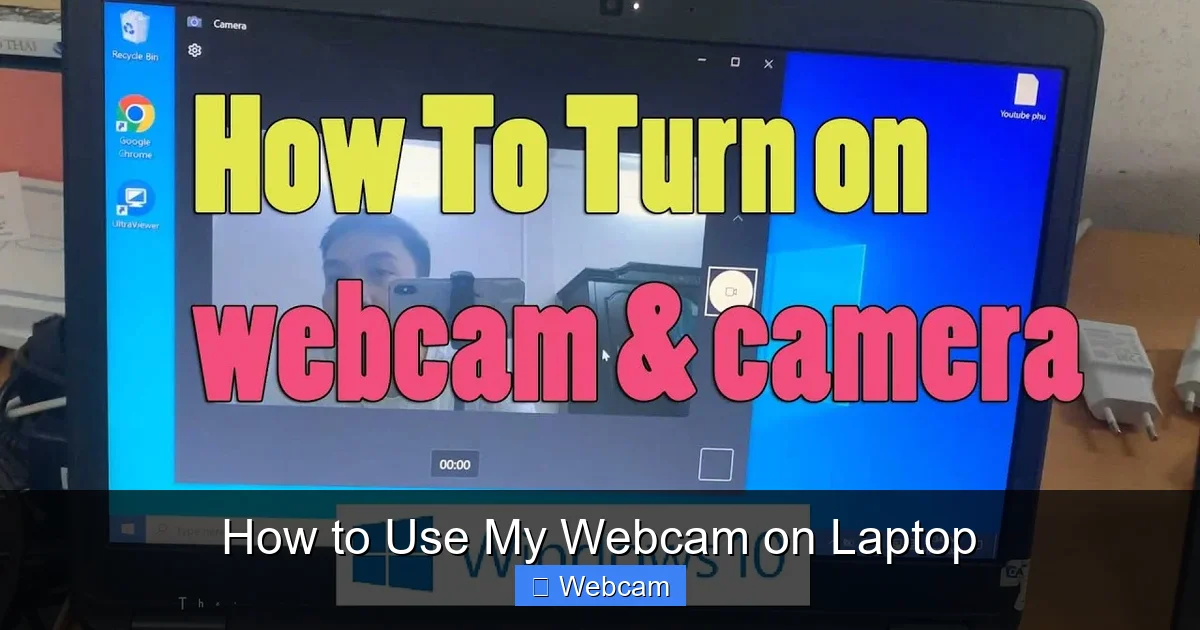
Visual guide about How to Use My Webcam on Laptop
Image source: i.ytimg.com
Windows: Check Webcam in Settings
1. Press Windows key + I to open Settings.
2. Go to Privacy & Security > Camera.
3. Make sure Camera access is turned On.
4. Scroll down and check that your preferred apps (like Zoom or Microsoft Teams) are allowed to use the camera.
Mac: Check Camera Permissions
1. Open System Settings (or System Preferences on older macOS versions).
2. Click Privacy & Security > Camera.
3. Ensure the toggle is On and that apps you use are listed and enabled.
If your webcam still isn’t working, don’t worry—we’ll cover troubleshooting in a later section.
Step 2: Open Your Built-in Camera App
Most laptops come with a preinstalled camera app. On Windows, it’s called Camera, and on Mac, you can use or the QuickTime Player to test your webcam.
Windows: Use the Camera App
1. Press the Windows key and type Camera.
2. Click to open the Camera app.
3. The app will automatically detect your webcam and display your video feed.
4. You can take a photo or record a video using the buttons at the bottom.
Mac: Use Photo Booth
1. Open Applications > Photo Booth.
2. The camera will activate and show your video in real time.
3. Click the red record button to capture a video or take a picture.
These built-in apps are great for testing your webcam. If you see your video feed, your webcam is working!
Step 3: Use Your Webcam in Video Conferencing Apps
Now that your webcam is working, let’s connect it to popular video apps like Zoom, Microsoft Teams, or Google Meet.
Zoom
1. Open Zoom and sign in.
2. Click Settings (gear icon) > Video.
3. Under Camera, select your laptop’s built-in camera.
4. Test the video preview to make sure it’s working.
Microsoft Teams
1. Open Teams and go to Settings > Devices.
2. Under Camera, choose your laptop camera.
3. Join a call or meeting to test the video.
Google Meet
1. Start a meeting in Google Meet.
2. Click the Settings icon (gear) > Video.
3. Select your laptop camera from the dropdown menu.
Once selected, your webcam will activate during the call. You’ll see yourself in the preview window, and others will see you when you’re live.
Step 4: Adjust Video Quality and Settings
To get the best video experience, adjust your webcam settings for lighting, resolution, and framing.
Improve Lighting
Your webcam works best in well-lit environments. Sit facing a window or use a desk lamp in front of you. Avoid backlighting (light behind you), as it can make your face look dark.
Check Video Resolution
Higher resolution means clearer video. In your app settings, look for Video Quality or Resolution and select the highest available option (e.g., 720p or 1080p).
Position Your Laptop Properly
Sit at eye level with the webcam. If your screen is too low, prop it up with a book or stand. This helps you look natural during calls.
Use a Background Blur (Optional)
Many apps like Zoom and Teams offer background blur or virtual backgrounds. This can hide your surroundings and keep your focus on you. Enable it in the video settings of your app.
Step 5: Protect Your Privacy
Webcams can be hacked if not properly secured. Follow these tips to keep your privacy safe.
Cover Your Webcam When Not in Use
Use a webcam cover—a small sliding cover or tape—to block the lens when you’re not using it. This simple step prevents unauthorized access.
Disable Camera in Settings
When you’re not using your webcam, turn off camera access in your system settings. On Windows, go to Settings > Privacy & Security > Camera and turn it off. On Mac, do the same in System Settings.
Be Cautious with App Permissions
Only allow trusted apps to use your camera. If an app doesn’t need video, don’t give it access.
Keep Your Software Updated
Regularly update your operating system and apps. Updates often include security patches that protect against camera exploits.
Step 6: Troubleshooting Common Webcam Issues
Even with the best setup, you might run into problems. Here’s how to fix them.
Webcam Not Detected
1. Restart your laptop.
2. Check that camera access is enabled in settings.
3. Update your camera drivers. On Windows, go to Device Manager > Cameras, right-click your webcam, and select Update driver.
Blurry or Dark Video
Clean the webcam lens with a soft cloth. Adjust lighting and avoid moving too quickly during recording.
No Audio with Video
Your webcam doesn’t include a microphone, but your laptop does. Make sure your audio input is set to the built-in microphone in your app’s audio settings.
App Won’t Access Webcam
Reinstall the app or check its permissions in your system settings. Sometimes, reinstalling fixes permission conflicts.
Webcam Works in Camera App but Not in Other Apps
This usually means the app doesn’t have permission. Go to your system’s privacy settings and allow the app to use the camera.
Step 7: Enhance Your Webcam Experience
Want to get more out of your laptop webcam? Try these tips.
Use External Lighting
A ring light or desk lamp can dramatically improve video quality. Position it in front of you to reduce shadows.
Add a Pop of Color
Dress in solid colors that contrast with your background. Avoid busy patterns that can distract viewers.
Use a Headset with a Built-in Mic
For clearer audio, use a headset. It reduces background noise and helps you sound more professional.
Experiment with Angles
Try different camera angles to find what works best. Some people prefer a slightly lower angle for a flattering look.
Record Practice Sessions
If you’re new to video, record a short test and watch it back. This helps you improve your posture, eye contact, and lighting.
Conclusion
Using your laptop’s built-in webcam doesn’t have to be complicated. With a few simple steps, you can activate your camera, adjust settings for better video quality, and keep your privacy secure. Whether you’re joining a Zoom meeting, streaming on Twitch, or recording a tutorial, your webcam is a powerful tool—and now you know how to use it.
Remember to check permissions, cover your camera when not in use, and test your setup before important calls. With these tips, you’ll look and sound your best every time.
Ready to get started? Open your camera app, adjust the lighting, and begin using your webcam with confidence!



