


Using your Mac’s webcam is simple and built into many apps like FaceTime, Zoom, and Messages. Whether you’re joining a video call or recording a video, this guide walks you through turning on your webcam, adjusting settings, and fixing common issues. With just a few clicks, you’ll be ready to share your screen or appear on camera with confidence.
Key Takeaways
- Your Mac’s built-in webcam is called the FaceTime HD Camera and is available on most MacBooks and iMacs.
- You can use your webcam in apps like FaceTime, Zoom, Skype, and QuickTime Player.
- Adjusting camera settings is easy through System Settings and third-party app preferences.
- Covering or disabling the camera adds a layer of privacy and security.
- Troubleshooting steps can fix common issues like no video feed or poor quality.
- External webcams can be used if you need higher resolution or better lighting support.
How to Use the Webcam on Mac: A Complete Guide
Have you ever wanted to jump on a video call, record a quick tutorial, or just check in with family using FaceTime? Your Mac has a built-in webcam—called the FaceTime HD Camera—that makes all of this possible. Whether you’re new to Mac or just need a refresher, this guide will walk you through everything you need to know about using your Mac’s webcam. From turning it on to adjusting settings and fixing common problems, you’ll be camera-ready in no time.
In this guide, you’ll learn how to access your webcam, use it in popular apps, adjust image quality, enable privacy features, and even connect an external webcam if needed. Let’s get started!
What You’ll Learn
By the end of this guide, you’ll understand:
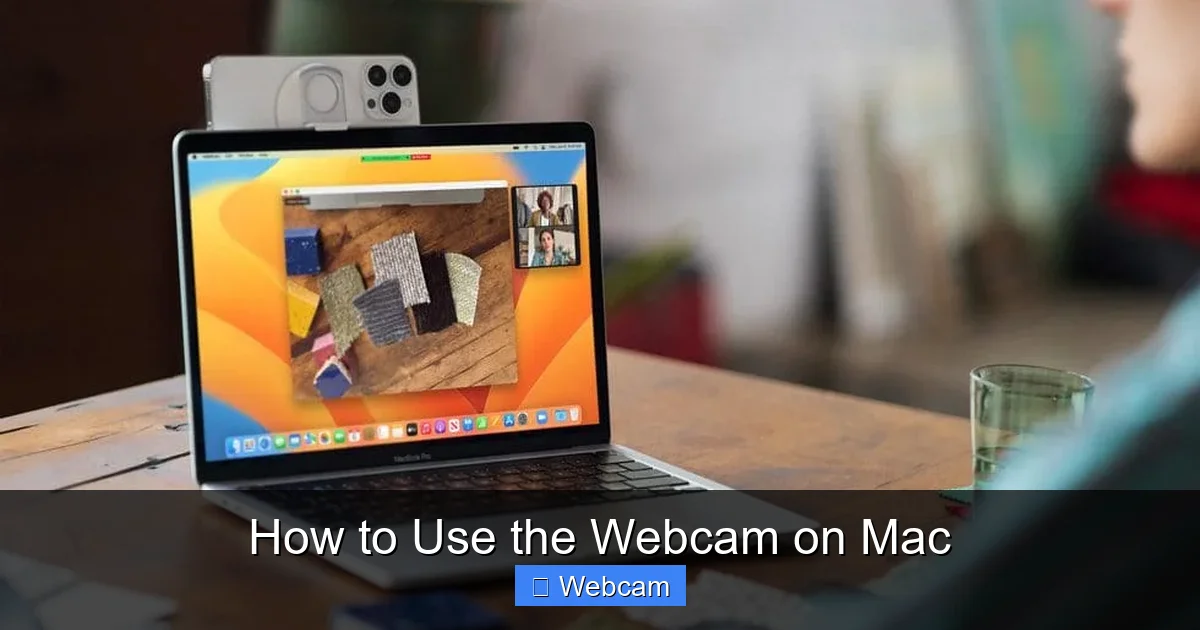
Visual guide about How to Use the Webcam on Mac
Image source: appletoolbox.com
- How to activate your Mac’s built-in webcam
- Which apps support webcam use
- How to adjust video settings for better quality
- Tips for improving lighting and framing
- How to troubleshoot common webcam issues
- How to use an external webcam with your Mac
Let’s dive in!
Step-by-Step: How to Use the Webcam on Your Mac
1. Check if Your Mac Has a Built-in Webcam
Most MacBooks from 2012 onward and iMacs come with a built-in FaceTime HD Camera. You’ll usually find it at the top center of your screen when the lid is open. If you’re using a MacBook Air or Pro, look for the tiny camera indicator light near the hinge—it turns on when the webcam is active.
To confirm your webcam is working, open System Settings (or System Preferences on older macOS versions), go to Privacy & Security, and check if Camera access is enabled.
2. Allow Apps to Access Your Camera
Before you can use your webcam, you need to give apps permission. Here’s how:
- Open System Settings (or System Preferences).
- Click on Privacy & Security.
- Select Camera from the left sidebar.
- Make sure the apps you want to use (like FaceTime, Zoom, or Messages) are checked.
If an app isn’t listed, restart it after enabling access—sometimes it needs a refresh to detect the camera.
3. Use Your Webcam in FaceTime
FaceTime is Apple’s built-in video calling app. Here’s how to use your webcam:
- Open FaceTime from your Applications folder or Dock.
- Enter the email or phone number of the person you want to call.
- Click Video to start a video call.
- Your webcam feed will appear on your screen.
You can also use FaceTime in Messages: select a conversation, click the video camera icon, and start calling.
4. Use Your Webcam in Zoom or Other Video Apps
For Zoom, Skype, Google Meet, or any other video conferencing app:
- Open the app and join or start a meeting.
- Click the Settings or Preferences icon.
- Go to Audio & Video.
- Under Camera, select your Mac’s built-in camera (usually labeled “FaceTime HD Camera”).
- Test your video by clicking Test Camera if available.
Most apps auto-detect your camera, but if not, manually select it from the dropdown menu.
5. Record a Video Using QuickTime Player
QuickTime Player is a great tool for recording video with your webcam:
- Open QuickTime Player.
- Go to File > New Movie Recording.
- Click the small arrow next to the record button.
- Select your built-in camera (or an external one if connected).
- Click Record to start capturing video.
- Click Stop when done.
You can also record your screen and webcam at the same time by choosing New Screen Recording and enabling the camera overlay.
6. Adjust Webcam Settings for Better Quality
To get the best video quality, adjust your settings:
- Open System Settings > Privacy & Security > Camera.
- Check Allow camera access.
- In apps like Zoom, go to Settings > Video and enable HD or 1080p if available.
- Use good lighting: position yourself facing a window or soft light source.
- Clean your camera lens gently with a microfiber cloth.
Pro tip: Avoid backlighting (being in front of a bright window). Instead, have the light source behind or to the side of you.
7. Use a Cover or Disable the Camera for Privacy
For added security, you can cover your webcam when not in use:
- Use a privacy sticker or built-in cover (on some MacBooks).
- Physically cover the lens with tape or a slider cover.
- Disable camera access in System Settings > Privacy & Security > Camera when not needed.
Even better: use a physical cover—it’s the most reliable way to prevent unauthorized access.
8. Connect and Use an External Webcam
Want better resolution or a wider field of view? Try an external webcam:
- Plug the webcam into a USB or USB-C port.
- Open System Settings > Privacy & Security > Camera.
- Ensure the external camera is listed and enabled.
- In apps like Zoom or FaceTime, select the external camera from the camera dropdown.
Popular external options include the Logitech C920, Razer Kiyo, or Apple’s own Studio Display camera (on compatible models).
Troubleshooting Common Webcam Issues
Sometimes your webcam might not work as expected. Here are solutions to common problems:
Visual guide about How to Use the Webcam on Mac
Image source: i.ytimg.com
Problem: No Video Feed in App
Solution: Make sure the app has camera access in System Settings > Privacy & Security > Camera. Also, restart the app and your Mac.
Problem: Poor Video Quality
Solution: Check lighting, clean the lens, and close background apps that might be using the camera. Update macOS and your apps to the latest version.
Problem: Camera Not Detected
Solution: Unplug and reconnect an external webcam. For built-in cameras, try resetting the SMC (System Management Controller) or NVRAM. On Apple Silicon Macs, restart in safe mode to test.
Problem: Camera Works in Some Apps but Not Others
Solution: The app may not have permission. Go to System Settings > Privacy & Security > Camera and enable it for each app.
Problem: Green Screen or Black Video
Solution: This often happens with virtual backgrounds. Disable any background effects in Zoom, FaceTime, or other apps. Also, ensure your camera is not blocked.
Tips for Better Webcam Use
- Position your Mac correctly: Place it on a stand or book so your face is centered in the frame.
- Use natural light: Avoid harsh overhead lights or backlighting. Soft, diffused light is best.
- Dress appropriately: Wear solid colors and avoid busy patterns that can confuse video compression.
- Test before joining: Always do a quick camera check before important meetings.
- Update regularly: Keep macOS and apps updated for bug fixes and performance improvements.
Conclusion
Using the webcam on your Mac is easier than you might think. With built-in support in FaceTime, Zoom, Messages, and QuickTime Player, your Mac makes video calls and recordings simple and reliable. Whether you’re connecting with loved ones, hosting a meeting, or recording a tutorial, your webcam is ready when you are.
Remember to check app permissions, use good lighting, and cover the camera when not in use. And if you need better quality, consider adding an external webcam. With these tips, you’ll always be ready to appear on camera with confidence.
Now go ahead—turn on your webcam, smile, and start connecting!



