


This comprehensive guide will show you how to use your webcam effectively with Microsoft Teams, ensuring smooth, professional video calls. You’ll learn everything from initial setup and driver checks to configuring settings within Teams, troubleshooting common issues, and mastering advanced tips for optimal video quality. Get ready to elevate your virtual presence with confidence!
How to Use Webcam with Microsoft Teams
In today’s interconnected world, clear and reliable video communication is no longer a luxury—it’s a necessity. Whether you’re collaborating with colleagues, attending virtual classes, or catching up with family, Microsoft Teams has become a go-to platform for millions. And at the heart of effective video conferencing lies your webcam. Knowing how to properly set up, configure, and troubleshoot your webcam with Microsoft Teams is essential for a seamless and professional experience.
This comprehensive guide will walk you through every step, ensuring you’re ready to present your best self on every video call. We’ll cover everything from the initial setup and important privacy settings to in-meeting controls, advanced tips for better video quality, and practical troubleshooting steps for common issues. By the end of this guide, you’ll be a pro at using your webcam with Microsoft Teams, allowing you to focus on your conversations rather than technical glitches.
Key Takeaways
- Pre-Call Preparation is Crucial: Always ensure your webcam is physically connected, has up-to-date drivers, and has necessary privacy permissions granted by your operating system before joining a Microsoft Teams meeting.
- Configure Teams Device Settings: Before or during a call, access your device settings in Microsoft Teams to select the correct webcam, adjust its preview, and confirm it’s working as expected.
- Master In-Meeting Controls: Easily turn your video on or off, switch between multiple cameras, and apply background effects directly from the meeting controls bar for a personalized experience.
- Optimize Your Environment: Good lighting (front-facing), an appropriate camera angle (eye-level), and a tidy background significantly enhance your professional appearance on a webcam with Microsoft Teams.
- Troubleshooting is Simple: Most common webcam issues like “camera not found” or a black screen can be resolved by checking connections, restarting Teams, updating drivers, or verifying privacy settings.
- External Webcams Offer Advantages: Consider investing in a dedicated external webcam for superior video quality, better low-light performance, and more flexible positioning compared to built-in laptop cameras.
- Practice Makes Perfect: Use the “Make a test call” feature in Teams settings to verify your webcam, microphone, and speakers are functioning correctly before a crucial meeting, boosting your confidence.
Section 1: Pre-Call Checklist: Ensuring Your Webcam is Ready
Before you even open Microsoft Teams, a few basic checks can save you a lot of hassle. Think of this as your foundational setup for a smooth video experience with your webcam.
Physical Connection and Placement
If you’re using an external webcam, ensure it’s securely plugged into a USB port on your computer. Try different ports if you encounter issues. For laptop users, your built-in webcam is always connected. Placement is also key: position your webcam at eye level, if possible. This creates a more natural and engaging interaction, making it seem like you’re looking directly at the other participants.
Driver Installation and Updates
Your webcam needs the correct software, called a “driver,” to communicate with your computer. Most modern operating systems (Windows, macOS) automatically install generic drivers when you plug in a new webcam. However, sometimes specific drivers from the webcam manufacturer are needed for optimal performance. It’s always a good idea to ensure your drivers are up to date.
- For Windows: Right-click the Start button, select “Device Manager.” Expand “Cameras” (or “Imaging devices”). Right-click on your webcam and select “Update driver.” You can choose to search automatically for updated driver software or browse your computer if you’ve downloaded one from the manufacturer’s website.
- For macOS: macOS generally handles webcam drivers automatically. Ensure your macOS is up to date, as updates often include driver improvements.
Granting Permissions (Operating System Level)
Both Windows and macOS have privacy settings that control which applications can access your webcam. Microsoft Teams needs this permission to use your camera.
- For Windows 10/11:
- Go to “Settings” (Windows Key + I).
- Click on “Privacy & security” (or “Privacy” in older Windows 10).
- Under “App permissions,” select “Camera.”
- Ensure “Camera access” is turned “On.”
- Scroll down and make sure “Let apps access your camera” is “On,” and specifically check if “Microsoft Teams” (or “Teams” in Windows 11 under “Desktop apps access your camera”) is allowed.
- For macOS:
- Go to “System Settings” (or “System Preferences” in older macOS versions).
- Click on “Privacy & Security.”
- Select “Camera” from the sidebar.
- Ensure the checkbox next to “Microsoft Teams” is checked to allow it access to your webcam.
Testing Your Webcam (Outside Teams)
Before launching Teams, a quick test can confirm your webcam is working. This isolates whether the issue is with the webcam itself or specific to Teams.
- For Windows: Open the built-in “Camera” app. If you see your image, your webcam is functioning.
- For macOS: Open the “Photo Booth” app. If you see your image, your webcam is functioning.
Section 2: Configuring Webcam Settings in Microsoft Teams (Before a Call)
Once your webcam is ready at the operating system level, it’s time to tell Microsoft Teams which camera to use and how to use it.
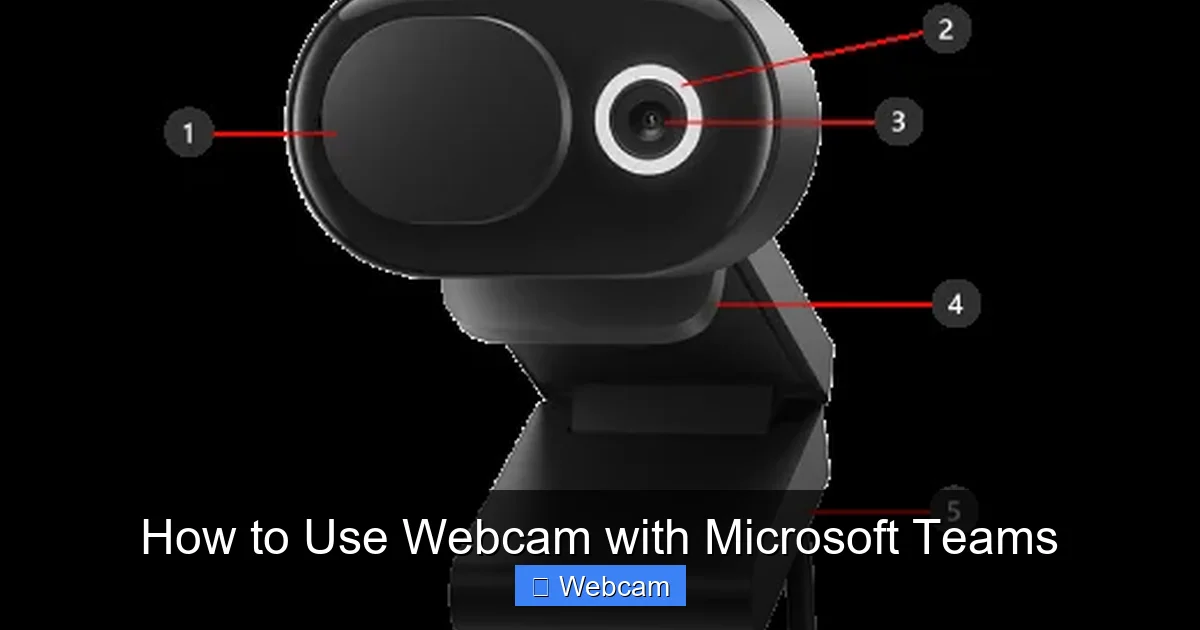
Visual guide about How to Use Webcam with Microsoft Teams
Image source: support.content.office.net
Accessing Device Settings
You can access your device settings in Microsoft Teams from a couple of places:
- From the main Teams interface: Click on your profile picture at the top right, then select “Settings.” From the settings menu, click on “Devices.”
- Before joining a meeting: When you click to join a meeting, you’ll see a pre-join screen. Here, you can click on “Device settings” to adjust your camera, microphone, and speaker before entering the call.
Selecting Your Camera
In the “Devices” settings:
- Look for the “Camera” section.
- From the dropdown menu, select your preferred webcam. If you have multiple cameras (e.g., a built-in laptop camera and an external USB webcam), ensure you pick the correct one.
- You should immediately see a preview of your video feed. If the preview is black or shows the wrong camera, try selecting a different option from the dropdown or re-check the previous steps.
Adjusting Video Preview and Quality
While Teams doesn’t offer extensive video quality adjustments directly within its settings (like resolution or frame rate), the preview is crucial. If your video looks blurry or dim in the preview, it might indicate an issue with lighting or the webcam’s focus. Ensure you have adequate front-facing light for the best results. Some advanced webcams come with their own software for fine-tuning brightness, contrast, and other settings; these changes would apply globally to your webcam and thus impact its performance in Teams.
Section 3: Using Your Webcam During a Microsoft Teams Meeting
Now that your webcam is configured, let’s look at how to control it during actual Teams meetings.
Visual guide about How to Use Webcam with Microsoft Teams
Image source: handsontek.net
Joining a Meeting with Video On
When you click “Join now” to enter a Microsoft Teams meeting, you’ll see a pre-join screen. On this screen, there’s a toggle for “Camera.” Make sure this toggle is switched “On” (it will usually be purple or blue) before you click “Join now” to enter the meeting with your video already active.
Turning Video On/Off During a Meeting
Once you’re in a meeting, your video controls are easily accessible from the meeting toolbar. Look for the “Camera” icon (it often looks like a video camera).
- Click the Camera icon to turn your video on or off. When your video is off, the icon will have a slash through it. When it’s on, your video feed will be visible to other participants.
This is perfect for when you need to step away briefly or conserve bandwidth.
Changing Camera Source Mid-Meeting
Do you need to switch between an external webcam and your laptop’s built-in camera during a call? It’s simple:
- While in the meeting, click on the “More options” icon (three dots …) in the meeting toolbar.
- Select “Device settings.”
- Under the “Camera” section, use the dropdown menu to choose a different webcam. Your video feed will switch instantly.
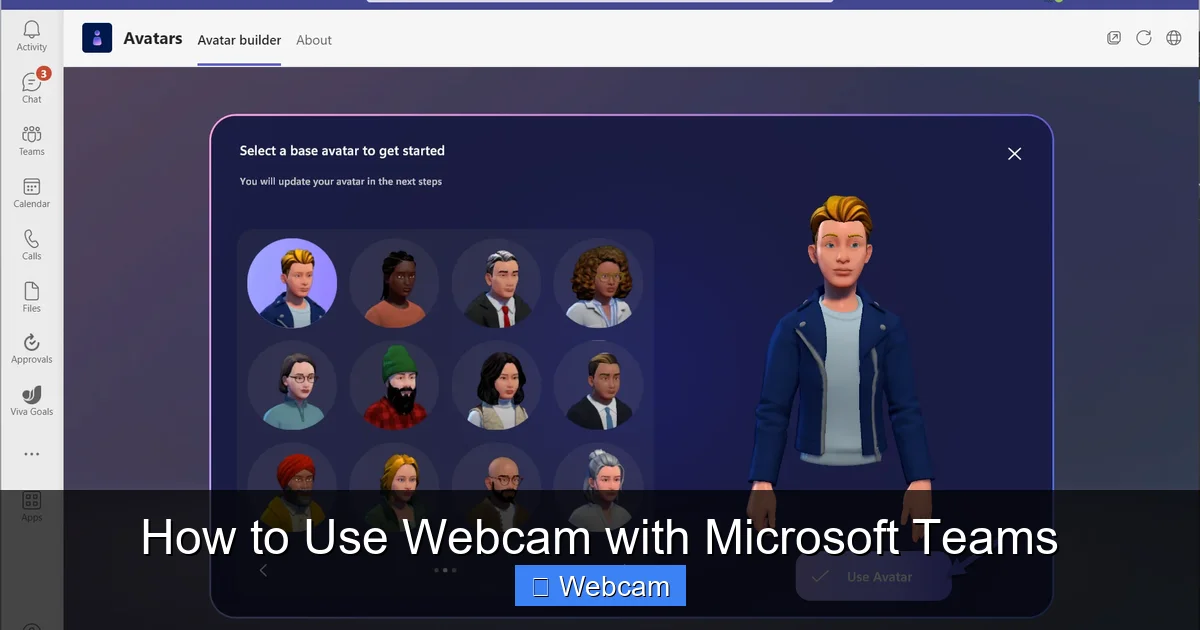
Utilizing Background Effects (Blur, Custom Backgrounds)
Microsoft Teams offers excellent background effects to maintain privacy or add a touch of professionalism. These work seamlessly with your webcam.
- Before joining a meeting: On the pre-join screen, click the “Background filters” icon (a person with a blurred background).
- During a meeting: Click the “More options” icon (three dots …) in the meeting toolbar, then select “Apply background effects.”
You can choose to blur your background, select from a gallery of pre-set images, or even upload your own custom image. This feature works best with a well-lit environment and a solid background behind you, allowing Teams to accurately distinguish you from your surroundings.
Section 4: Advanced Tips for a Better Webcam Experience
Beyond the basics, these tips will help you optimize your visual presence and ensure you make the best impression when using your webcam with Microsoft Teams.

Visual guide about How to Use Webcam with Microsoft Teams
Image source: learn.microsoft.com
Lighting is Key
Good lighting can dramatically improve your webcam’s image quality.
- Front-facing light: Position a light source (like a window or a lamp) in front of you, slightly above eye level. This illuminates your face evenly and eliminates harsh shadows.
- Avoid backlighting: Never sit with a bright window or lamp directly behind you, as this will turn you into a silhouette.
- Soft, diffused light: Harsh, direct light can be unflattering. Use a lamp with a diffuser or bounce light off a wall for a softer effect.
Optimal Camera Angle
Your camera angle greatly impacts how you appear on screen.
- Eye-level or slightly above: Position your webcam so it’s roughly at eye level, looking slightly down at you. This is the most flattering angle and promotes a natural sense of connection.
- Avoid looking up your nose: If your laptop is on a low desk, prop it up with books or a stand to raise the webcam.
Maintaining Eye Contact
It’s easy to look at yourself or other participants on screen. However, to simulate eye contact with the person you’re speaking to, try to look directly into your webcam periodically, especially when you are speaking. This creates a more engaging and personal experience for others.
Minimizing Distractions
A clean, uncluttered background helps keep the focus on you.
- Simple background: Choose a plain wall, a bookshelf, or a tidy corner of your room.
- Remove clutter: Before a meeting, quickly tidy up anything distracting in your camera’s frame.
- Consider virtual backgrounds: If your physical background isn’t ideal, use Teams’ background blur or custom image features.
External Webcam Benefits
While built-in laptop webcams are convenient, an external webcam often offers superior performance:
- Better image quality: Dedicated webcams usually have larger sensors and better lenses, leading to sharper images, better low-light performance, and more accurate colors.
- Flexibility: You can position an external webcam independently of your laptop screen, allowing for optimal angles.
- Advanced features: Many external webcams come with features like autofocus, wider fields of view, and even privacy shutters.
Section 5: Troubleshooting Common Webcam Issues in Microsoft Teams
Even with the best preparation, issues can arise. Here’s how to tackle the most common webcam problems you might encounter with Microsoft Teams.
“Camera Not Found” or Black Screen
This is perhaps the most common issue.
- Check physical connection: For external webcams, unplug and re-plug the USB cable. Try a different USB port.
- Restart Teams: Close Teams completely (right-click on the Teams icon in your system tray/dock and select “Quit” or “Exit”), then reopen it.
- Restart your computer: A classic solution, often resolves driver conflicts or background processes hogging the camera.
- Check OS permissions: Revisit the “Granting Permissions” section above to ensure Teams has camera access.
- Test with another app: Open your operating system’s camera app (Windows Camera, macOS Photo Booth). If it doesn’t work there either, the issue is likely with the webcam or its drivers, not Teams.
- Update/Reinstall drivers: Go to Device Manager (Windows) or check manufacturer’s website for the latest webcam drivers.
- Check for other apps using the camera: Only one application can typically use your webcam at a time. Close any other apps that might be accessing it (e.g., Zoom, Skype, OBS, your OS camera app).
Blurry or Low-Quality Video
If your video feed looks poor despite your webcam working:
- Check lighting: As mentioned, inadequate lighting is often the culprit. Add more front-facing light.
- Clean the lens: Dust or smudges on the webcam lens can significantly degrade image quality. Gently wipe it with a microfiber cloth.
- Internet connection: A poor internet connection can cause Teams to reduce video quality to prioritize audio. Try moving closer to your Wi-Fi router or using a wired Ethernet connection.
- Webcam focus: Some webcams have manual focus rings. Others automatically focus. Ensure nothing is blocking the autofocus sensor.
Microphone Not Working (Often Linked)
While this guide focuses on webcams, audio issues often accompany video problems.
- Check device settings in Teams: In “Settings” > “Devices,” ensure the correct microphone is selected.
- Check OS permissions: Verify that Teams has microphone access in your operating system’s privacy settings.
- Test external microphone: If using an external webcam with a built-in mic, ensure it’s selected as the default.
Permissions Denied
If Teams explicitly states that camera access is denied, it’s almost always an operating system privacy setting. Refer back to the “Granting Permissions” section and double-check that Teams is allowed to use your webcam.
Teams Not Detecting Webcam
If your webcam shows up in other apps but not in Teams’ device settings dropdown:
- Update Teams: Ensure your Microsoft Teams client is updated to the latest version. Click your profile picture > “Check for updates.”
- Clear Teams Cache: This can resolve many weird issues. Instructions vary slightly by OS, but generally involve closing Teams, navigating to `AppData\Roaming\Microsoft\Teams` (Windows) or `~/Library/Application Support/Microsoft/Teams` (macOS), and deleting the contents. Restart Teams afterward.
Conclusion
Mastering your webcam with Microsoft Teams is a skill that significantly enhances your virtual communication. By following this guide, you’ve learned how to prepare your webcam, configure its settings within Teams, control it during meetings, optimize your video quality with practical tips, and effectively troubleshoot common problems.
Remember, a clear picture, good lighting, and a distraction-free background not only make you look more professional but also help you connect more effectively with your audience. Practice these steps, make them part of your routine, and you’ll always be ready to put your best face forward in every Microsoft Teams meeting. Happy video conferencing!



