


If your webcam audio is out of sync during recording, you’re not alone. Many users experience audio lag due to hardware, software, or settings issues. This guide walks you through easy solutions to fix delayed audio and enhance your recording quality.
Key Takeaways
- Audio delay often results from hardware or software conflicts. Identifying the root cause is key to fixing the problem.
- Updating drivers and software can resolve compatibility issues. Make sure your webcam and audio drivers are current.
- Adjusting audio buffer size and latency settings can reduce delay. Small tweaks can make a big difference.
- Using dedicated audio recording software or external microphones can improve sync. Built-in webcams often have more latency issues.
- Testing and troubleshooting systematically helps pinpoint the cause of delay. Follow step-by-step methods for best results.
Introduction
If you’ve ever recorded a video with your webcam and noticed that the audio is lagging behind the video, you’re probably wondering, “Why is my webcam audio delayed during recording?” This is a common issue that can be caused by various hardware and software factors. Fortunately, most delays can be fixed with some simple troubleshooting steps.
In this guide, you’ll learn why webcam audio gets delayed and how to fix it. We’ll cover everything from driver updates to settings adjustments. Whether you’re creating content, conducting meetings, or streaming, fixing audio delay will improve your overall video quality.
Understanding Why Webcam Audio Is Delayed
Before jumping into solutions, it’s important to understand what causes audio delay during webcam recording. Here are the main reasons:
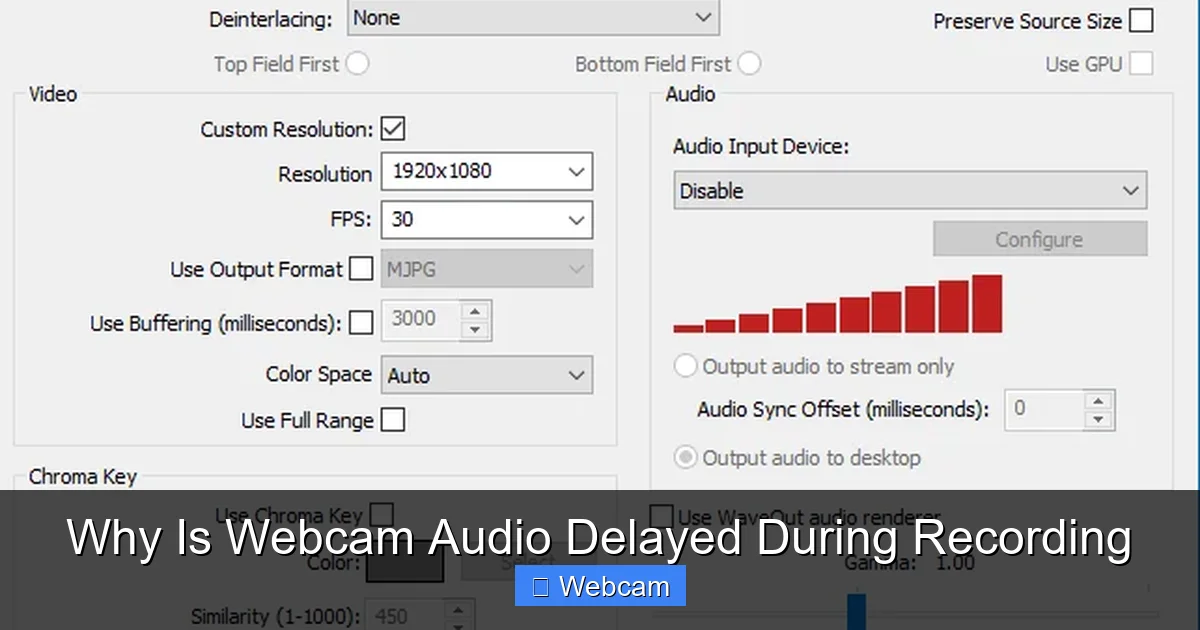
Visual guide about Why Is Webcam Audio Delayed During Recording
Image source: i.gyazo.com
- Hardware limitations: Built-in webcams and microphones may have inherent latency issues.
- Software conflicts: Multiple applications competing for audio/video resources can cause lag.
- Outdated drivers: Old or incompatible drivers for your webcam or sound card often lead to delays.
- Incorrect settings: Mismatched sample rates or buffer sizes can introduce latency.
- Processing power: Low-end computers may struggle with real-time audio and video processing.
Addressing these causes involves checking hardware, updating software, and tweaking settings for optimal performance.
Step 1: Check Your Hardware Setup
Ensure Proper Connection
Begin by confirming that your webcam and microphone are correctly connected. Use high-quality cables and ports. Loose connections can cause inconsistent audio or delays.

Visual guide about Why Is Webcam Audio Delayed During Recording
Image source: i.gyazo.com
Test Your Webcam and Microphone
Use your operating system’s built-in tools to test your webcam and microphone. For Windows, go to Settings > Privacy > Microphone and test the device. On Mac, open Sound preferences.
If you notice issues at this stage, consider replacing faulty cables or upgrading hardware.
Step 2: Update Drivers and Software
Update Webcam and Audio Drivers
Outdated drivers are a common cause of audio delay. Visit the manufacturer’s website to download the latest drivers for your webcam and sound card.

Visual guide about Why Is Webcam Audio Delayed During Recording
Image source: filmibeat.com
- On Windows: Open Device Manager, locate your webcam and audio devices, right-click, and choose Update driver.
- On Mac: Use Software Update to ensure all drivers and system software are current.
Update Recording Software
If you’re using third-party software (like OBS, Skype, or Zoom), ensure it’s updated to the latest version. Developers often release updates to fix bugs, including audio sync issues.
Step 3: Adjust Audio Settings for Low Latency
Configure Buffer Size and Latency
Buffer size determines how much audio data your system processes before playback. A smaller buffer reduces delay but might cause glitches if set too low.
- In your recording software, locate audio settings or preferences.
- Set buffer size to a lower value if possible (e.g., 128 or 256 samples).
- Test recordings to find the sweet spot between low latency and stability.
Sample Rate Matching
Ensure your webcam and recording software are set to the same sample rate, usually 44100 Hz or 48000 Hz. Mismatched rates can cause sync issues.
- Check your system’s audio settings in Control Panel (Windows) or Sound Preferences (Mac).
- Set both to the same standard, then restart your software.
Step 4: Use External Microphones or Audio Interfaces
Built-in webcams and microphones are often more prone to latency. Using an external microphone connected via USB or an audio interface can significantly improve sync.
- Select a high-quality external mic for better audio clarity.
- Connect it directly to your computer and set it as the default recording device.
- Configure your recording software to recognize the external mic.
Step 5: Optimize Your Computer for Recording
Close Unnecessary Applications
Running multiple programs can strain your CPU and memory, causing delays. Close all non-essential apps during recording.
Adjust Power Settings
Set your computer to high-performance mode to ensure maximum processing power.
Check for Background Processes
Use Task Manager (Windows) or Activity Monitor (Mac) to identify and stop resource-heavy processes.
Step 6: Test and Troubleshoot
After making adjustments, record short test videos to check audio sync. If delay persists:
- Repeat previous steps, focusing on hardware and software updates.
- Try different recording software to see if delay is software-specific.
- Use dedicated audio editing tools to manually sync audio if necessary.
If problems still occur, consider resetting your system or consulting with technical support.
Conclusion
Webcam audio delay during recording can be frustrating, but with systematic troubleshooting, you can fix the issue. Start by checking hardware connections, updating drivers, and adjusting audio settings. Using external microphones and optimizing your computer’s performance also helps. Remember, patience and step-by-step testing are key to achieving perfectly synced audio and video.
Follow these tips, and you’ll see a marked improvement in your recordings’ quality. Happy filming!
Additional Tips
- Use professional-grade webcams and microphones for best results.
- Regularly update your system and software to avoid compatibility issues.
- Consider using dedicated audio recording hardware for critical projects.



