


Learn how to fix webcam quality with easy adjustments to lighting, camera settings, and software. This guide covers practical steps to improve video clarity for meetings, streaming, and recordings.
Key Takeaways
- Optimize lighting: Natural or soft front lighting reduces shadows and improves image clarity.
- Clean your lens: A smudged webcam lens is a common cause of blurry video—wipe it gently with a microfiber cloth.
- Update drivers and software: Outdated drivers can limit performance—check for updates regularly.
- Adjust camera settings: Tweak resolution, brightness, contrast, and focus in your webcam software or video app.
- Use external webcams for better quality: Built-in laptop cameras often lack resolution—consider upgrading to a USB HD or 4K model.
- Reduce background clutter: A clean, simple background helps the camera focus and improves overall video quality.
- Check internet speed: Poor bandwidth can cause pixelation—run a speed test and close bandwidth-heavy apps.
Quick Answers to Common Questions
Tip/Question?
How can I test my webcam quality before a meeting?
Use free online tools like Webcam Test or your video app’s preview feature to check how you look. Adjust lighting and settings until you’re satisfied.
Tip/Question?
Should I use a green screen for better video?
Only if you need a custom background. Green screens require even lighting and can be tricky for beginners. A clean real background is often simpler and just as effective.
Tip/Question?
Can I improve webcam quality on a budget?
Yes! Focus on lighting (use lamps or daylight), clean your lens, and adjust free software settings. These cost nothing but make a big difference.
Tip/Question?
Why does my webcam look worse at night?
Low light reduces image quality. Add a front-facing light source and increase brightness in your camera settings to compensate.
Tip/Question?
Is 4K necessary for video calls?
Not usually. 1080p is sufficient for most calls and uses less bandwidth. Save 4K for recordings or streaming where detail matters more.
How to Fix Webcam Quality: A Step-by-Step Guide
Whether you’re on a Zoom call, recording a tutorial, or streaming on YouTube, poor webcam quality can be frustrating. Grainy, blurry, or dim video makes you look unprofessional and distracts your audience. The good news? You can dramatically improve your webcam quality with a few simple fixes—no expensive gear required.
In this guide, you’ll learn practical, easy-to-follow steps to enhance your video clarity. From adjusting lighting to tweaking software settings, we’ll cover everything you need to look sharp and confident on camera.
Step 1: Improve Your Lighting
Lighting is the #1 factor affecting webcam quality. Even the best camera struggles in poor light. Here’s how to get it right:

Visual guide about How to Fix Webcam Quality
Image source: cultofmac.com
Use Natural Light When Possible
Position yourself facing a window during the day. Natural light is soft, even, and flattering. Avoid backlighting—sitting with a window behind you will make you appear as a dark silhouette.
Add a Ring Light or Desk Lamp
If natural light isn’t available, use a ring light or a soft desk lamp placed in front of you. Aim for light that hits your face directly, not from the side or above, which can create harsh shadows.
Avoid Overhead Lighting
Ceiling lights can cast unflattering shadows under your eyes and chin. If you must use them, pair them with a front light to balance the exposure.
Step 2: Clean Your Webcam Lens
It sounds obvious, but a dirty lens is a common culprit behind blurry video. Dust, fingerprints, and smudges scatter light and reduce clarity.

Visual guide about How to Fix Webcam Quality
Image source: ictfix.net
How to Clean Safely
Turn off your device and gently wipe the lens with a clean, dry microfiber cloth. Avoid paper towels or tissues—they can scratch the surface. For stubborn grime, lightly dampen the cloth with water or lens cleaner (never spray directly on the camera).
Check for Obstructions
Some laptops have a physical webcam cover. Make sure it’s fully open. Also, ensure nothing is blocking the lens, like a sticker or case.
Step 3: Adjust Webcam Settings
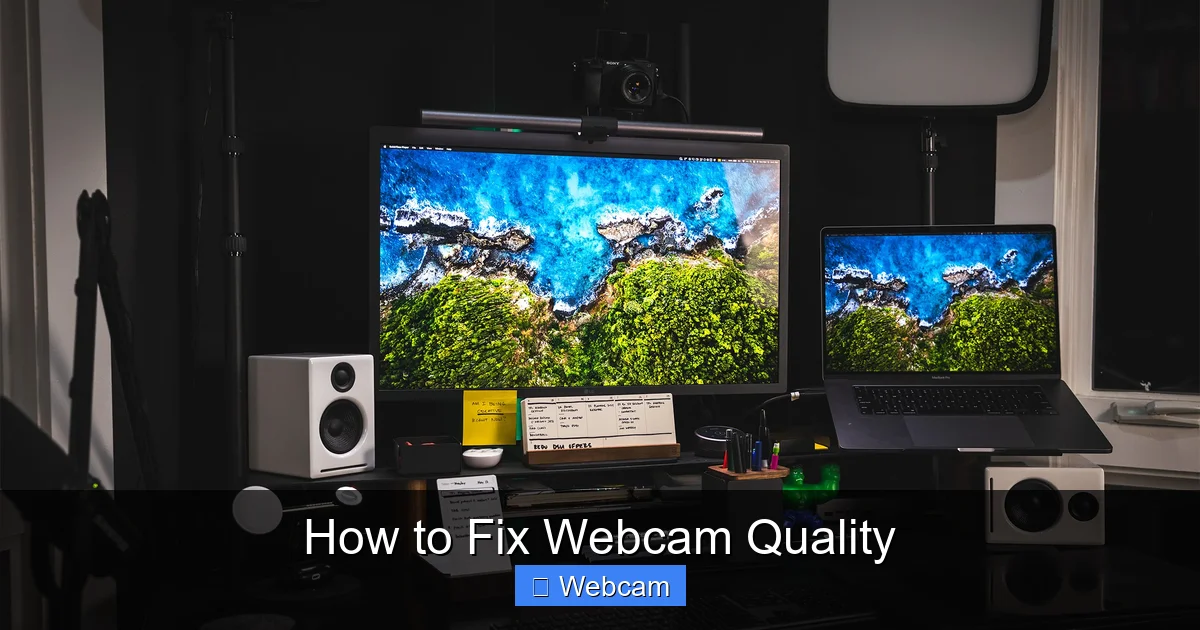
Most webcams come with software that lets you tweak video settings. These adjustments can make a big difference.
Visual guide about How to Fix Webcam Quality
Image source: danmall.com
Increase Resolution
Open your video calling app (like Zoom, Skype, or Google Meet) and go to settings. Look for “Video” or “Camera” options. Set the resolution to the highest available—ideally 1080p or 720p. Avoid “auto” settings that may default to lower quality.
Tweak Brightness and Contrast
If your image looks too dark or washed out, adjust the brightness and contrast. Aim for a balanced look where your face is well-lit but not overexposed. Some apps like OBS Studio or ManyCam offer advanced controls for fine-tuning.
Enable Auto-Focus (If Available)
Ensure your webcam’s auto-focus is turned on. This helps keep your face sharp, especially if you move around. If your camera has a manual focus ring, adjust it until the image is crisp.
Step 4: Update Webcam Drivers and Software
Outdated drivers can limit your webcam’s performance. Keeping them updated ensures compatibility and access to the latest features.
Check for Driver Updates
On Windows, open Device Manager, find your camera under “Cameras” or “Imaging devices,” right-click, and select “Update driver.” On Mac, updates usually come through System Settings > General > Software Update.
Update Video Apps
Make sure your video conferencing or streaming apps are up to date. Developers often release patches that improve video processing and stability.
Step 5: Use an External Webcam
Built-in laptop cameras are often low-resolution and poorly positioned. An external USB webcam can dramatically improve quality.
Choose a High-Quality Model
Look for webcams with at least 1080p resolution, good low-light performance, and autofocus. Popular options include the Logitech C920, Razer Kiyo, or Elgato Facecam.
Position It Correctly
Place the webcam at eye level or slightly above. Use a stand or stack books to elevate it. This angle is more flattering and professional than looking down from a laptop screen.
Step 6: Optimize Your Background and Environment
A cluttered or busy background can distract from your image and confuse the camera’s focus.
Simplify Your Space
Clear away unnecessary items. A plain wall, bookshelf, or curtain works well. Avoid bright patterns or moving objects (like fans or pets).
Use Virtual Backgrounds Wisely
Apps like Zoom offer virtual backgrounds, but they can cause glitches or make you look unnatural. Use them sparingly and ensure good lighting to avoid “floating head” effects.
Step 7: Check Your Internet Connection
Even with a great camera, a slow internet connection can ruin video quality by causing lag, pixelation, or dropped frames.
Run a Speed Test
Use tools like Speedtest.net to check your upload and download speeds. For HD video calls, you need at least 3 Mbps upload speed.
Close Bandwidth-Hogging Apps
Streaming, downloads, or cloud backups can eat up bandwidth. Close unnecessary programs before your call. Use a wired Ethernet connection if possible for more stability.
Troubleshooting Common Webcam Issues
Still having trouble? Here are quick fixes for common problems:
- Webcam not detected: Restart your computer, check USB connections, or reinstall drivers.
- Video freezes or lags: Lower the resolution in your app settings or upgrade your internet plan.
- Colors look off: Adjust white balance in your camera software or move away from colored lights.
- Audio and video out of sync: Update your app and restart the call. This is often a software glitch.
Conclusion
Fixing webcam quality doesn’t require a professional studio—just a few smart adjustments. By improving lighting, cleaning your lens, tweaking settings, and using the right gear, you can achieve crisp, clear video that makes a great impression. Remember, small changes add up. Start with lighting and cleaning, then move on to software and hardware upgrades as needed. With these tips, you’ll look confident and professional in every call, stream, or recording.



