


If your webcam brightness keeps fluctuating unexpectedly, it can be frustrating and disruptive during video calls or recordings. Thankfully, adjusting a few settings can stabilize the brightness and improve your video quality. To fix automatic brightness changes, you should check your webcam’s software settings, disable any auto-brightness or automatic exposure options, and update your device drivers. Additionally, adjusting your lighting conditions and ensuring proper webcam placement can help maintain consistent brightness throughout your sessions.
Whenever your webcam’s brightness shifts unpredictably, it usually stems from automatic adjustments within the device’s software or drivers. The key is to disable these automatic features and manually set your preferred brightness level. By doing so, you regain control over your camera’s appearance, making your video clearer and more professional-looking. This simple fix can significantly enhance your overall video experience, especially when working or communicating remotely.

How to Fix Webcam Brightness Automatically Changing
Understanding Why Your Webcam Brightness Changes
Webcam brightness fluctuations can be frustrating, especially during important video calls or recordings. These changes often happen because of automatic light adjustment settings in your camera or operating system. Knowing the reasons behind these shifts helps you choose the right solutions to fix them.
One common cause is the built-in auto-brightness feature that adjusts the camera’s exposure based on the surrounding light. This feature aims to improve visibility but can sometimes cause unpredictable brightness changes. Also, changes in ambient lighting, such as moving from a bright room to a darker one, can trigger automatic brightness adjustments.
Another factor is software conflicts or outdated webcam drivers. These issues can interfere with your camera’s ability to maintain consistent brightness levels. Lastly, some applications or settings might override your webcam preferences, causing unwanted brightness shifts.
How to Disable Auto-Brightness in Your Webcam Settings
Many webcams come with auto-brightness or auto-exposure options that can be toggled off for more control. Start by checking your camera settings within your operating system.
On Windows, navigate to the Device Manager and locate your webcam under ‘Imaging Devices.’ Right-click on your camera and select ‘Properties.’ Then, go to the ‘Camera’ or ‘Driver’ tab to find options related to auto-brightness or auto-exposure. Disable these settings to prevent automatic adjustments.
For built-in laptop webcams, you can also access settings via the camera app. Open the camera app, click on the gear icon or ‘Settings,’ and look for options related to auto-brightness or auto-exposure. Turn these off for a more stable brightness level.
On Mac, open the ‘Photo Booth’ or ‘FaceTime’ app, then access camera preferences if available. If your webcam software provides a control panel, look for auto-brightness or auto-exposure features and disable them.
Adjusting Camera Settings Using Manufacturer or Third-Party Software
If your webcam software offers manual controls, use them to set your desired brightness level. Many webcams come with dedicated applications that allow you to fine-tune exposure, brightness, contrast, and other image settings.
Download and install the latest driver or software from the manufacturer’s website. Once installed, open the control panel and locate the image settings. Adjust the brightness slider to a comfortable level, and disable any automatic settings to prevent future fluctuations.
Third-party applications like OBS Studio, ManyCam, or Logitech Capture also provide manual controls for webcam settings. These tools give you precise adjustments and enable you to lock in a consistent brightness level during live streams or recordings.
Updating or Reinstalling Webcam Drivers
Outdated or corrupted drivers can cause issues with brightness control. Keeping your drivers updated ensures compatibility and proper functioning of your webcam settings.
Navigate to the Device Manager on Windows, locate your webcam under ‘Imaging Devices,’ right-click, and select ‘Update Driver.’ Choose the automatic option to search for updates online. If updates are unavailable, visit the manufacturer’s website to download and install the latest driver manually.
On Mac, drivers are generally updated through system updates. Make sure your macOS is current by checking in System Preferences under ‘Software Update.’ If your webcam requires specific drivers, install them from the manufacturer’s site.
If updating doesn’t help, try uninstalling the driver completely. Restart your computer, and the system should reinstall the default driver, or you can manually install a fresh version. This process often resolves conflicts causing brightness fluctuations.
Configuring Operating System Settings for Better Control
Operating systems also have settings that influence webcam behavior. On Windows, go to Settings > System > Display and check for auto-brightness options. Disabling adaptive brightness can prevent your screen from influencing webcam brightness indirectly.
In the ‘Camera Privacy Settings,’ ensure that applications have permission to access the camera and its settings are configured correctly. Sometimes, privacy settings can override or interfere with manual adjustments.
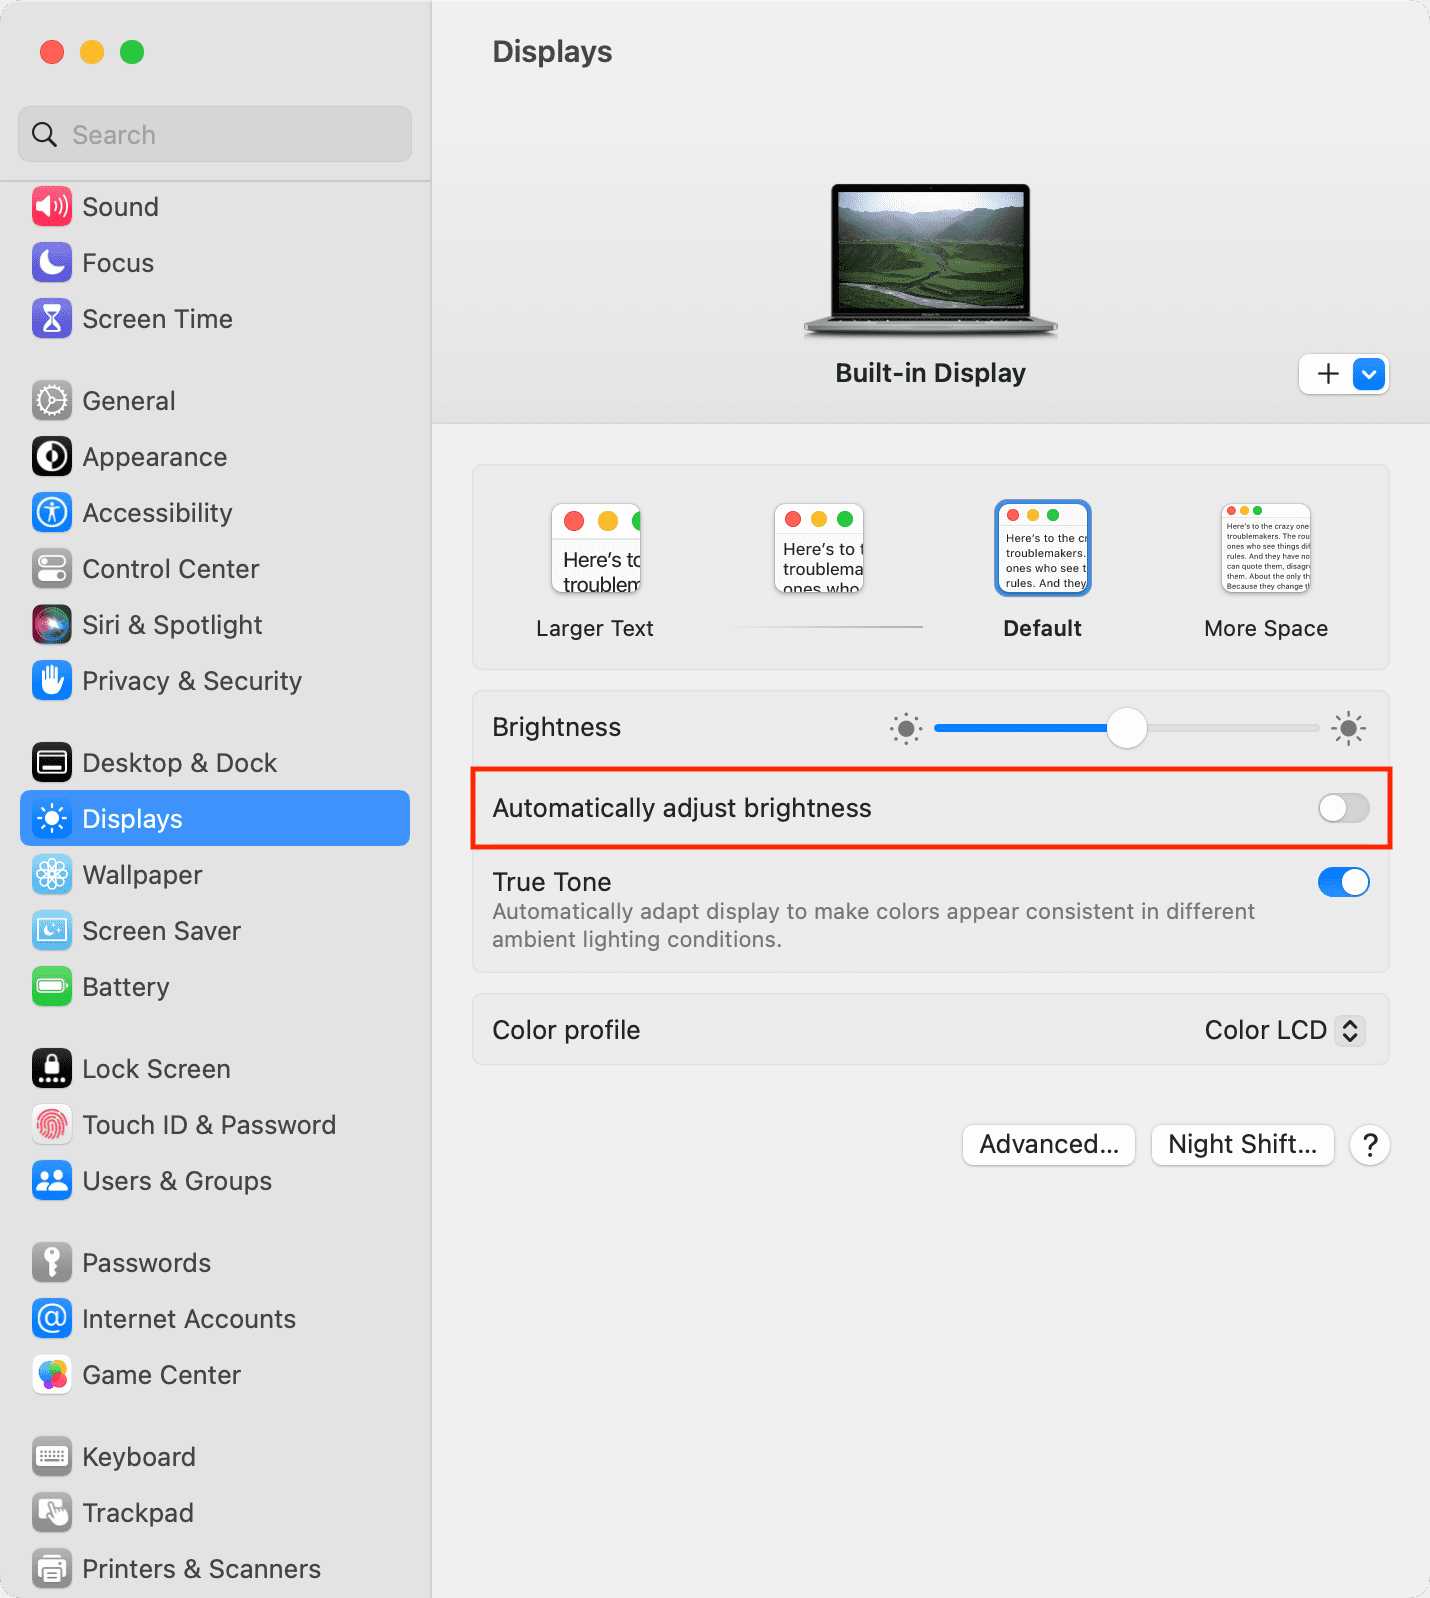
On Mac, check ‘System Preferences’ under ‘Displays’ and ‘Accessibility.’ Adjust brightness controls and disable auto-brightness features that might conflict with your webcam settings.
Using these OS-level controls helps create a more stable environment for your webcam’s brightness to stay consistent.
Managing Ambient Lighting Conditions
Lighting plays a crucial role in how your webcam perceives brightness. To minimize automatic adjustments, ensure consistent lighting in your recording or calling space.
Avoid moving between brightly lit and dark areas while using the webcam. Use soft, diffuse lighting sources to avoid harsh shadows or reflections. Position lights facing you, not behind, to improve image quality and reduce the need for automatic brightness changes.
Installing a ring light or adjustable LED panel can give you control over your lighting environment. Consistent lighting helps keep your webcam’s exposure stable and prevents unwanted shifts in brightness.
Keep blinds, curtains, or window coverings consistent during use to prevent sudden changes in ambient light. This stability helps your camera maintain a steady brightness level naturally.
Using External Hardware or Accessories to Control Brightness
External hardware can help you gain more control over your webcam’s brightness. A dedicated webcam ring light or adjustable LED light can provide consistent illumination, reducing reliance on auto-brightness features.
You might also consider using a webcam with hardware controls that allow manual adjustment of exposure and brightness directly on the device. These cameras often have physical dials or buttons for quick changes.
Another option involves using a webcam with built-in HDR (High Dynamic Range) and manual controls, which are less sensitive to ambient light changes. These models are ideal for professional or streaming setups needing stable brightness levels.
Lastly, using a tripod or adjustable mount can position your webcam to optimize lighting conditions, reducing glare and excess shadows that might cause brightness fluctuations.
Additional Tips for Consistent Webcam Brightness
Regularly check your webcam settings and software updates to ensure optimal performance. Small adjustments can make a significant difference in maintaining consistent brightness.
Avoid covering the camera lens or placing it near reflective surfaces, which can interfere with automatic settings. Keep the lens clean for clear, stable imaging.
Test your settings before important calls or recordings. Adjust exposure, brightness, and contrast to find the best balance for your environment.
Finally, consider using screen sharing or virtual backgrounds to improve your webcam’s appearance if brightness issues persist. These tools can mask minor fluctuations and improve overall video quality.
By following these steps, you can effectively prevent your webcam’s brightness from changing automatically, leading to clearer, more professional-looking video. Consistency in lighting, settings adjustments, and software management will help you enjoy a stable video experience every time.
How to Change webcam camera Brightness on Windows 11
Frequently Asked Questions
Why does my webcam brightness change automatically during video calls?
Webcam brightness can fluctuate automatically due to the device adjusting itself to changes in lighting conditions or software settings. Some webcams have built-in automatic exposure and brightness adjustments that respond to ambient lighting, which may cause inconsistent brightness during calls. To prevent this, disable automatic settings in your webcam’s software or device driver to maintain a constant brightness level.
How can I prevent my webcam from adjusting brightness during recording?
To keep your webcam’s brightness steady while recording, access the camera settings through your computer’s device manager or camera application. Turn off features like auto-exposure or automatic brightness. Updating your camera drivers and ensuring your software is up to date can also fix issues caused by outdated or incompatible drivers that cause unwanted brightness changes.
What steps should I take if my webcam’s brightness keeps changing unexpectedly?
If your webcam brightness shifts unexpectedly, first check the camera settings for automatic adjustments and disable them. Restart your computer and test the webcam again. Updating or reinstalling the webcam drivers can resolve conflicts. Additionally, ensure that your room lighting remains consistent during use, as sudden lighting changes can trigger automatic adjustments even if settings are disabled.
Is there a way to lock my webcam’s brightness at a specific level?
Many webcam applications and driver settings allow you to manually set and lock brightness levels. Access the camera’s settings menu and adjust the brightness to your preferred level. Once set, disable auto-brightness or auto-exposure options. Some third-party software also provides more control over camera parameters, enabling you to lock brightness at a fixed value.
Final Thoughts
To fix webcam brightness automatically changing, start by checking your camera settings. Disable any auto-brightness or auto-exposure options in your device’s control panel or webcam software. Update your webcam drivers to ensure compatibility and smooth performance. If the issue persists, adjust your lighting environment to provide consistent illumination.
Adjusting settings manually often provides a quick solution. Remember, how to fix webcam brightness automatically changing requires controlling automatic adjustments that can fluctuate due to lighting or software issues. Following these steps helps stabilize brightness and improves your webcam experience.



