


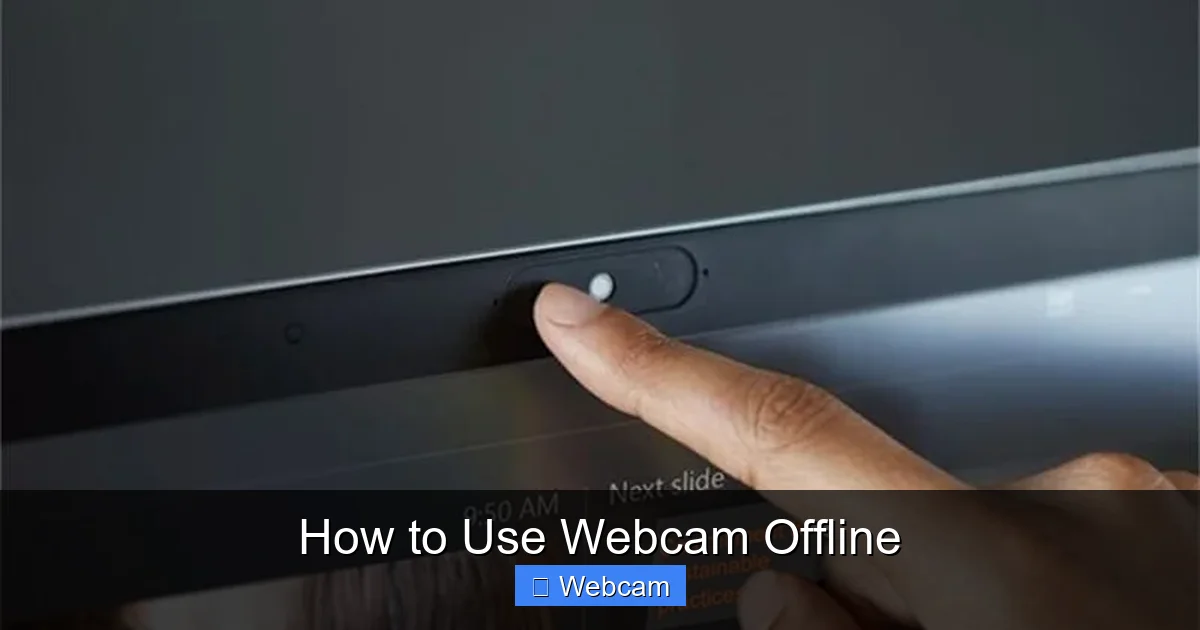
Learning how to use your webcam offline offers excellent benefits for privacy and convenience. This comprehensive guide will walk you through setting up your webcam and using free, built-in software or pre-downloaded third-party applications to record videos and take photos without an internet connection. Discover how to control your content locally, save precious storage space online, and capture moments privately and securely.
How to Use Webcam Offline
Ever wished you could record a video or snap a photo with your webcam without needing an internet connection? Maybe you’re practicing a presentation, creating a personal video diary, or just want to capture a quick moment without the worry of data usage or privacy concerns. The good news is, learning how to use webcam offline is not only possible but also surprisingly straightforward!
This comprehensive guide will walk you through everything you need to know about using your webcam when you’re disconnected from the internet. We’ll cover the essential preparations, step-by-step instructions for recording videos and taking pictures, and even some helpful troubleshooting tips. By the end of this guide, you’ll be a pro at capturing content privately and securely, all from the comfort of your offline computer. Let’s dive in!
Key Takeaways
- Enhanced Privacy and Security: Using your webcam offline ensures your recordings and photos are stored locally, preventing accidental uploads or unauthorized access through the internet.
- Preparation is Key: While the recording happens offline, essential steps like installing drivers and webcam software (e.g., Windows Camera, Photo Booth, OBS Studio) must be completed while you have an internet connection.
- Utilize Built-in Software: Most operating systems come with pre-installed camera applications (like Windows Camera or macOS Photo Booth) that work perfectly for basic offline video recording and photo capture.
- External vs. Built-in Webcams: Both types can be used offline, but external webcams might require specific drivers installed beforehand to function correctly.
- Test Your Setup First: Always perform a quick test recording or photo capture while still online to confirm your webcam and software are functioning as expected before disconnecting.
- Local Content Management: All your offline captures will be saved directly to your computer’s storage, giving you full control over where they are kept and how they are managed.
Why Use Your Webcam Offline? The Benefits
Before we get to the “how-to,” let’s quickly explore why you might want to use your webcam offline in the first place. There are several compelling reasons:
Enhanced Privacy
When you use your webcam offline, your data stays entirely on your computer. There’s no risk of accidental uploads to cloud services, social media, or other online platforms. This is ideal for sensitive recordings, personal reflections, or anything you want to keep strictly private. You have complete control over who sees your content.
No Internet Connection Required
This is the most obvious benefit. Whether you’re in a remote location, experiencing a power outage affecting your internet, or simply don’t want to consume data, you can still record and capture. You don’t need to worry about slow internet speeds affecting your recording quality or dropped connections interrupting your session.
Control Over Local Storage
All your recordings and photos are saved directly to your computer’s hard drive. This gives you immediate access and full control over where they are stored, how they are organized, and whether they are deleted or backed up. You aren’t reliant on external servers or subscriptions.
Practice and Preparation
It’s perfect for practicing speeches, presentations, or job interviews. You can record yourself, review your performance, and delete the footage without any trace on the internet. It’s a low-pressure environment to refine your skills.
Essential Preparations Before Going Offline
While you’ll be able to use webcam offline for the actual recording, some initial setup steps *do* require an internet connection. Think of it as “pre-flight” checks before you disconnect.
1. Choose the Right Webcam (Built-in vs. External)
Most laptops come with a built-in webcam. These are usually sufficient for basic offline recording. If you have a desktop computer or want better quality, an external webcam is a great option.
- Built-in Webcams: Convenient, always available.
- External Webcams: Often offer higher resolution, better low-light performance, and more features. They connect via USB.
2. Install Necessary Drivers
For built-in webcams, drivers are usually pre-installed with your operating system. For external webcams, you might need to install specific drivers.
- Automatic Installation: Most modern external webcams are “plug-and-play.” When you connect them for the first time *while online*, your operating system (Windows, macOS, Linux) will often automatically download and install the necessary drivers.
- Manual Installation: If automatic installation fails or you’re using an older webcam, you might need to visit the manufacturer’s website (e.g., Logitech, Microsoft, Razer) to download and install the drivers manually. Do this *before* you go offline!
Tip: To check if your drivers are installed, go to Device Manager (Windows) or System Information (macOS) and look under “Cameras” or “Imaging Devices.”

Visual guide about How to Use Webcam Offline
Image source: obsbot-static-resource.oss-accelerate.aliyuncs.com
3. Install Webcam Software
This is the most crucial step for how to use webcam offline. You need an application that can access and record from your webcam without requiring an internet connection. Luckily, several options exist:
a. Built-in Operating System Camera Apps
These are excellent for basic offline use and are usually pre-installed.
- Windows: The “Camera” app. Search for it in the Start Menu. It’s simple, effective, and perfect for recording videos and taking photos offline.
- macOS: “Photo Booth” or “QuickTime Player.” Photo Booth is great for fun photos and simple videos. QuickTime Player can record movies from your camera with more control.
b. Third-Party Software (Download While Online!)
If you need more advanced features, you’ll need to download and install these *before* disconnecting from the internet.
- OBS Studio: A powerful, free, and open-source software for video recording and live streaming. It has extensive features for scene creation, audio mixing, and high-quality recording. It works perfectly offline once installed.
- VLC Media Player: Primarily known as a media player, VLC also has a lesser-known feature to capture video from your webcam. It’s not as feature-rich as OBS but is a simple option if you already have it installed.
- ManyCam / SplitCam: These offer virtual webcam capabilities, effects, and the ability to record, though they might be overkill for simple offline recording.
Recommendation: For most users, the built-in Camera app (Windows) or Photo Booth/QuickTime (macOS) will be sufficient to use webcam offline. If you want more control, install OBS Studio.
4. Test Your Setup (While Online)
Before you pull the plug on your internet connection, do a quick test.
- Open your chosen webcam software.
- Select your webcam if prompted.
- Start a short recording or take a test photo.
- Play back the recording or view the photo to ensure everything works correctly (video, audio if applicable, and image quality).
Confirming functionality now saves you frustration later when you’re trying to use webcam offline.
Step-by-Step Guide: How to Use Webcam Offline (Recording Video)
Now that your preparations are complete, let’s get down to the actual process of how to use webcam offline.
1. Ensure No Internet Connection
This is critical for true offline use and privacy.
- For Wi-Fi: Turn off Wi-Fi on your computer. You can usually find a Wi-Fi icon in your system tray (Windows) or menu bar (macOS) to do this.
- For Wired Connection: Unplug the Ethernet cable from your computer.
Double-check: Try to open a webpage. If it doesn’t load, you’re successfully offline!

Visual guide about How to Use Webcam Offline
Image source: obsbot-static-resource.oss-accelerate.aliyuncs.com
2. Launch Your Webcam Software
Open the camera application you prepared earlier.
- Windows Camera App: Search for “Camera” in your Start Menu and click to open.
- macOS Photo Booth: Find “Photo Booth” in your Applications folder or via Spotlight search.
- macOS QuickTime Player: Find “QuickTime Player” in your Applications folder. Go to File > New Movie Recording.
- OBS Studio: Launch the OBS Studio application.
3. Select Your Webcam (If Applicable)
If you have multiple cameras (e.g., a built-in one and an external USB webcam), the software might ask you to choose. Look for a camera icon or a “Source” menu to select your desired device.
4. Choose Recording Settings (Optional)
Depending on your software, you might have options to adjust:
- Resolution: Higher resolution means better quality but larger file sizes.
- Frame Rate: (e.g., 30fps for smooth video).
- Audio Input: Ensure the correct microphone is selected if you want to record audio.
For basic use, default settings are usually fine.
5. Start Recording
Look for the record button, usually a circular red button.
- Windows Camera App: Click the video camera icon to switch to video mode, then click the record button.
- macOS Photo Booth: Click the video camera icon, then the record button.
- macOS QuickTime Player: Click the red record button in the player window.
- OBS Studio: In the “Controls” dock, click “Start Recording.”
You should see a timer indicating that you are now recording. Feel free to use webcam offline for as long as you need!
6. Stop Recording
Click the record button again (which usually turns into a square stop button) to end your session.
7. Locate and Manage Your Recordings
Your video will be saved automatically to a default location on your computer.
- Windows Camera App: Videos are typically saved to the “Camera Roll” folder within your “Pictures” library.
- macOS Photo Booth: Videos appear in the Photo Booth gallery at the bottom. You can drag them to your desktop or a folder.
- macOS QuickTime Player: After stopping, a new player window with your recording will appear. Go to File > Save to choose a location.
- OBS Studio: Go to File > Show Recordings (or Settings > Output to see the default path).
From here, you can rename, move, edit, or delete your recordings just like any other file on your computer. You’ve successfully managed to use webcam offline!
Taking Photos Offline
Visual guide about How to Use Webcam Offline
Image source: restream.io
Taking photos offline follows a very similar process.
1. Launch Your Webcam Software
Open your chosen camera application (e.g., Windows Camera, Photo Booth).
2. Select Photo Mode
If your software has separate modes for video and photo, ensure you’re in photo mode.
- Windows Camera App: Click the camera icon to switch to photo mode.
- macOS Photo Booth: This app defaults to photo mode.
3. Capture Image
Click the capture button, usually a camera icon or a large button in the interface. Some apps might have a countdown before snapping the picture.
4. Locate and Manage Your Photos
Like videos, photos are saved to a default location:
- Windows Camera App: Photos go to your “Camera Roll” in “Pictures.”
- macOS Photo Booth: Photos appear in the gallery at the bottom. Drag them out to save elsewhere.
Troubleshooting Common Offline Webcam Issues
Even when you use webcam offline, sometimes things don’t go as planned. Here are some common issues and their solutions:
Webcam Not Detected / “No Camera Found”
- Check Connections: For external webcams, ensure the USB cable is securely plugged into your computer. Try a different USB port.
- Restart Software/Computer: Close and reopen your camera app. If that doesn’t work, restart your entire computer.
- Drivers: Make sure drivers are installed correctly (check Device Manager/System Information). If you recently updated your OS, you might need to reinstall or update drivers (which would require going online temporarily).
- Privacy Settings: Sometimes, your operating system’s privacy settings might be blocking webcam access for apps.
- Windows: Go to Settings > Privacy & security > Camera. Ensure “Camera access” is on and “Let apps access your camera” is enabled, and your specific app is allowed.
- macOS: Go to System Settings > Privacy & Security > Camera. Ensure the checkbox next to your camera app is enabled.
Software Crashes or Freezes
- Close Other Apps: If your computer is low on resources, other open applications might be interfering. Close unnecessary programs.
- Update Software (Online): If crashes persist, you might need to update your camera software or operating system. This requires going online temporarily.
- Reinstall: As a last resort, try uninstalling and reinstalling the webcam software (also requires internet).
Poor Video/Image Quality
- Lighting: Ensure good, even lighting on your subject. Low light significantly degrades webcam quality.
- Clean Lens: Gently wipe your webcam lens with a microfiber cloth.
- Software Settings: Check if your camera software allows adjusting resolution, brightness, or contrast. Higher resolutions generally look better.
- Hardware Limitations: Built-in webcams, especially on older laptops, may simply have limited quality.
No Audio with Video Recordings
- Microphone Selection: In your camera software’s settings, ensure the correct microphone is selected as the audio input device.
- Microphone Enabled: Check your operating system’s sound settings to ensure your microphone is enabled and not muted.
- Windows: Settings > System > Sound > Input.
- macOS: System Settings > Sound > Input.
- Driver Issues: If your microphone is part of your webcam, ensure the webcam drivers are fully installed and up to date.
Conclusion
You now know exactly how to use webcam offline for both video recording and photo capture. By taking a few simple steps to prepare your computer and software beforehand, you gain the freedom to create content privately, without an internet connection, and with complete control over your files. Whether you’re practicing, documenting, or simply having fun, using your webcam offline is a powerful and secure way to capture your moments. So, disconnect, launch your camera app, and start creating!



