


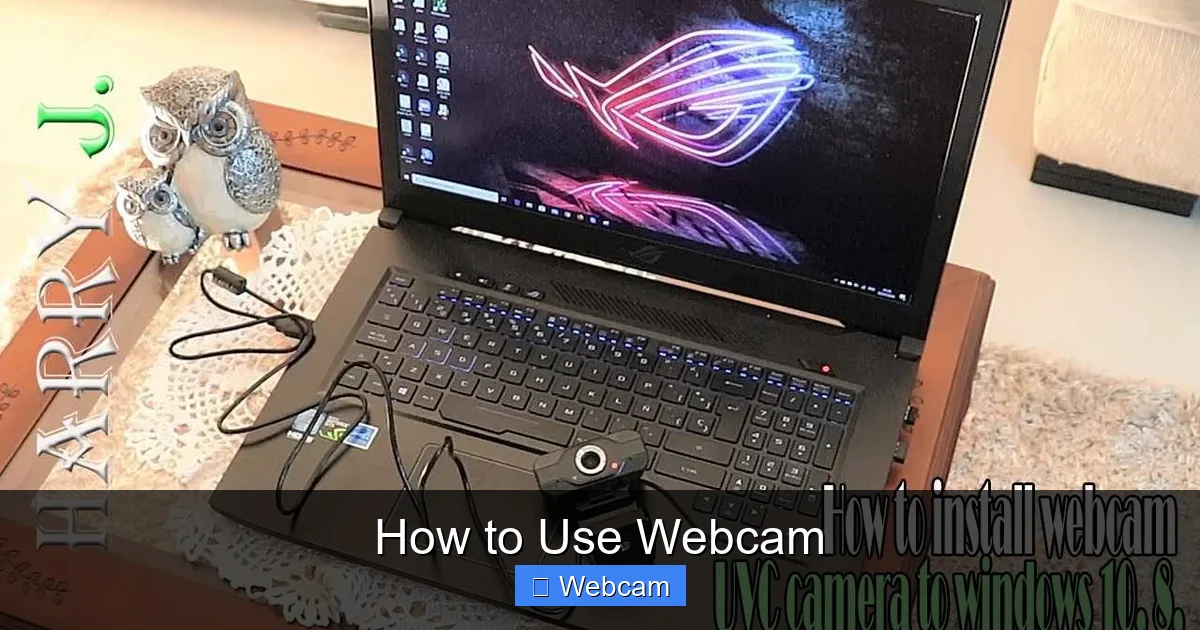
Discover how to use webcam with confidence using this easy-to-follow guide. Whether you’re joining a Zoom meeting, streaming on Twitch, or recording videos, we’ll walk you through setup, software, and troubleshooting. From choosing the right webcam to adjusting settings, this guide covers everything you need for clear, smooth video.
Key Takeaways
- Choose the right webcam: Select based on resolution, frame rate, and connectivity (USB, wireless).
- Install and connect properly: Use the right drivers and ports for seamless performance.
- Adjust settings for clarity: Optimize brightness, contrast, and focus for best video quality.
- Use compatible software: Most webcams work with built-in tools like Windows Camera or Mac Photo Booth, or apps like Zoom and Skype.
- Secure your privacy: Cover the lens when not in use and disable the webcam in apps you don’t need.
- Troubleshoot common issues: Fix blurry video, no signal, or audio sync problems with simple fixes.
- Enhance your setup: Use lighting, a tripod, and background to improve your webcam appearance.
How to Use Webcam: A Complete Beginner’s Guide
Have you ever wondered how to use webcam effectively for video calls, online classes, or streaming? Whether you’re a student, remote worker, or content creator, a webcam is one of the most useful tools for staying connected in today’s digital world. This guide will walk you through everything you need to know—from choosing the right device to optimizing your video quality and fixing common issues. By the end, you’ll be ready to use your webcam like a pro.
What You’ll Learn
By following this step-by-step guide, you’ll learn:

Visual guide about How to Use Webcam
Image source: theworkspacehero.com
- How to choose and connect a webcam
- How to install drivers and set up software
- How to adjust settings for the best video quality
- How to use your webcam in popular apps like Zoom, Skype, and Google Meet
- How to troubleshoot common problems
- How to protect your privacy and enhance your setup
Step 1: Choose the Right Webcam
Before you can start using your webcam, you need to pick one. With so many options available, it’s important to understand what features matter most.
Types of Webcams
- Built-in webcams: Found on laptops, especially MacBooks and some Windows devices. Convenient but often lower quality.
- External webcams: Standalone devices that connect via USB. Offer better resolution and flexibility.
- Wireless webcams: Use Wi-Fi or Bluetooth. Great for mobility but may have latency issues.
- High-end webcams: Designed for streaming, gaming, or professional video calls. Include features like autofocus, noise reduction, and 1080p or 4K resolution.
Key Features to Look For
- Resolution: 720p is standard; 1080p is ideal for clear video.
- Frame rate: 30fps is typical; 60fps is smoother for fast motion.
- Field of view: Wide-angle lenses capture more of the room.
- Connectivity: USB-A, USB-C, or wireless (Wi-Fi, Bluetooth).
Recommended Webcams for Beginners
- Logitech C920: Affordable, 1080p, great for Zoom and streaming.
- Microsoft LifeCam HD-3000: Budget-friendly, reliable for video calls.
- Logitech Brio: Premium 4K webcam with advanced features.
Step 2: Install and Connect Your Webcam
Once you have your webcam, the next step is to get it working on your computer.
For USB Webcams
- Plug the webcam into an available USB port on your computer.
- If your computer is new or the webcam is brand new, it may install drivers automatically.
- If not, visit the manufacturer’s website (e.g., Logitech, Microsoft) and download the latest driver software.
- Follow the installation prompts and restart your computer if needed.
For Wireless Webcams
- Turn on the webcam and put it in pairing mode (usually indicated by a blinking light).
- On your computer, go to Bluetooth settings and search for new devices.
- Select the webcam from the list and enter the pairing code if prompted.
- Install any companion app or software provided by the manufacturer.
Test the Connection
After setup, open your computer’s default camera app:
- Windows: Search for “Camera” in the Start menu.
- Mac: Open the “Photo Booth” app from Applications.
You should see your video feed. If not, check the device manager (Windows) or System Report (Mac) to ensure the webcam is detected.
Step 3: Adjust Webcam Settings
To get the best video quality, you’ll want to fine-tune your webcam settings.
Open Settings in Your Camera App
- Windows: Open the Camera app → click the three dots → Settings.
- Mac: In Photo Booth, click “Preferences” in the menu bar.
Common Settings to Adjust
- Brightness: Too dark? Increase brightness. Too bright? Lower it.
- Contrast: Improves detail in shadows and highlights.
- Exposure: Controls how light or dark the image appears.
- Focus: Set to “Auto” for most situations, or manually adjust if needed.
- Resolution: Choose 1080p if available for sharper video.
Use Manufacturer Software (Optional)
Many webcams come with companion software (e.g., Logi Tune, Microsoft Camera). These apps offer more advanced controls like:
- Background blur
- Color correction
- Audio enhancement
- Preset profiles for different environments
Step 4: Use Your Webcam in Popular Apps
Now that your webcam is set up, let’s use it in real-world scenarios.
Zoom
- Open Zoom and sign in.
- Click the gear icon (Settings).
- Under “Video,” ensure “Enable HD” is checked.
- Choose your webcam from the “Camera” dropdown.
- Click “Test Speaker” and “Test Camera” to confirm it’s working.
Skype
- Open Skype and go to Settings.
- Click “Audio & Video.”
- Select your webcam from the “Camera” menu.
- Click “Test Camera” to preview.
Google Meet
- Start a meeting in Google Meet.
- Click the camera icon to turn on your video.
- Your built-in or external webcam should activate automatically.
- If not, click the three dots → “Settings” → “Video” and select your device.
Streaming on Twitch or YouTube
- Open your streaming software (OBS Studio, Streamlabs, or XSplit).
- Add a “Video Capture Device” source.
- Select your webcam from the device list.
- Adjust resolution and frame rate to match your internet speed.
- Test your stream in preview mode before going live.
Step 5: Troubleshooting Common Webcam Issues
Even with the best setup, problems can occur. Here’s how to fix them.
Problem: No Video Signal
Solution: Check the USB connection. Try a different port or cable. Restart your computer. Update or reinstall drivers.
Problem: Blurry or Unclear Video
Solution: Clean the lens with a microfiber cloth. Adjust focus manually if possible. Ensure proper lighting.
Problem: Webcam Not Detected
Solution: Go to Device Manager (Windows) or System Report (Mac) and look under “Imaging Devices” or “USB.” If there’s a yellow exclamation mark, right-click and select “Update driver.”
Problem: Audio Sync Issues
Solution: In your video app, disable and re-enable the webcam. Check audio settings to ensure the correct microphone is selected.
Problem: Poor Performance in Low Light
Solution: Turn on a desk lamp or use natural light. Avoid backlighting. Some webcams have night mode or low-light enhancement.
Step 6: Protect Your Privacy
Your webcam can be a security risk if not managed properly.
Physical Privacy
- Use a webcam cover (sliding, clip-on, or built-in).
- Cover the lens with tape or a sticker when not in use.
Digital Privacy
- Disable webcam access in apps you don’t use.
- Review app permissions in your system settings.
- Use privacy-focused browsers or extensions to block unauthorized access.
Malware Protection
Some malware can activate your webcam without permission. Keep your antivirus software updated and avoid suspicious downloads.
Step 7: Enhance Your Webcam Experience
Small improvements can make a big difference in how you look and sound on video.
Lighting
- Use soft, natural light or a ring light.
- Avoid sitting with a window behind you (backlight).
- Position light sources at eye level.
Background
- Keep your background neat and professional.
- Use a virtual background in apps like Zoom if needed.
- Avoid clutter, busy patterns, or dark corners.
Support and Positioning
- Use a tripod or stand to keep the webcam stable.
- Position the webcam at eye level.
- Angle slightly downward for a flattering view.
Conclusion
Learning how to use webcam doesn’t have to be complicated. With the right device, proper setup, and a few adjustments, you can enjoy clear, professional-quality video for calls, classes, and content creation. Remember to choose a reliable webcam, install it correctly, tweak your settings, and protect your privacy. Whether you’re using Zoom, streaming, or just staying in touch with family, your webcam is a powerful tool—once you know how to use it.
Now go ahead and test your setup. Take a few practice videos, join a test meeting, and get comfortable. Your future self will thank you for the smooth, confident video calls ahead.



